The task – Activity 3.1: Comparing light
Photograph a set of images of a static subject that will allow you to make a comparison between the effect and look of light at different times during the day.
Steps:
- Find a location well lit by natural light either at home (eg a room with a north facing window) or an outdoor scene that you can easily return to photograph from the same position/viewpoint throughout the day.
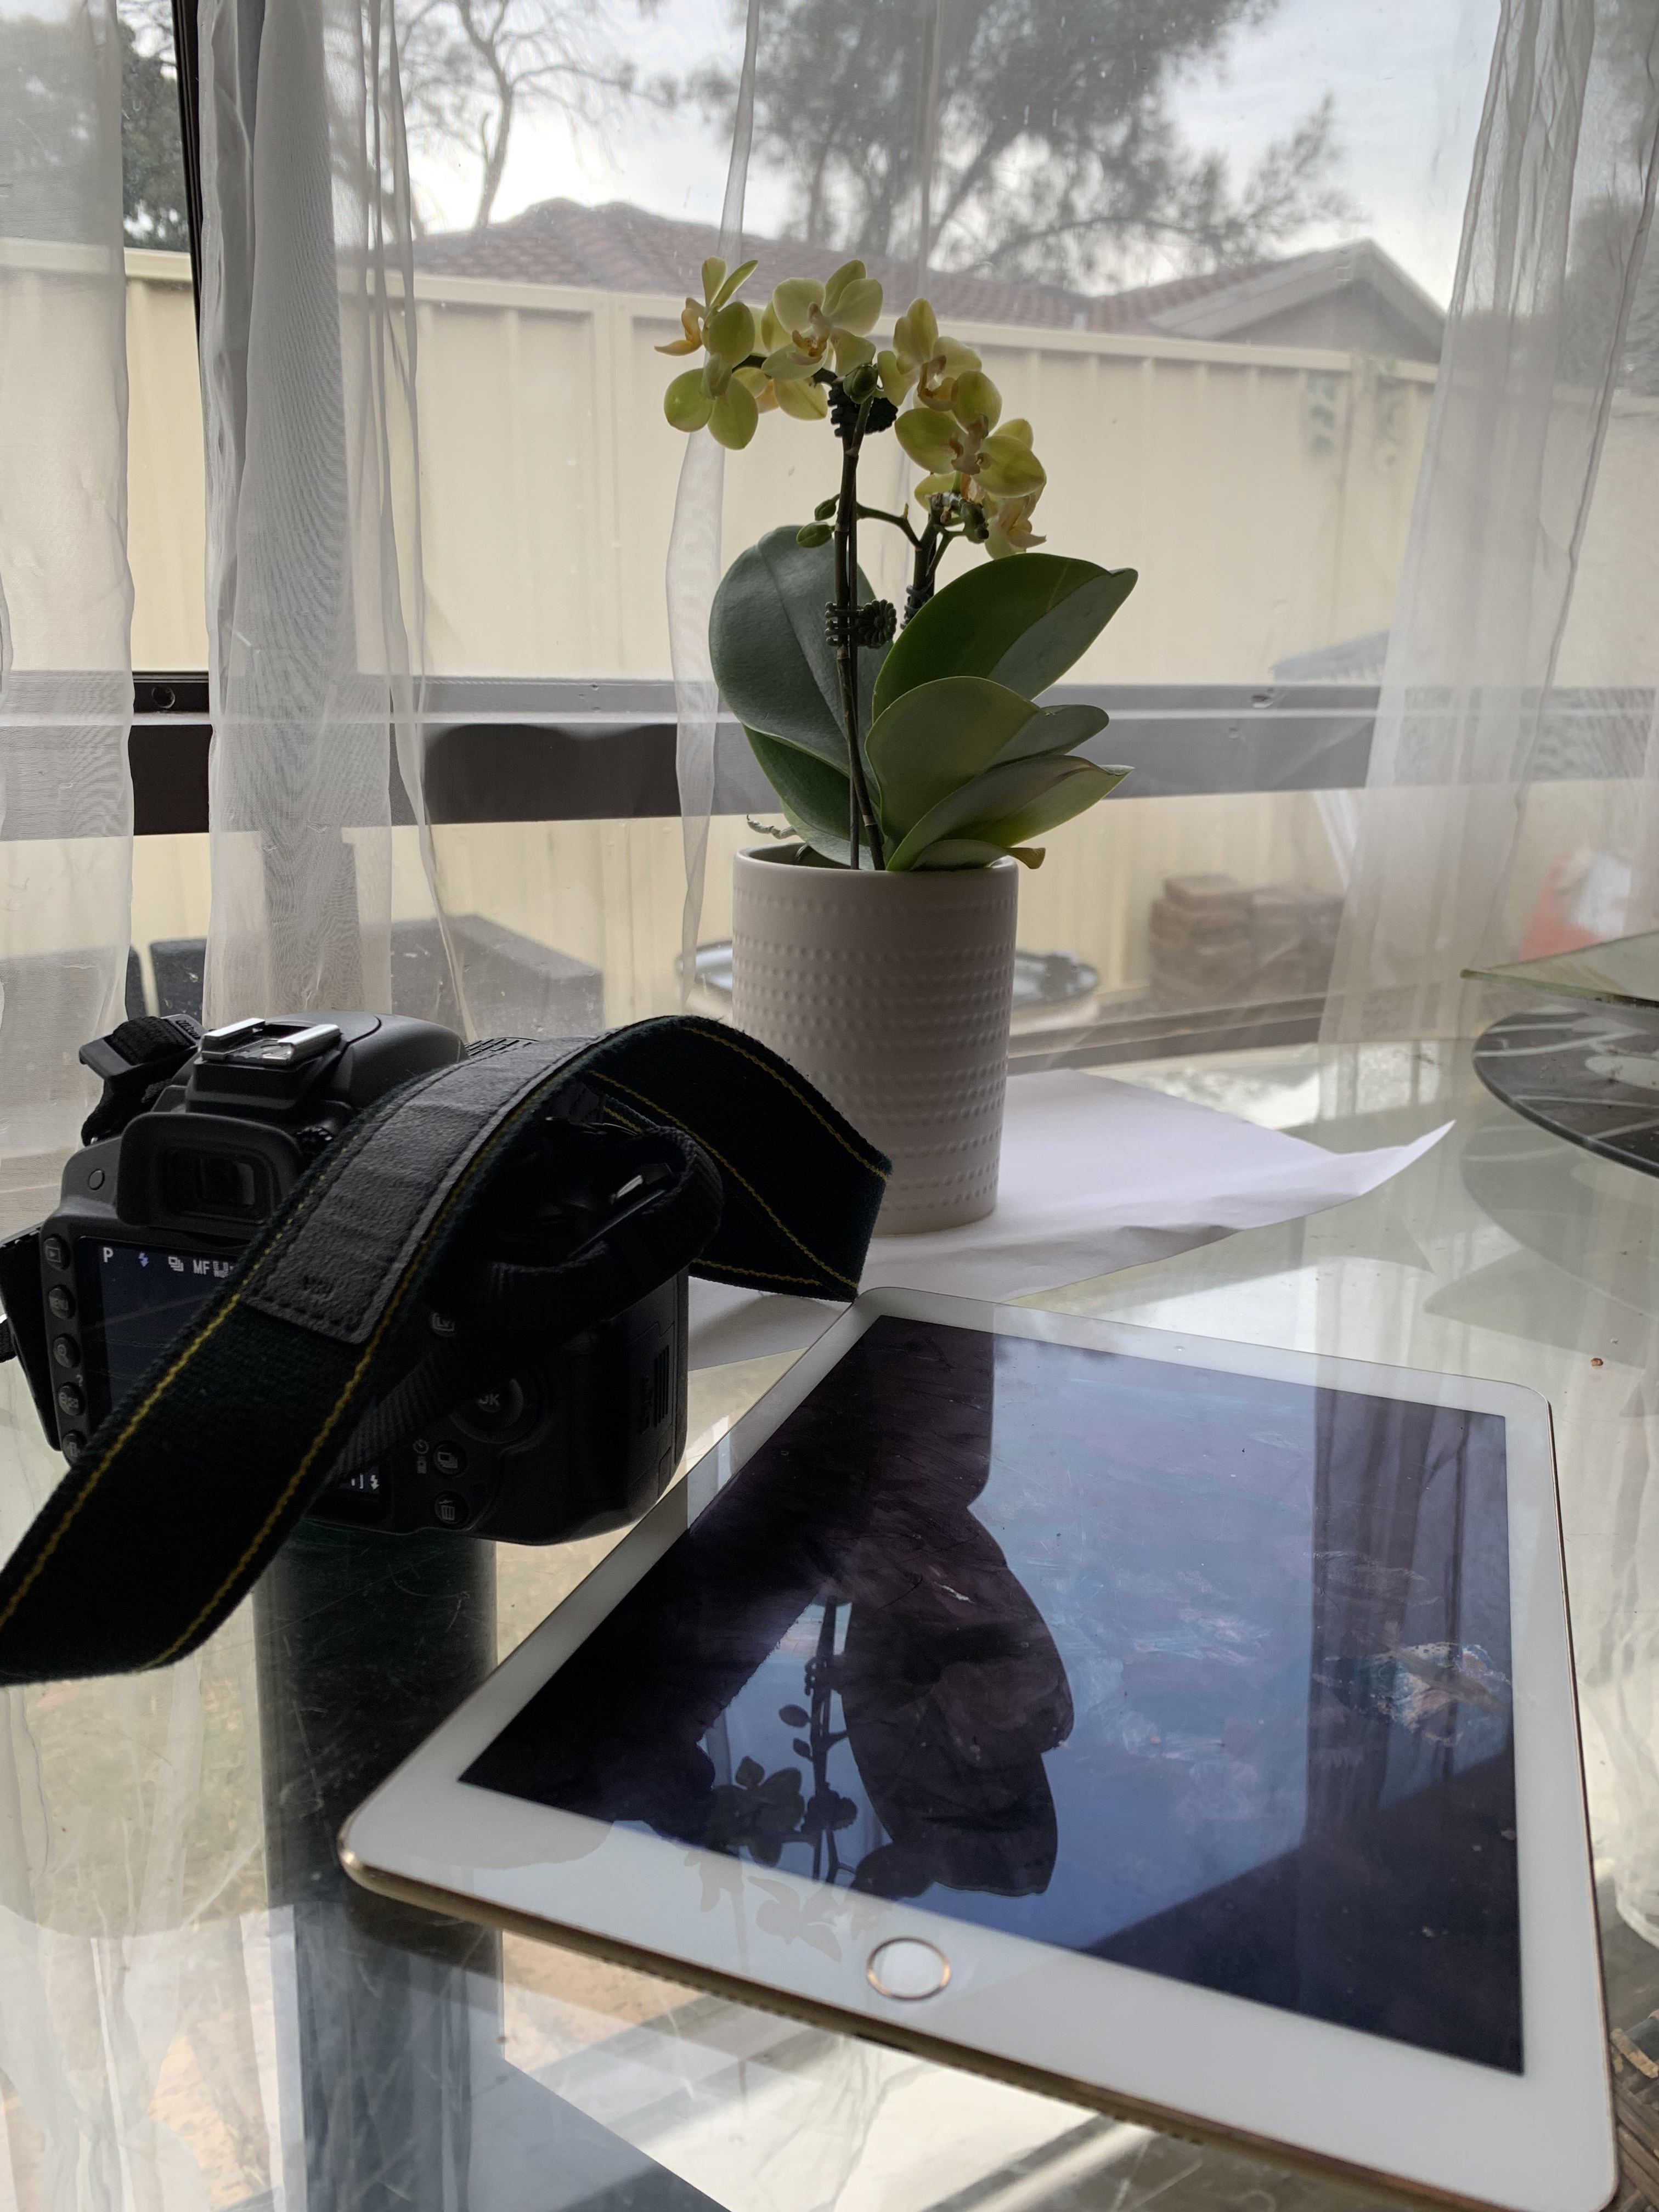
- If shooting at home, position an object within the room in such a way as to achieve a visually attractive composition. Ensure that the object may remain in that same position throughout the day.
- If shooting an outdoor location, make sure you are photographing the same scene.
- Shoot in Program Mode and set the white balance to the daylight preset in your camera or 5500K using your camera’s custom white balance so you can observe the effect time of day and weather have on the colour of light and the colour casts produced during the day.
- Take at least 5 shots spread out over the day.
The Results
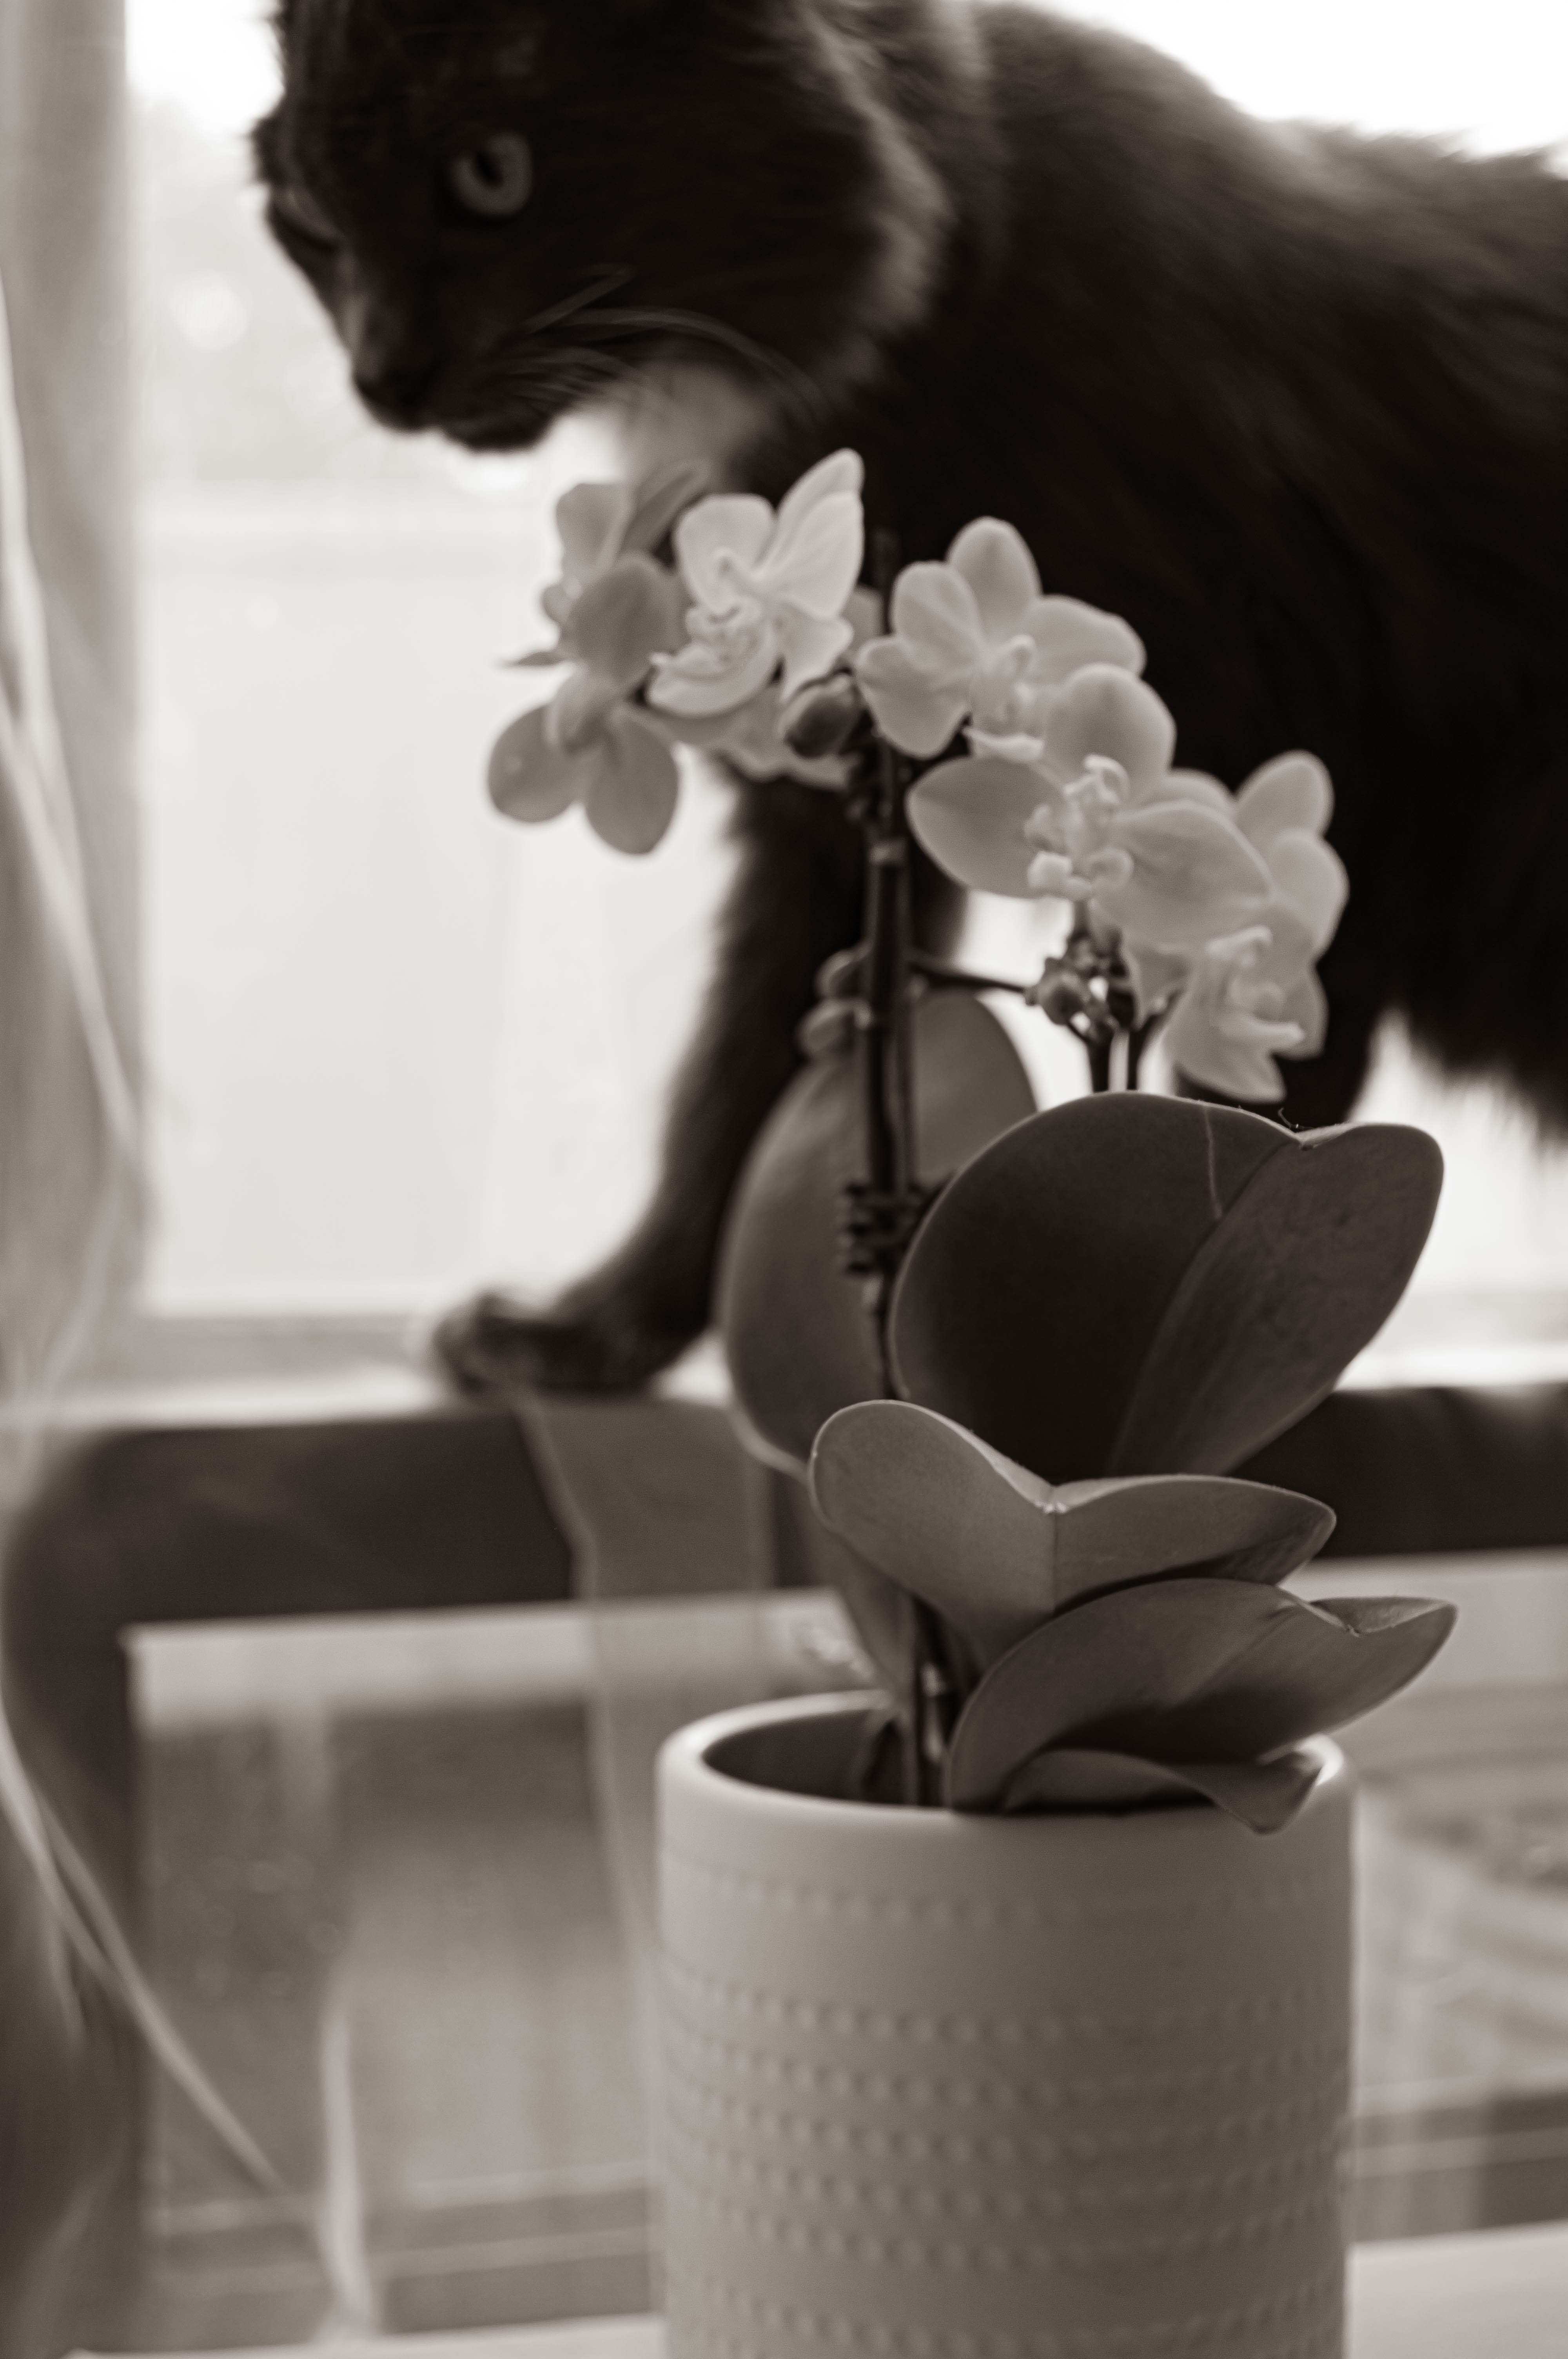
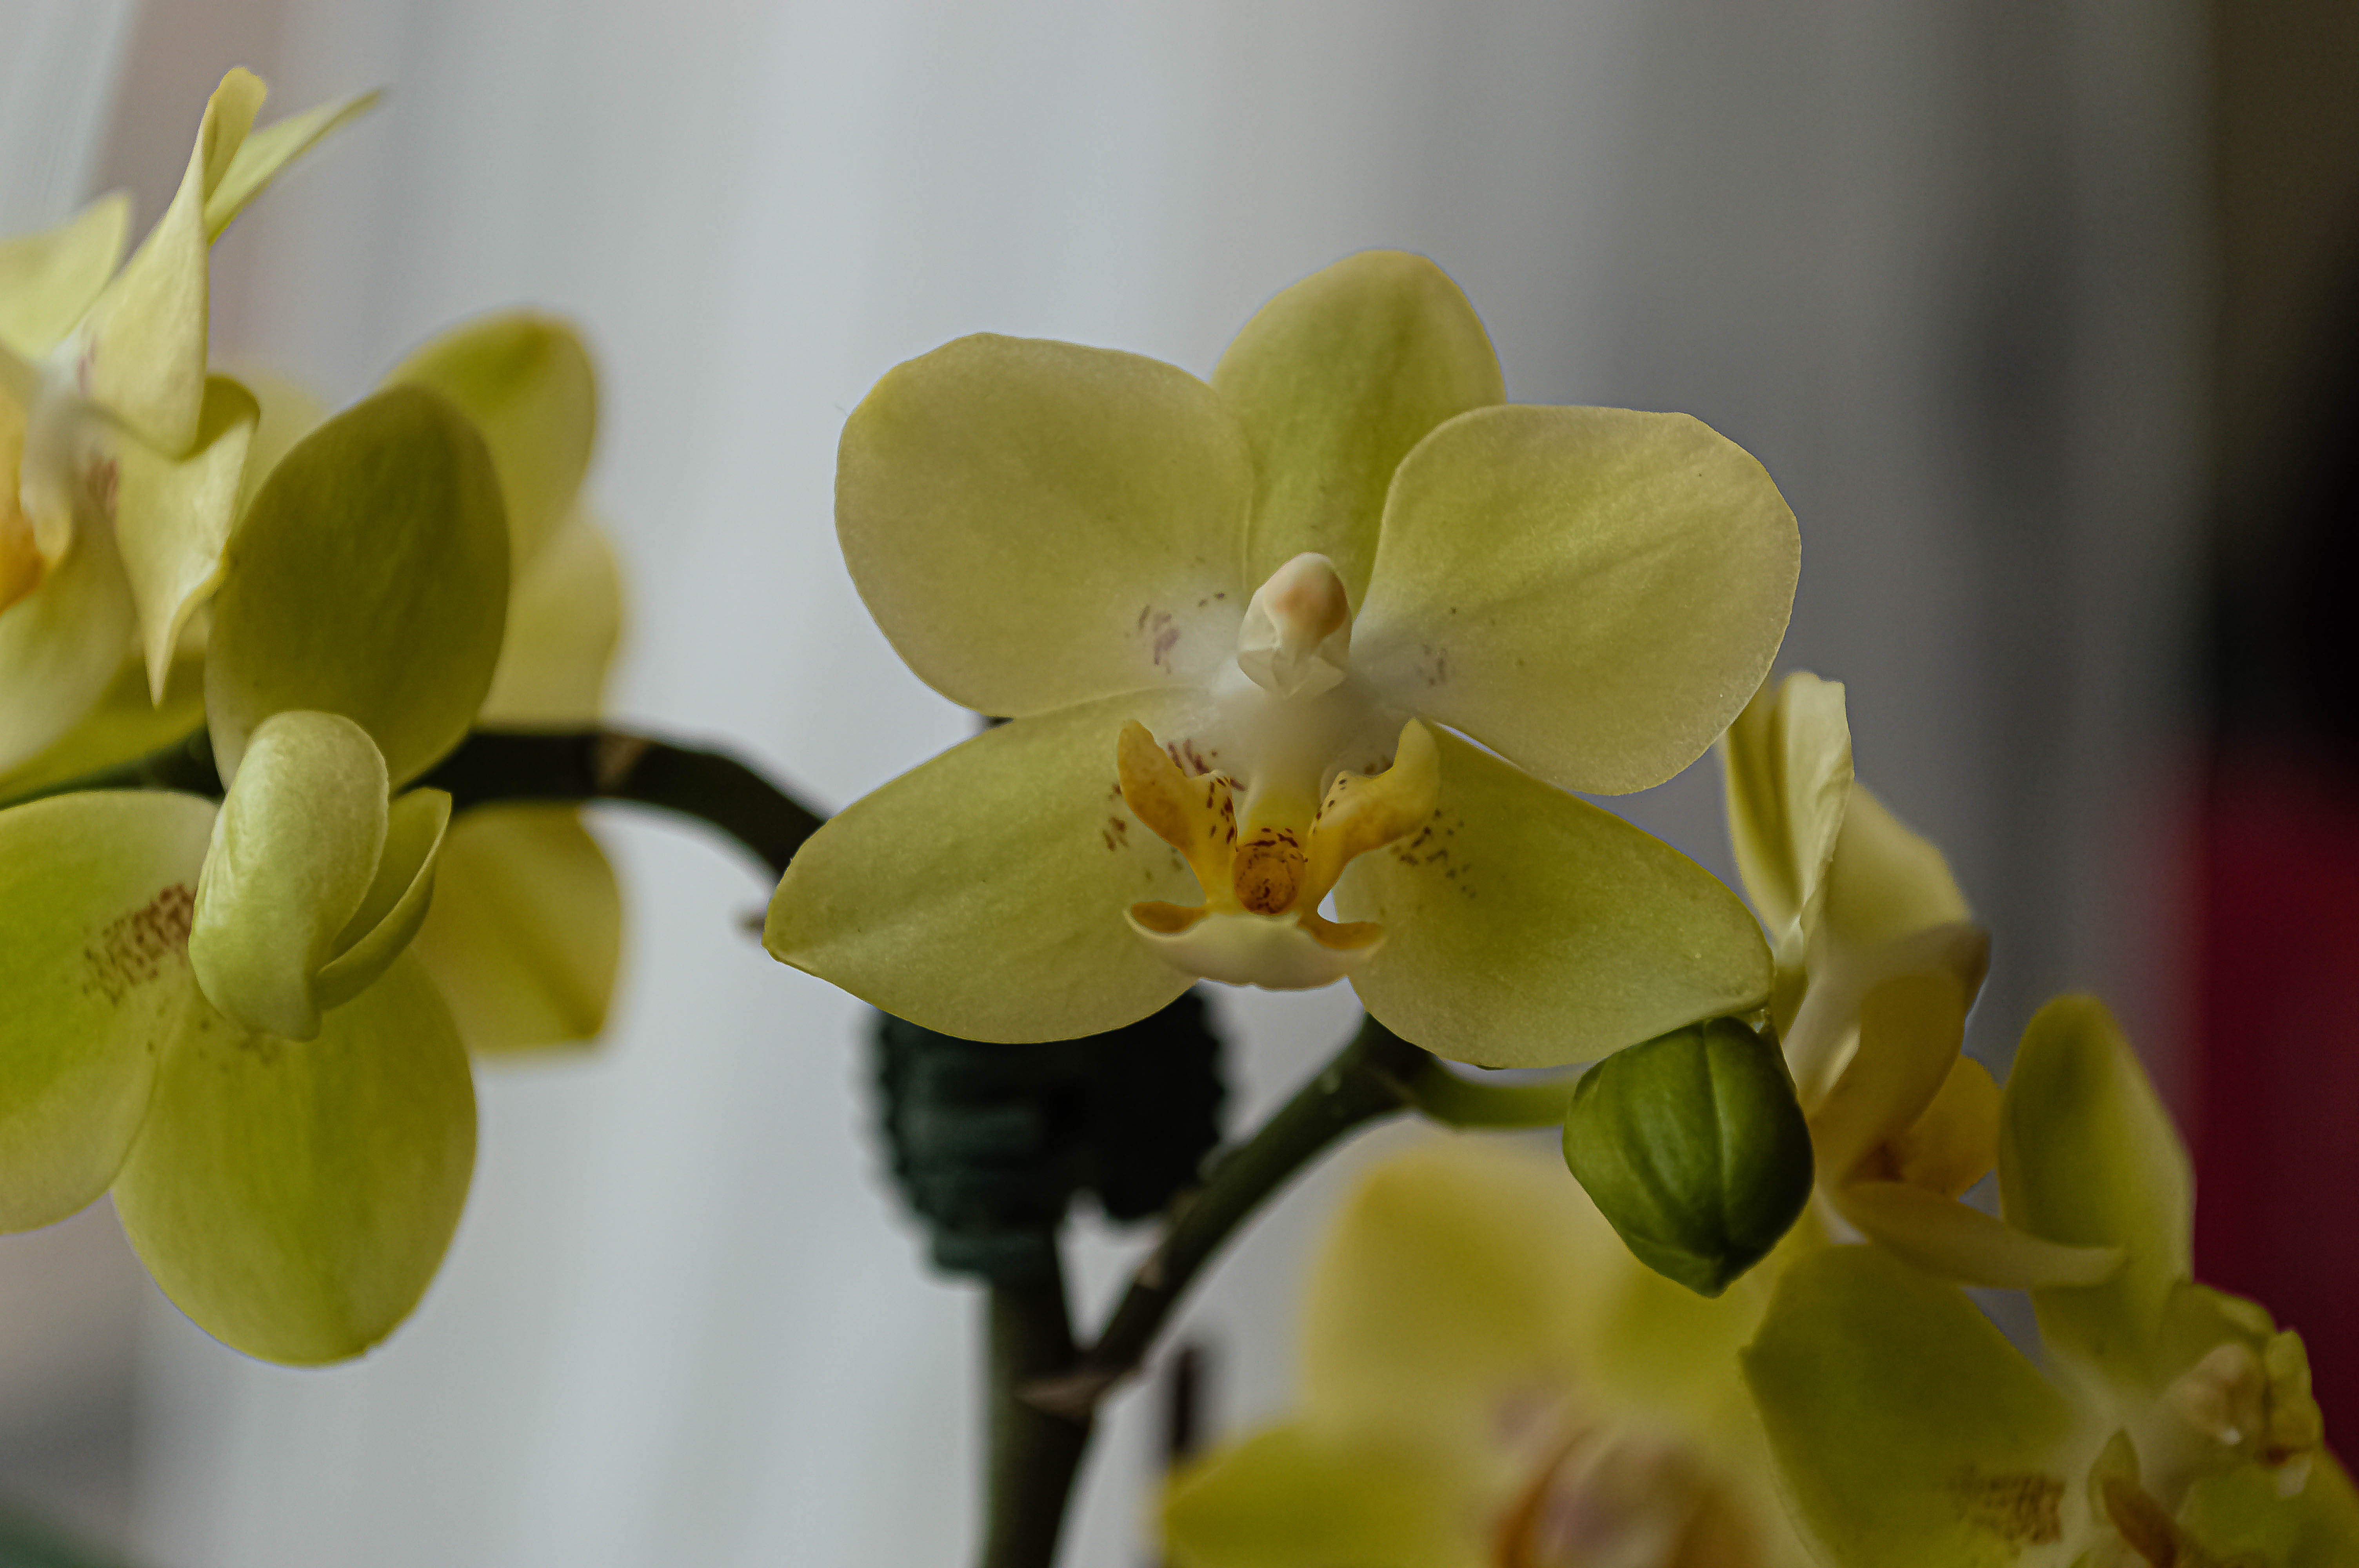
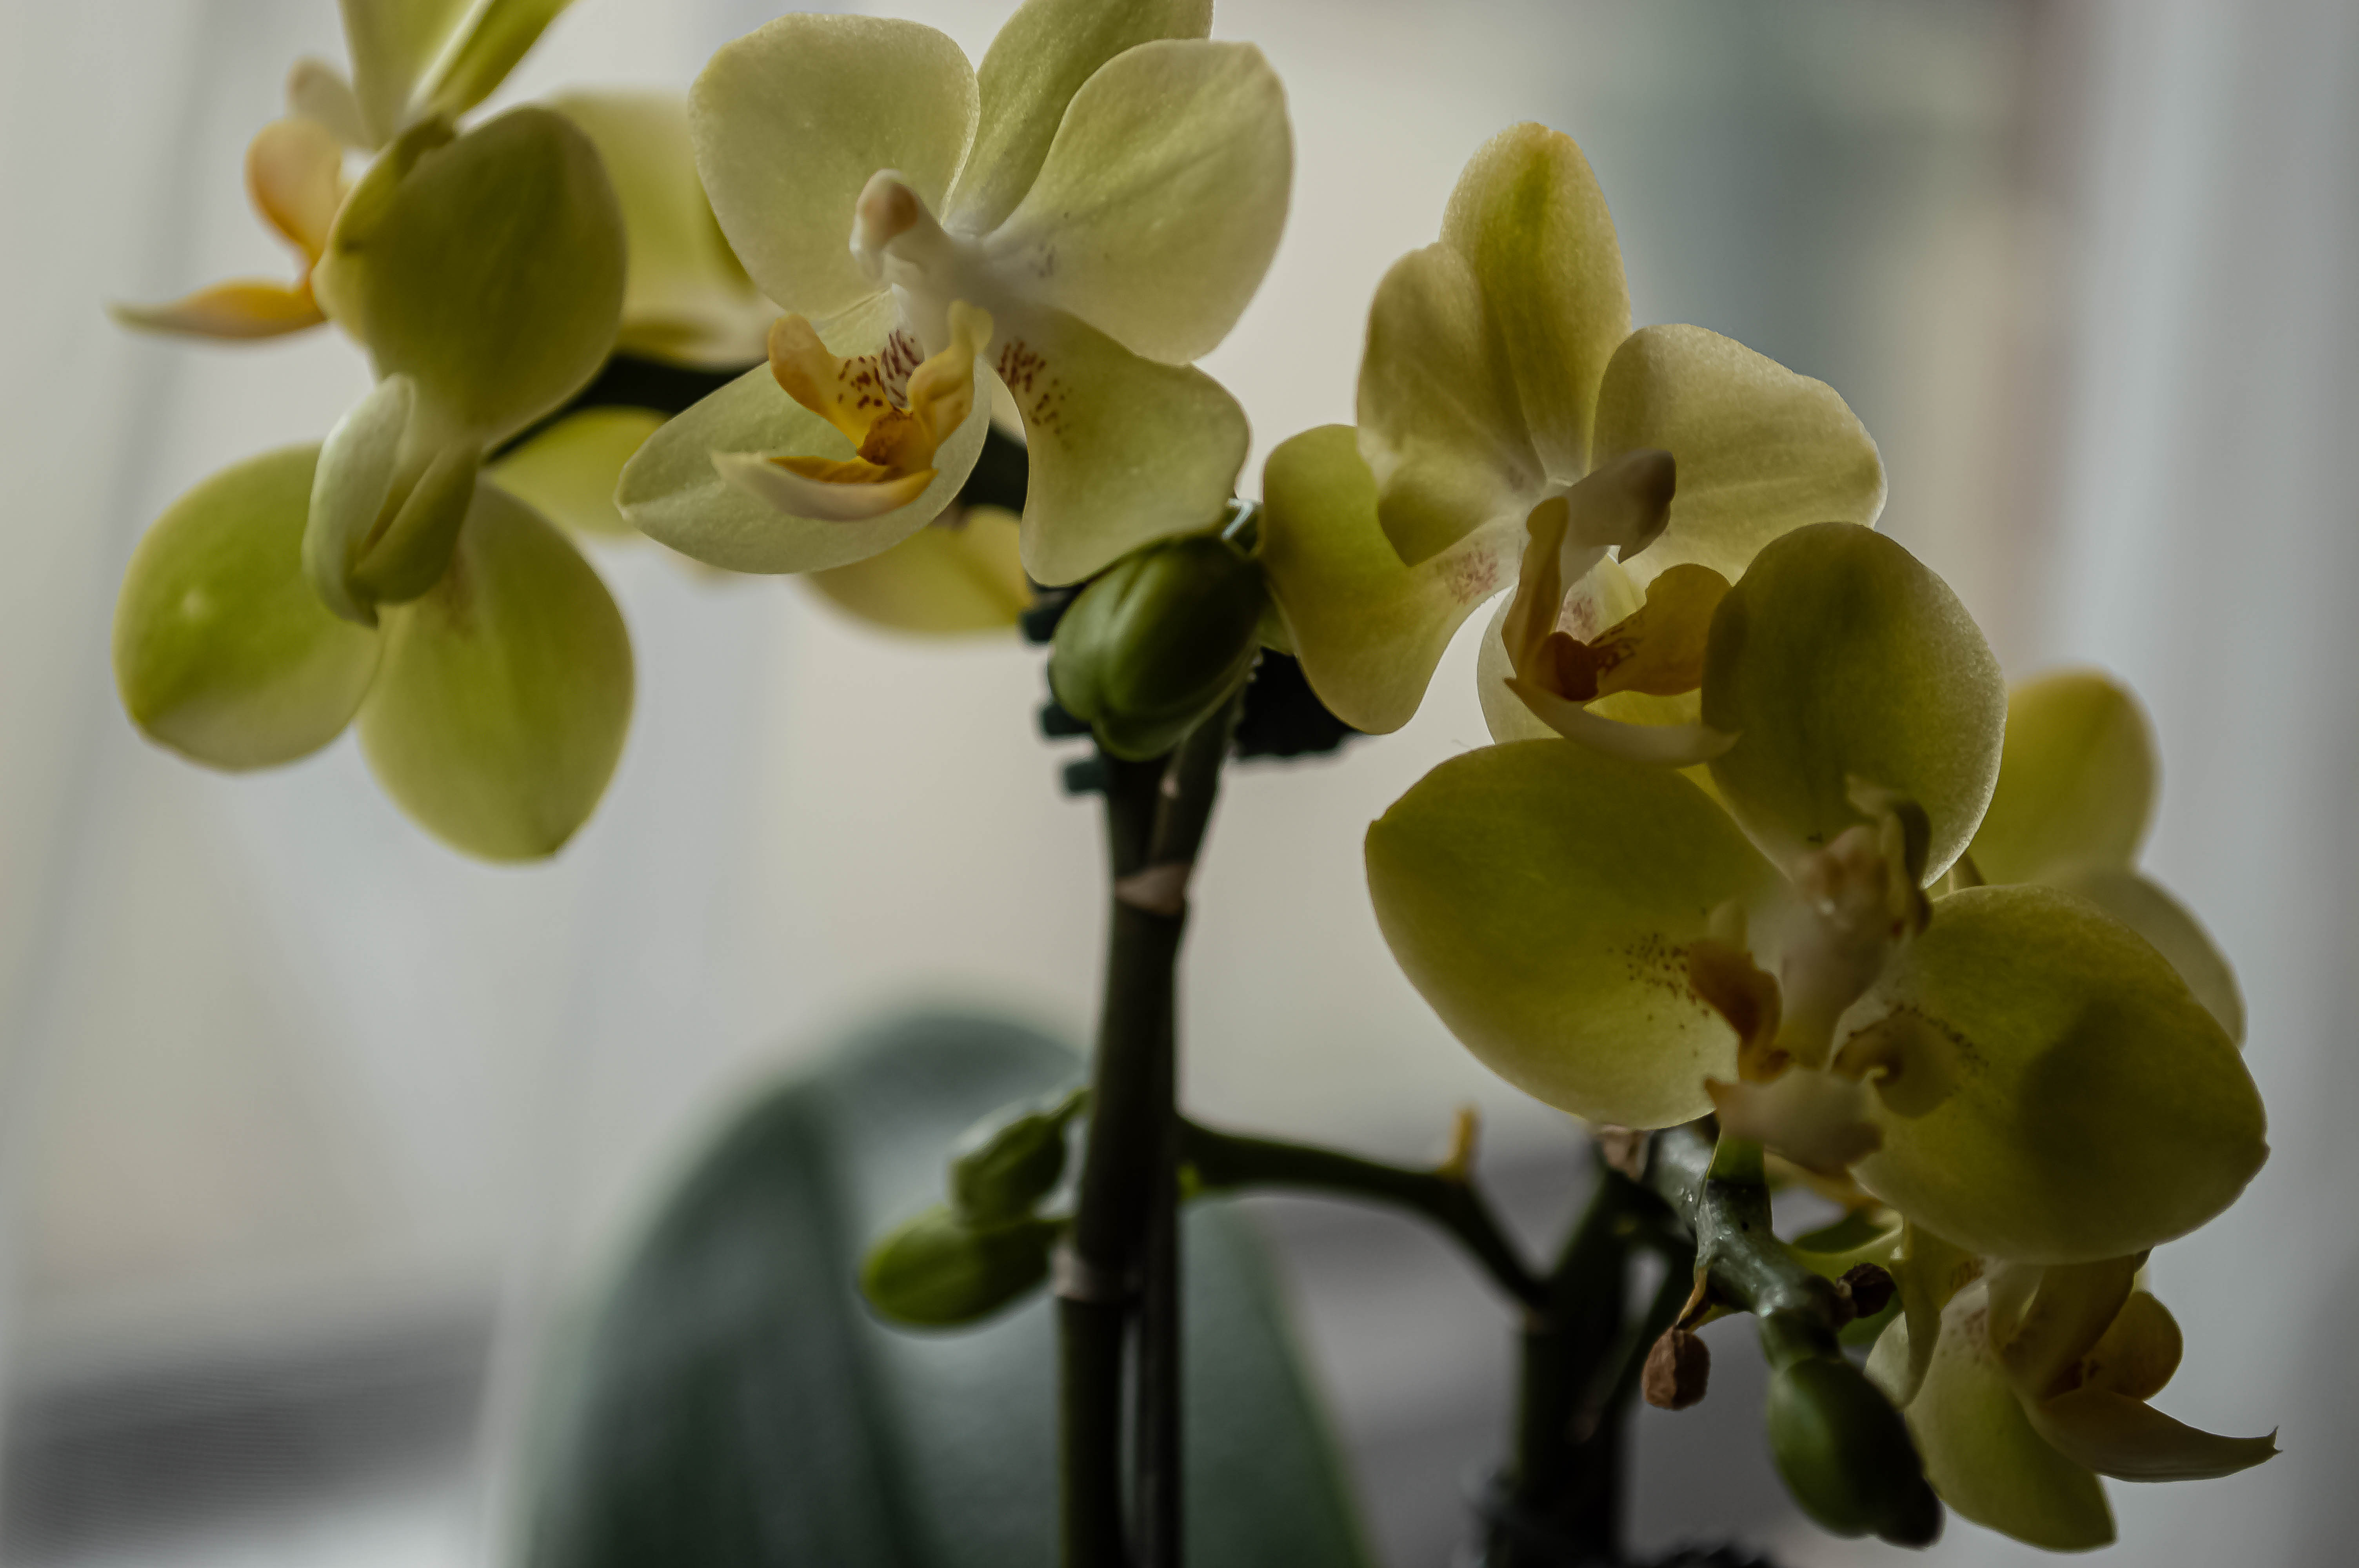
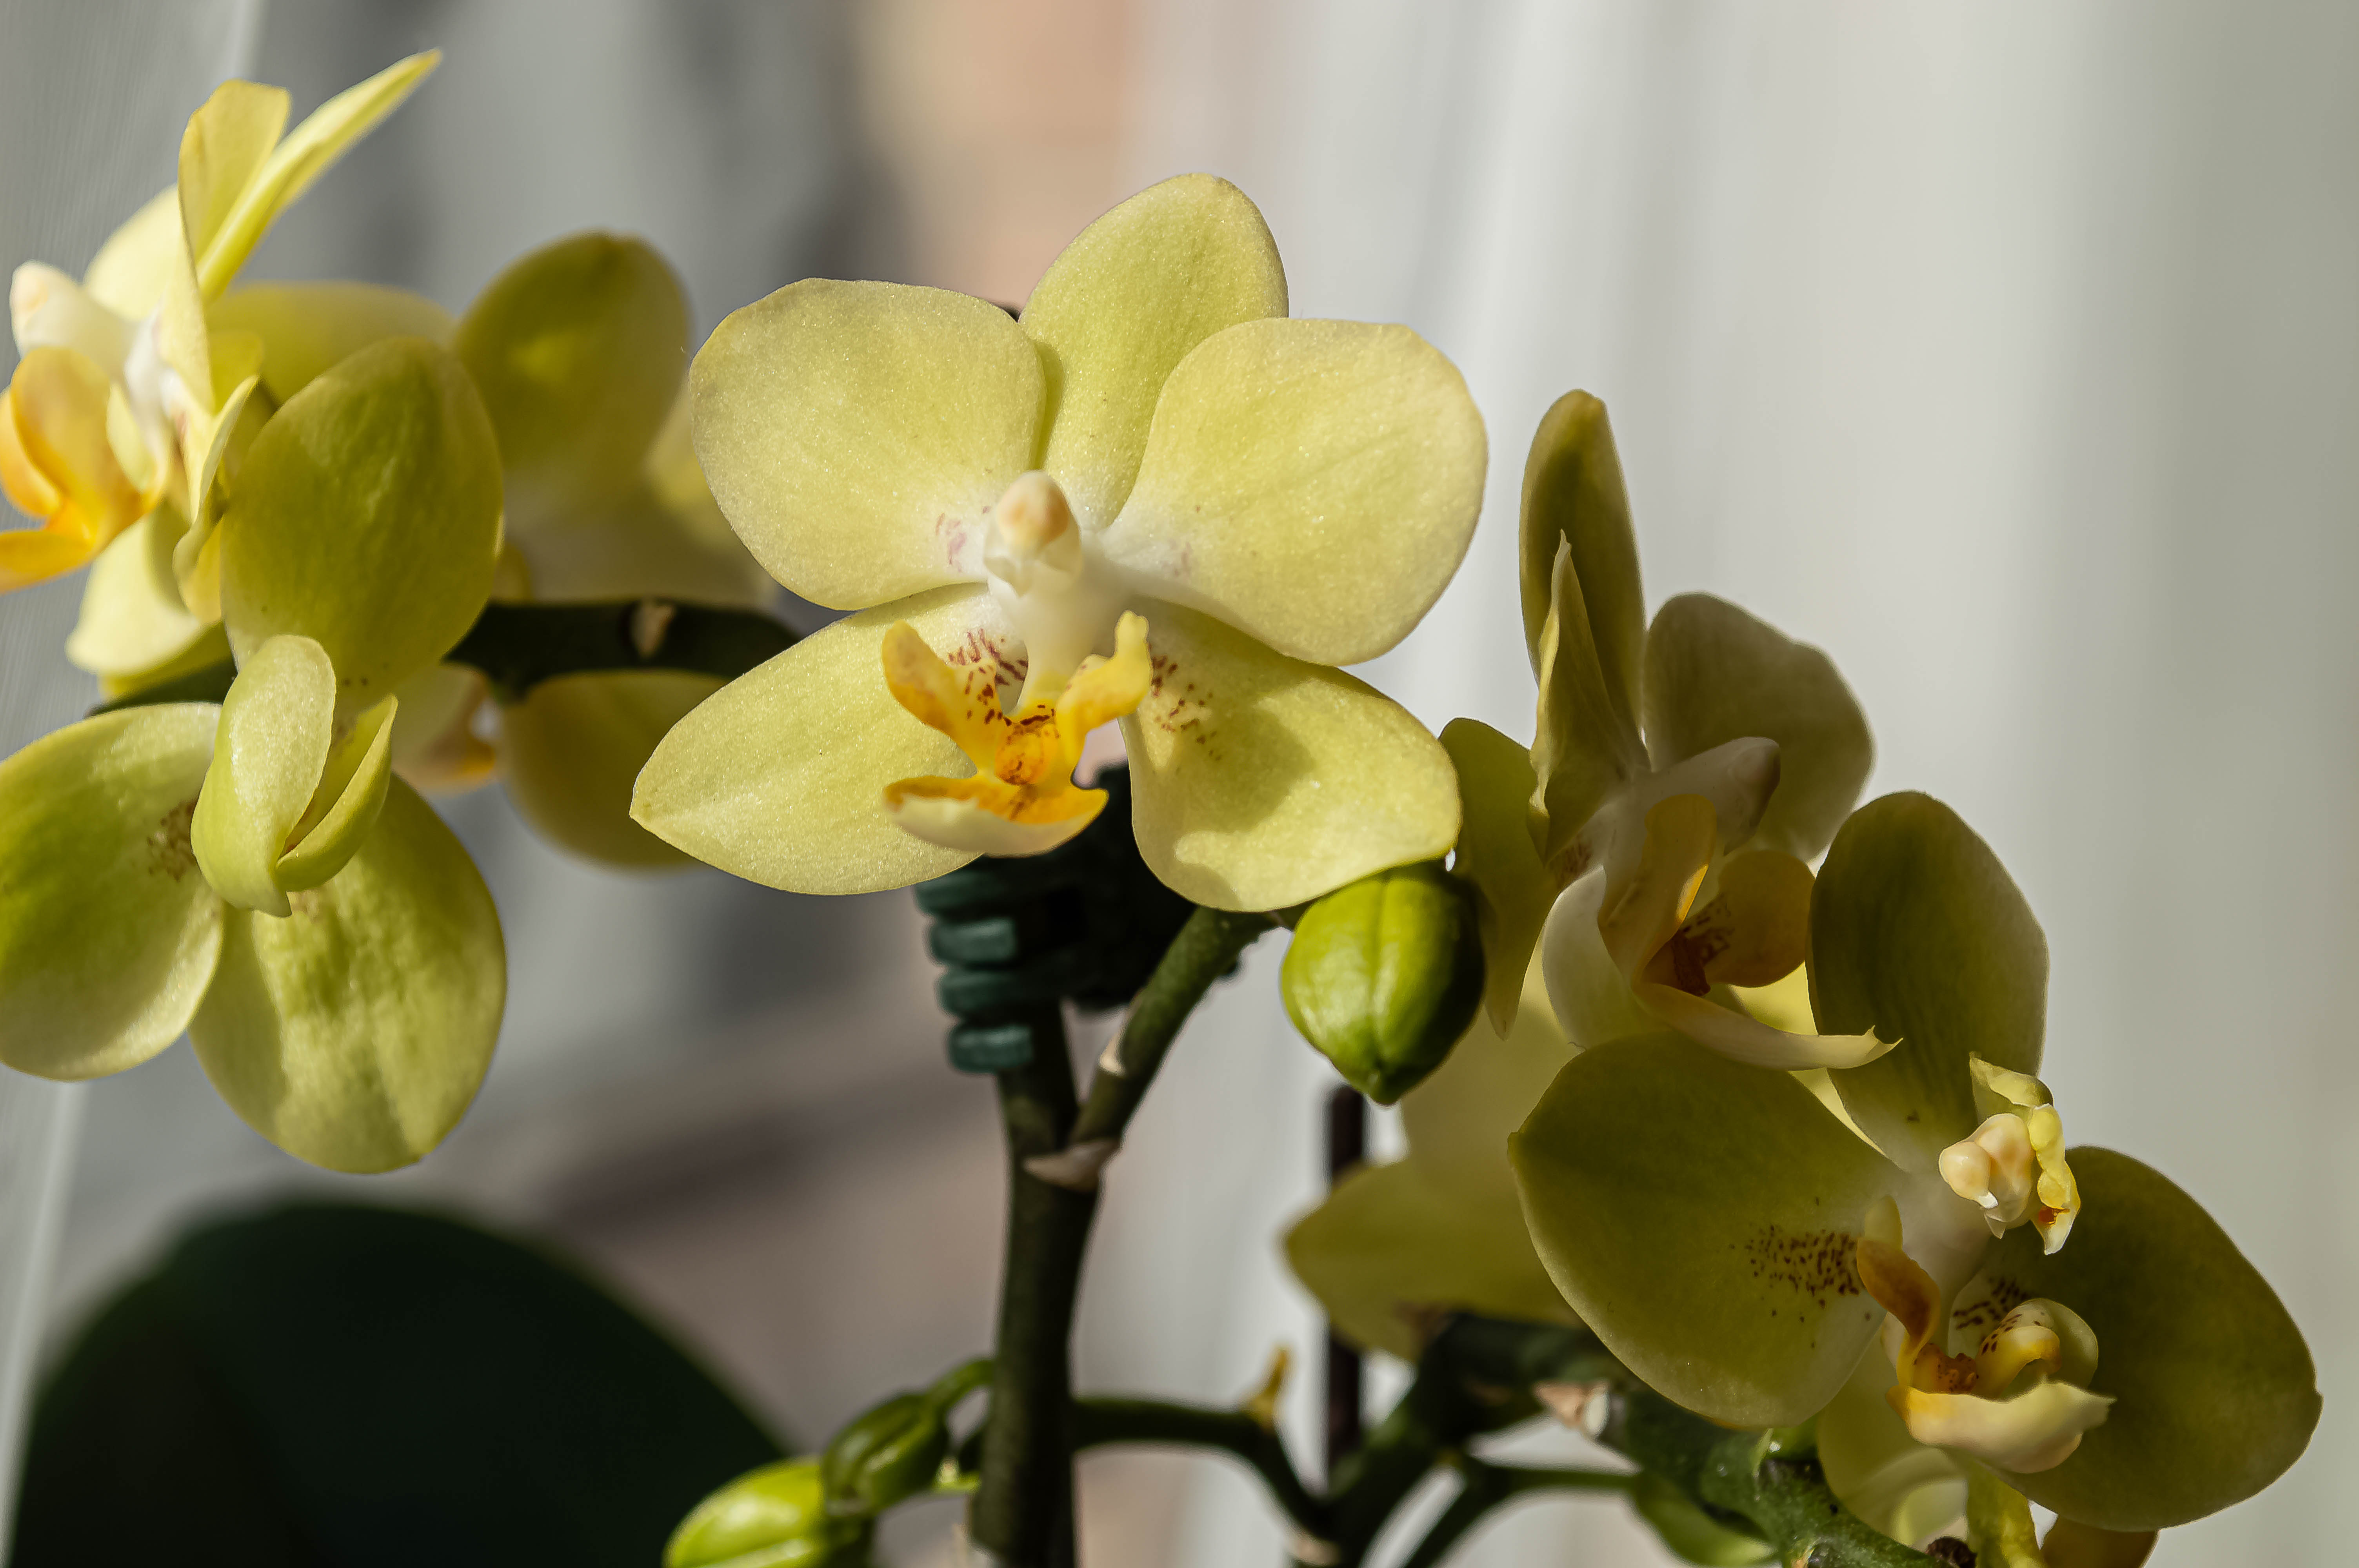
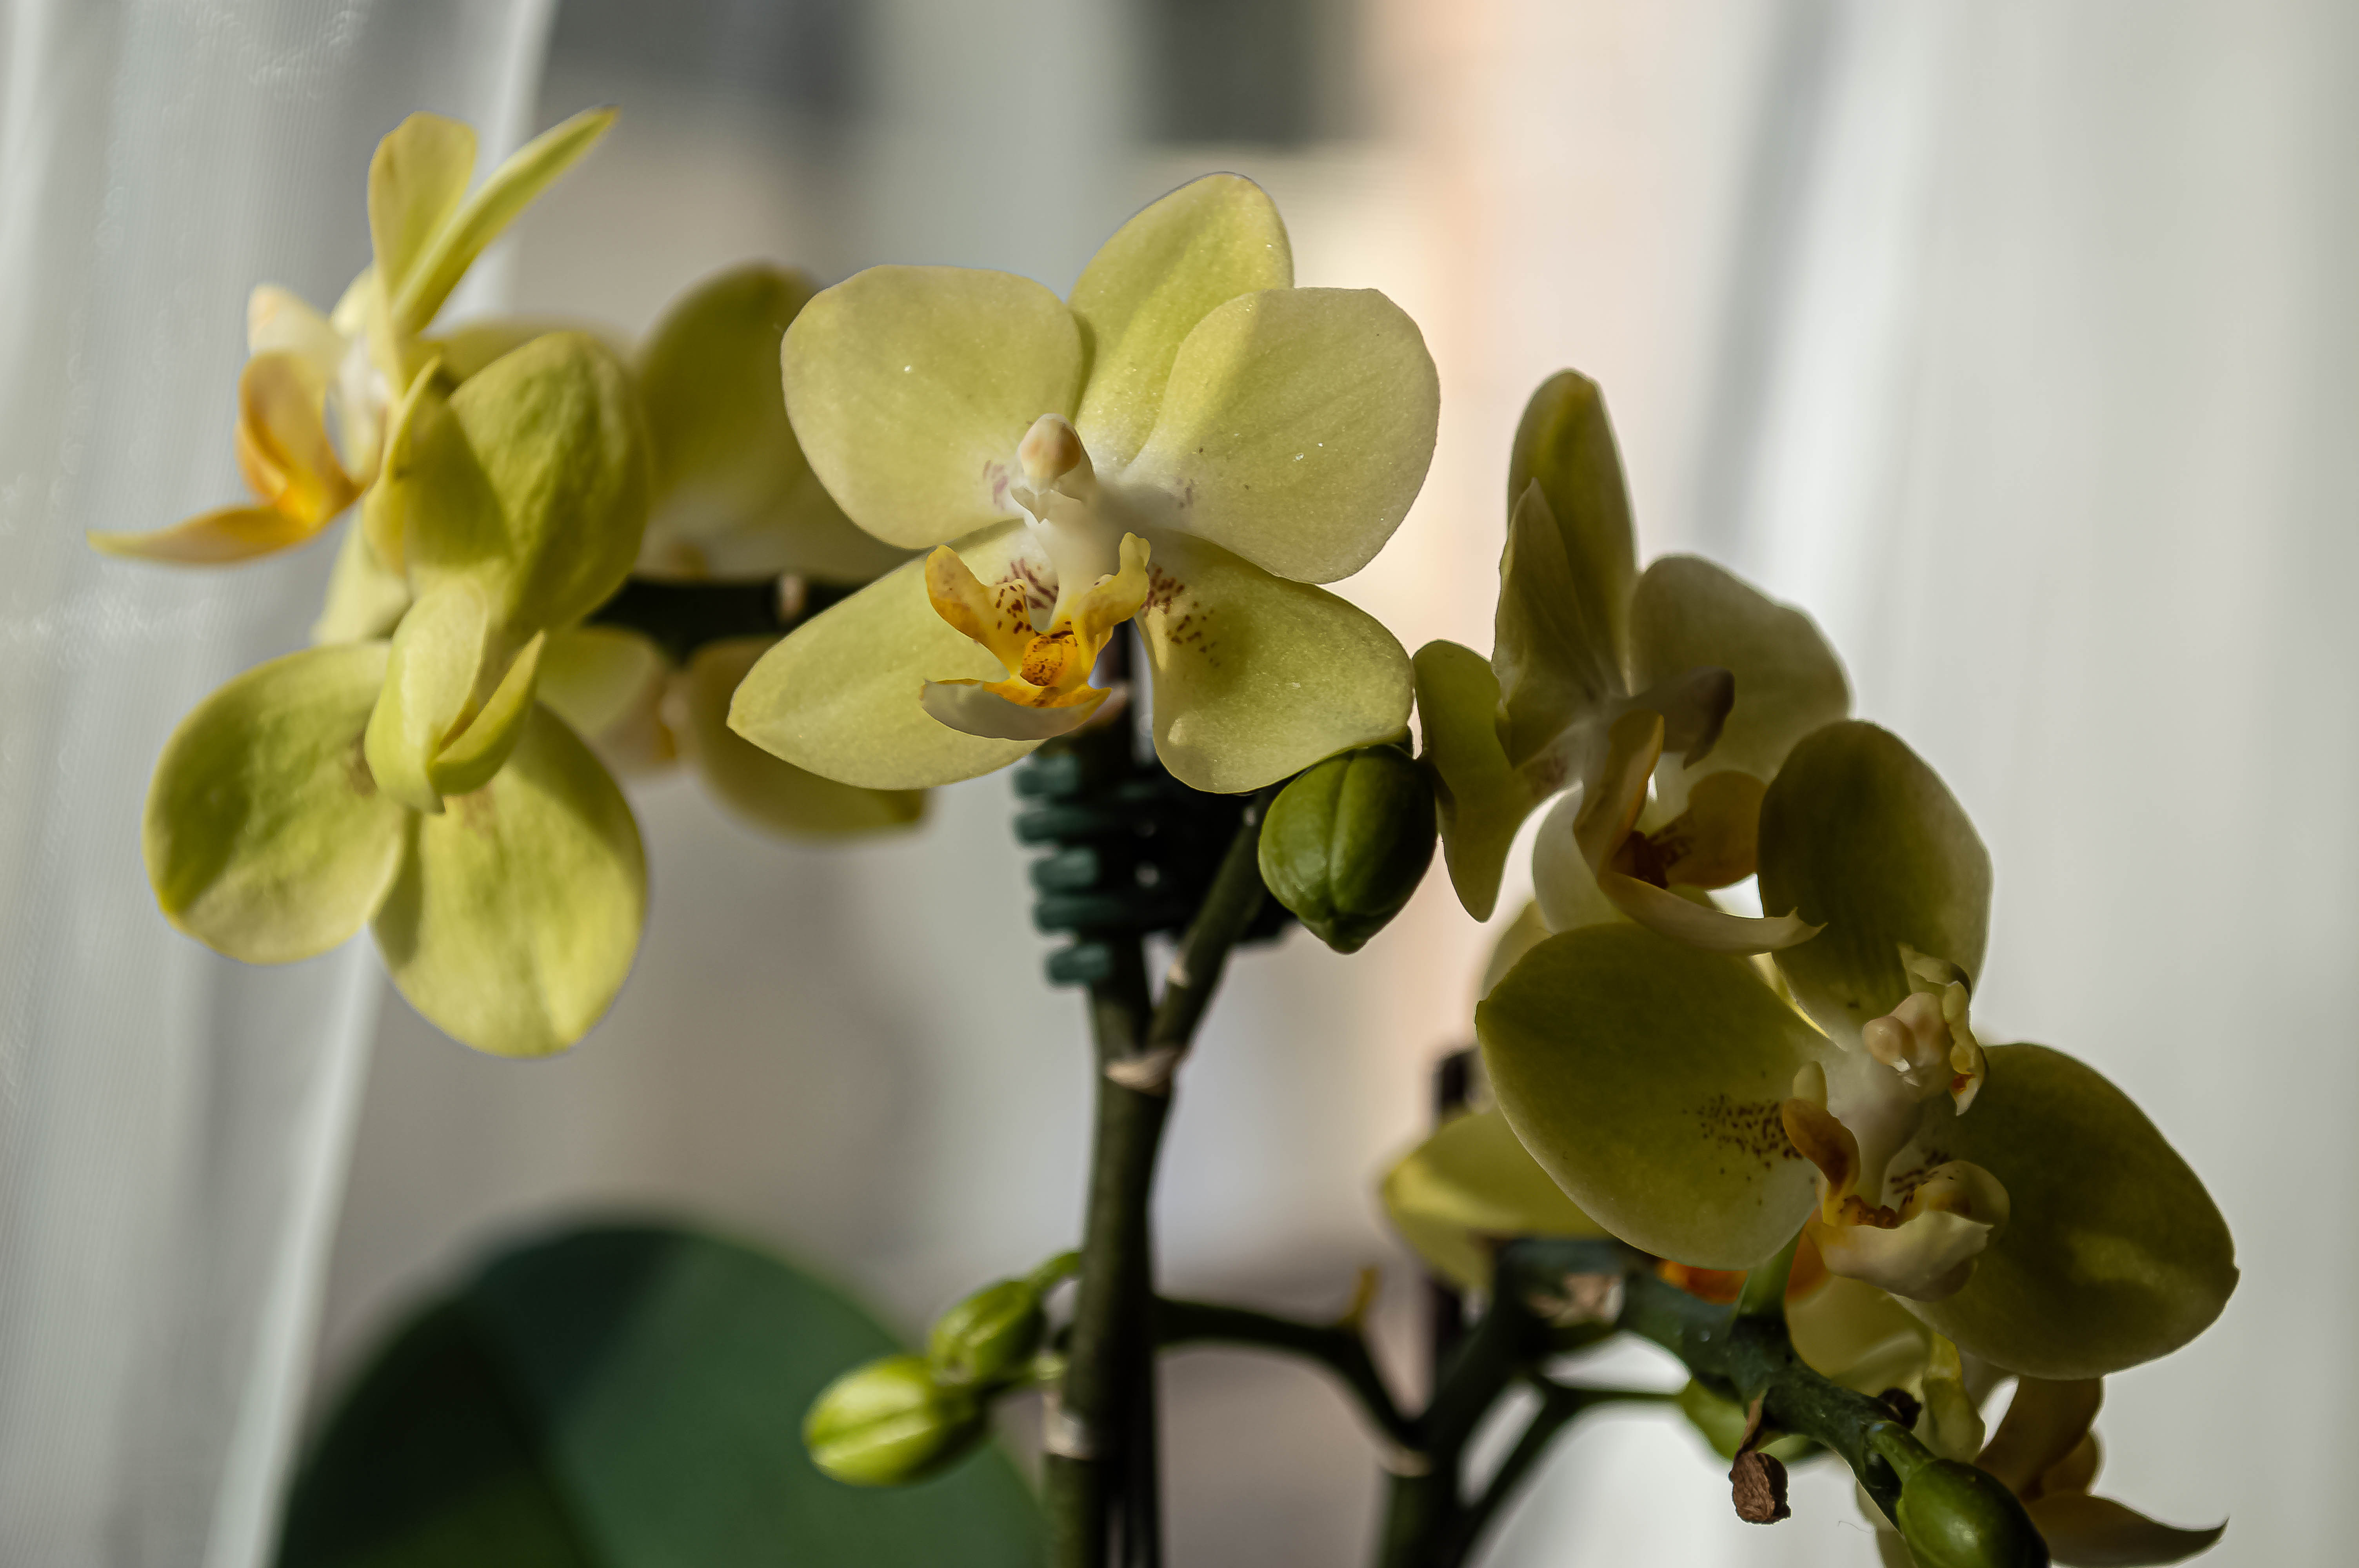
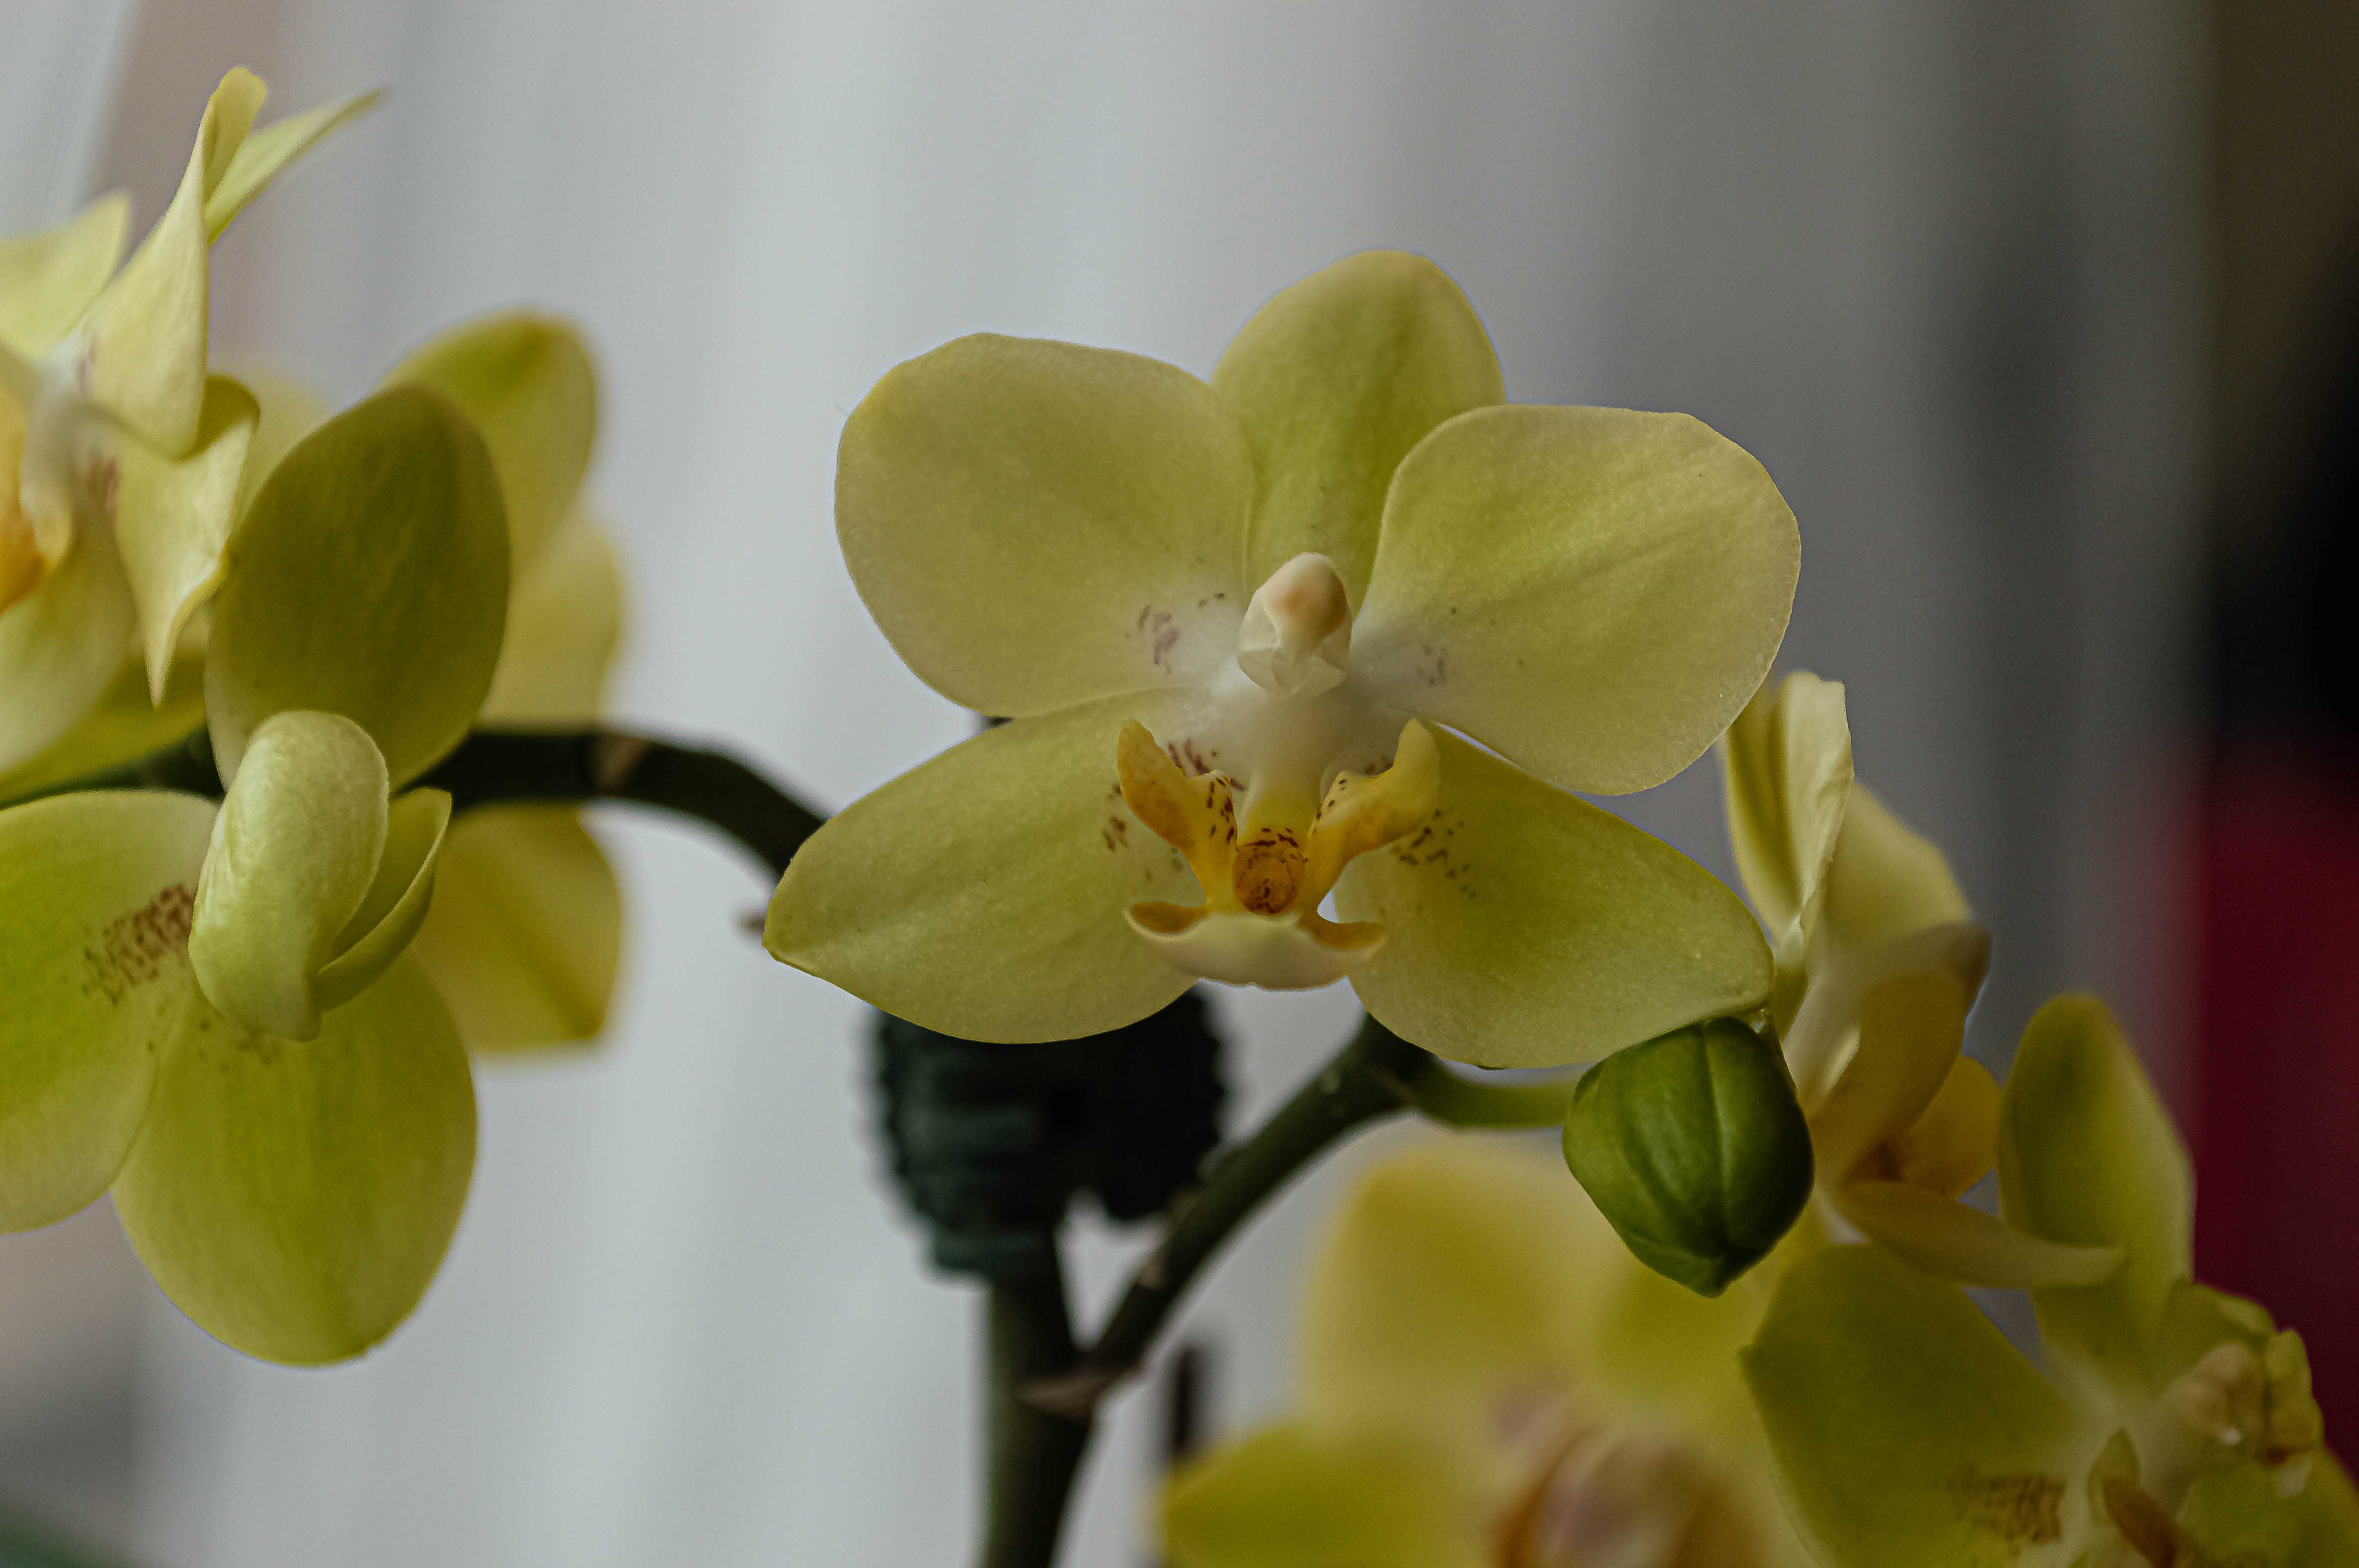
For this activity I chose my favourite plant. I was actually quite fortunate with changing light during the day as we had cloud cover and brilliant sunlight at various times ranging from 8.30am to 3.18pm. The most noticeable changes were in colour hue and intensity of light with the changes in conditions and with the strength of light coming in the window. The light cast shade and illuminated different parts of the orchids depending whether there was brilliant sunlight or more muted light with cloud cover.