ISO …….what is it?
ISO is one of the most important aspects alongside Shutter Speed and Aperture.
If you can master ISO then congratulations as you’re now one step closer to acing manual mode on your camera.
When I started taking photos with SLRs over two decades ago in art classes at school ( yes I’m older than the internet and probably dinosaurs) there was Black and White film processed in a dark room and mini lab processing for Colour C41 films ( Wikipedia :- C-41 is a chromogenic color print film developing process introduced by Kodak in 1972, superseding the C-22 process. C-41, also known as CN-16 by Fuji, CNK-4 by Konica, and AP-70 by AGFA, is the most popular filmprocess in use, with most photofinishing labs devoting at least one machine to this development process.) ISO was a very critical part of photography which included selecting the right film as well as the right ISO setting on the dial of the camera.
But I digress, A lot of people are confused as to what ISO is, how it works, and how they should use it.
ISO stands for International Organisation Standardisation and gauges how sensitive your camera image sensor is to light or to how sensitive film is to light if your using film.
ISO is important in getting a correct exposure, with the right level of sharpness to illustrate your image, choose the wrong ISO and it can ruin your picture.
On DSLRs and mirrorless cameras (and also some compact cameras) there is an ISO setting that can be adjusted ranging anywhere from between 100 to 12,800 or greater depending on your camera. ISO numbers, or “stops”, go up in incremental amounts, doubling your sensor’s sensitivity.
stop sequence :
- 100,
- 200,
- 400,
- 800,
- 1600,
- 3200,
- 6400, and so on
The higher the ISO, the more chance you have of a loss of definition at the edges of objects or noise into the image.
Activity 6.1: ISO test
Our first activity for this module is to experiment with different ISO settings in order to test your camera’s limitations and assess image quality.
Capture a scene or subject of your choice in good, even lighting with your ISO set at its lowest value. Take a series of images, each time increasing the ISO by one stop (e.g. 100, 200, 400, 800, 1600).
Repeat the activity in different lighting conditions, using different scenes and subjects, and compare the results.
At which ISO setting did quality begin to noticeably suffer? Was digital noise more obvious in certain images or in specific lighting? How would you describe your camera’s high ISO capabilities?
The Results
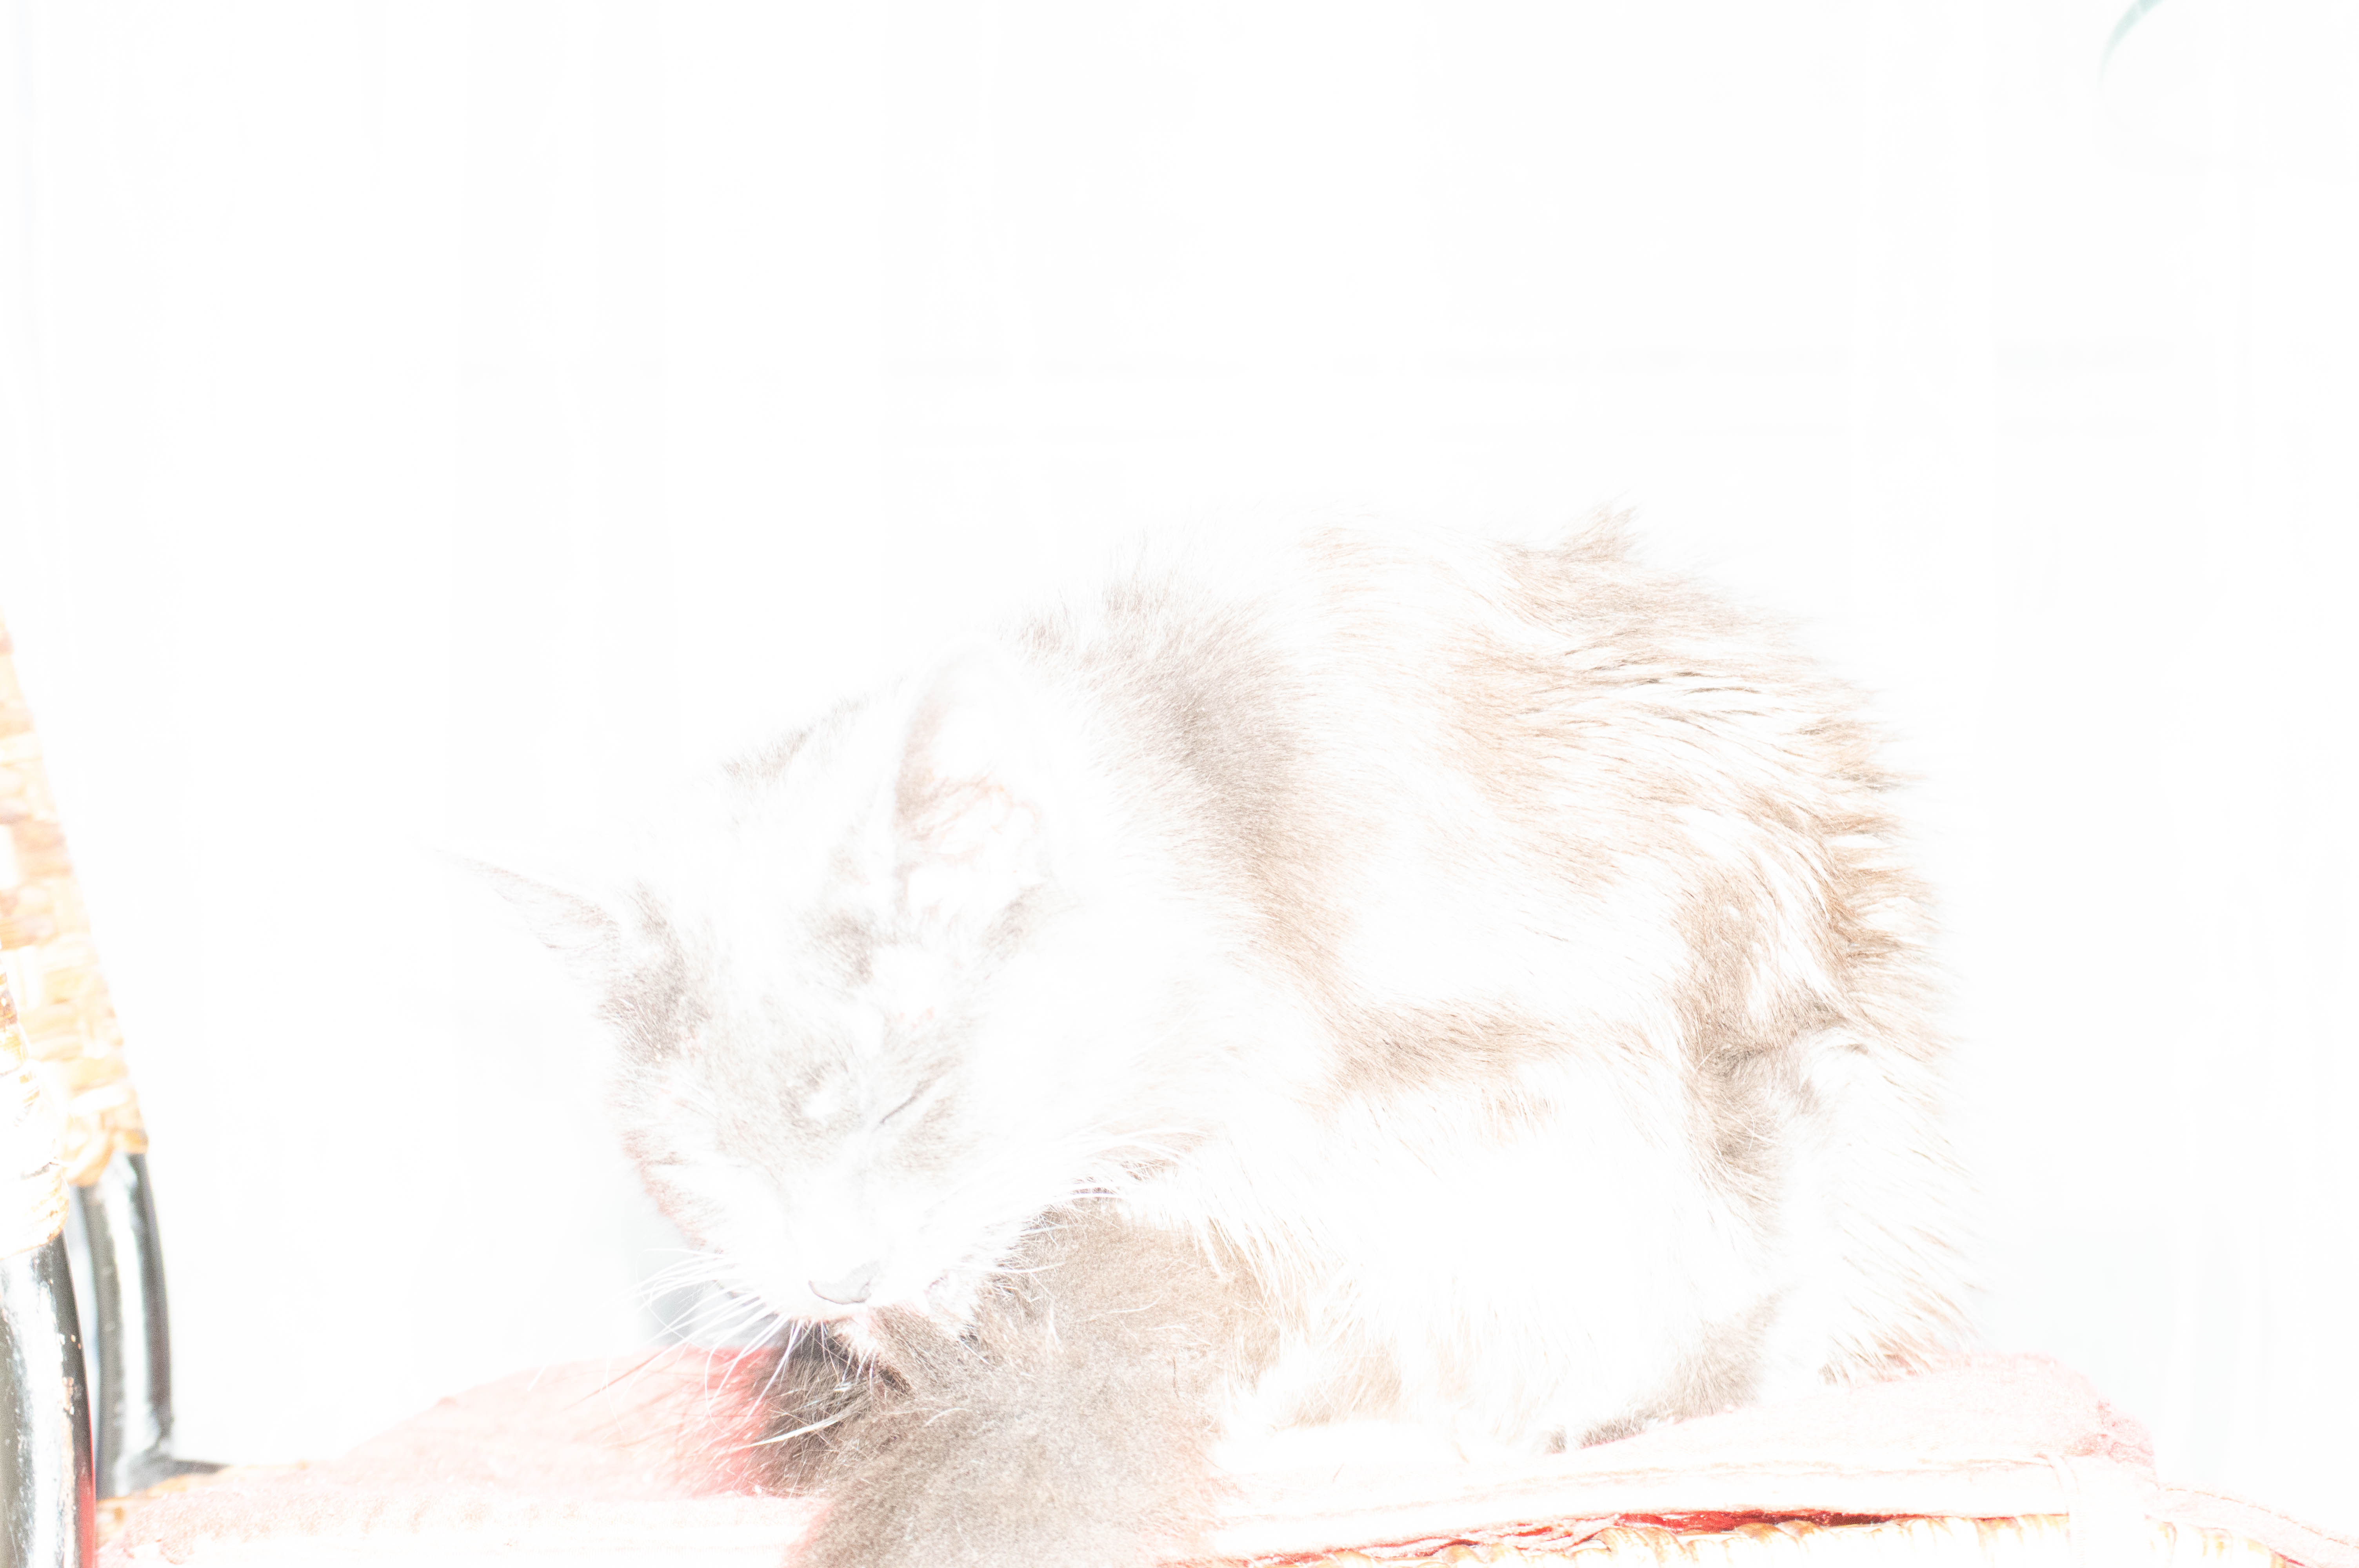
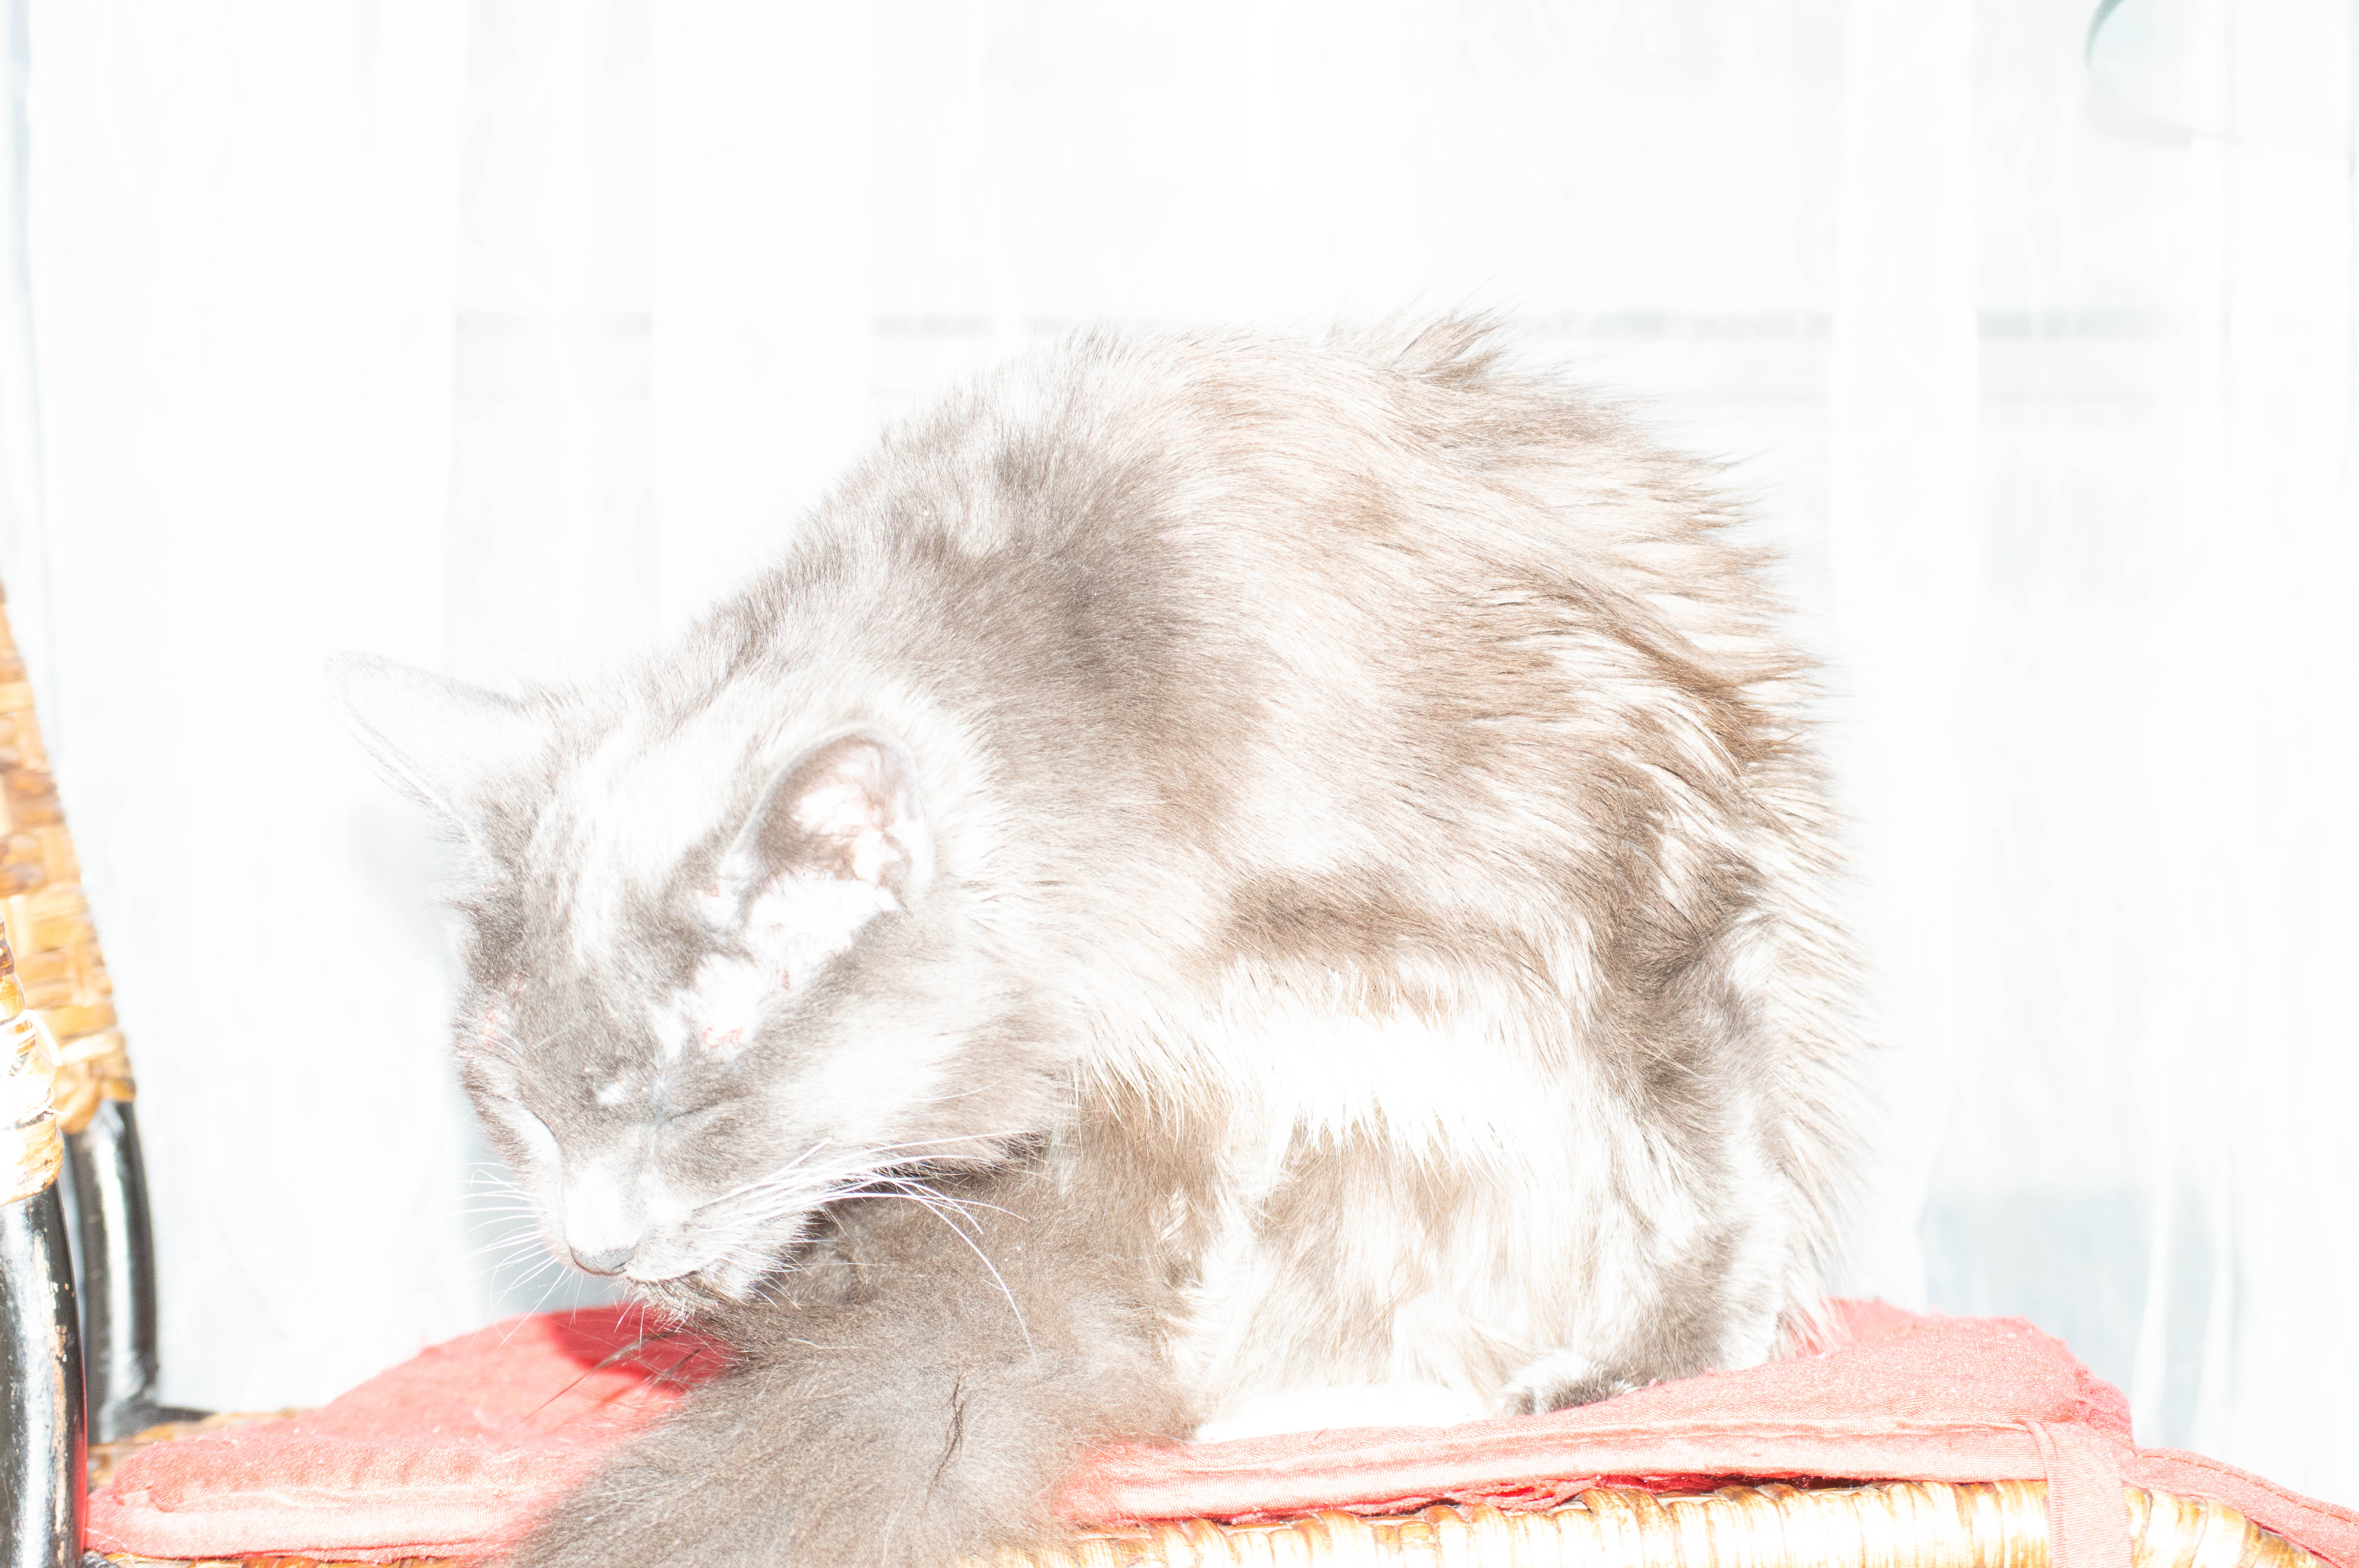
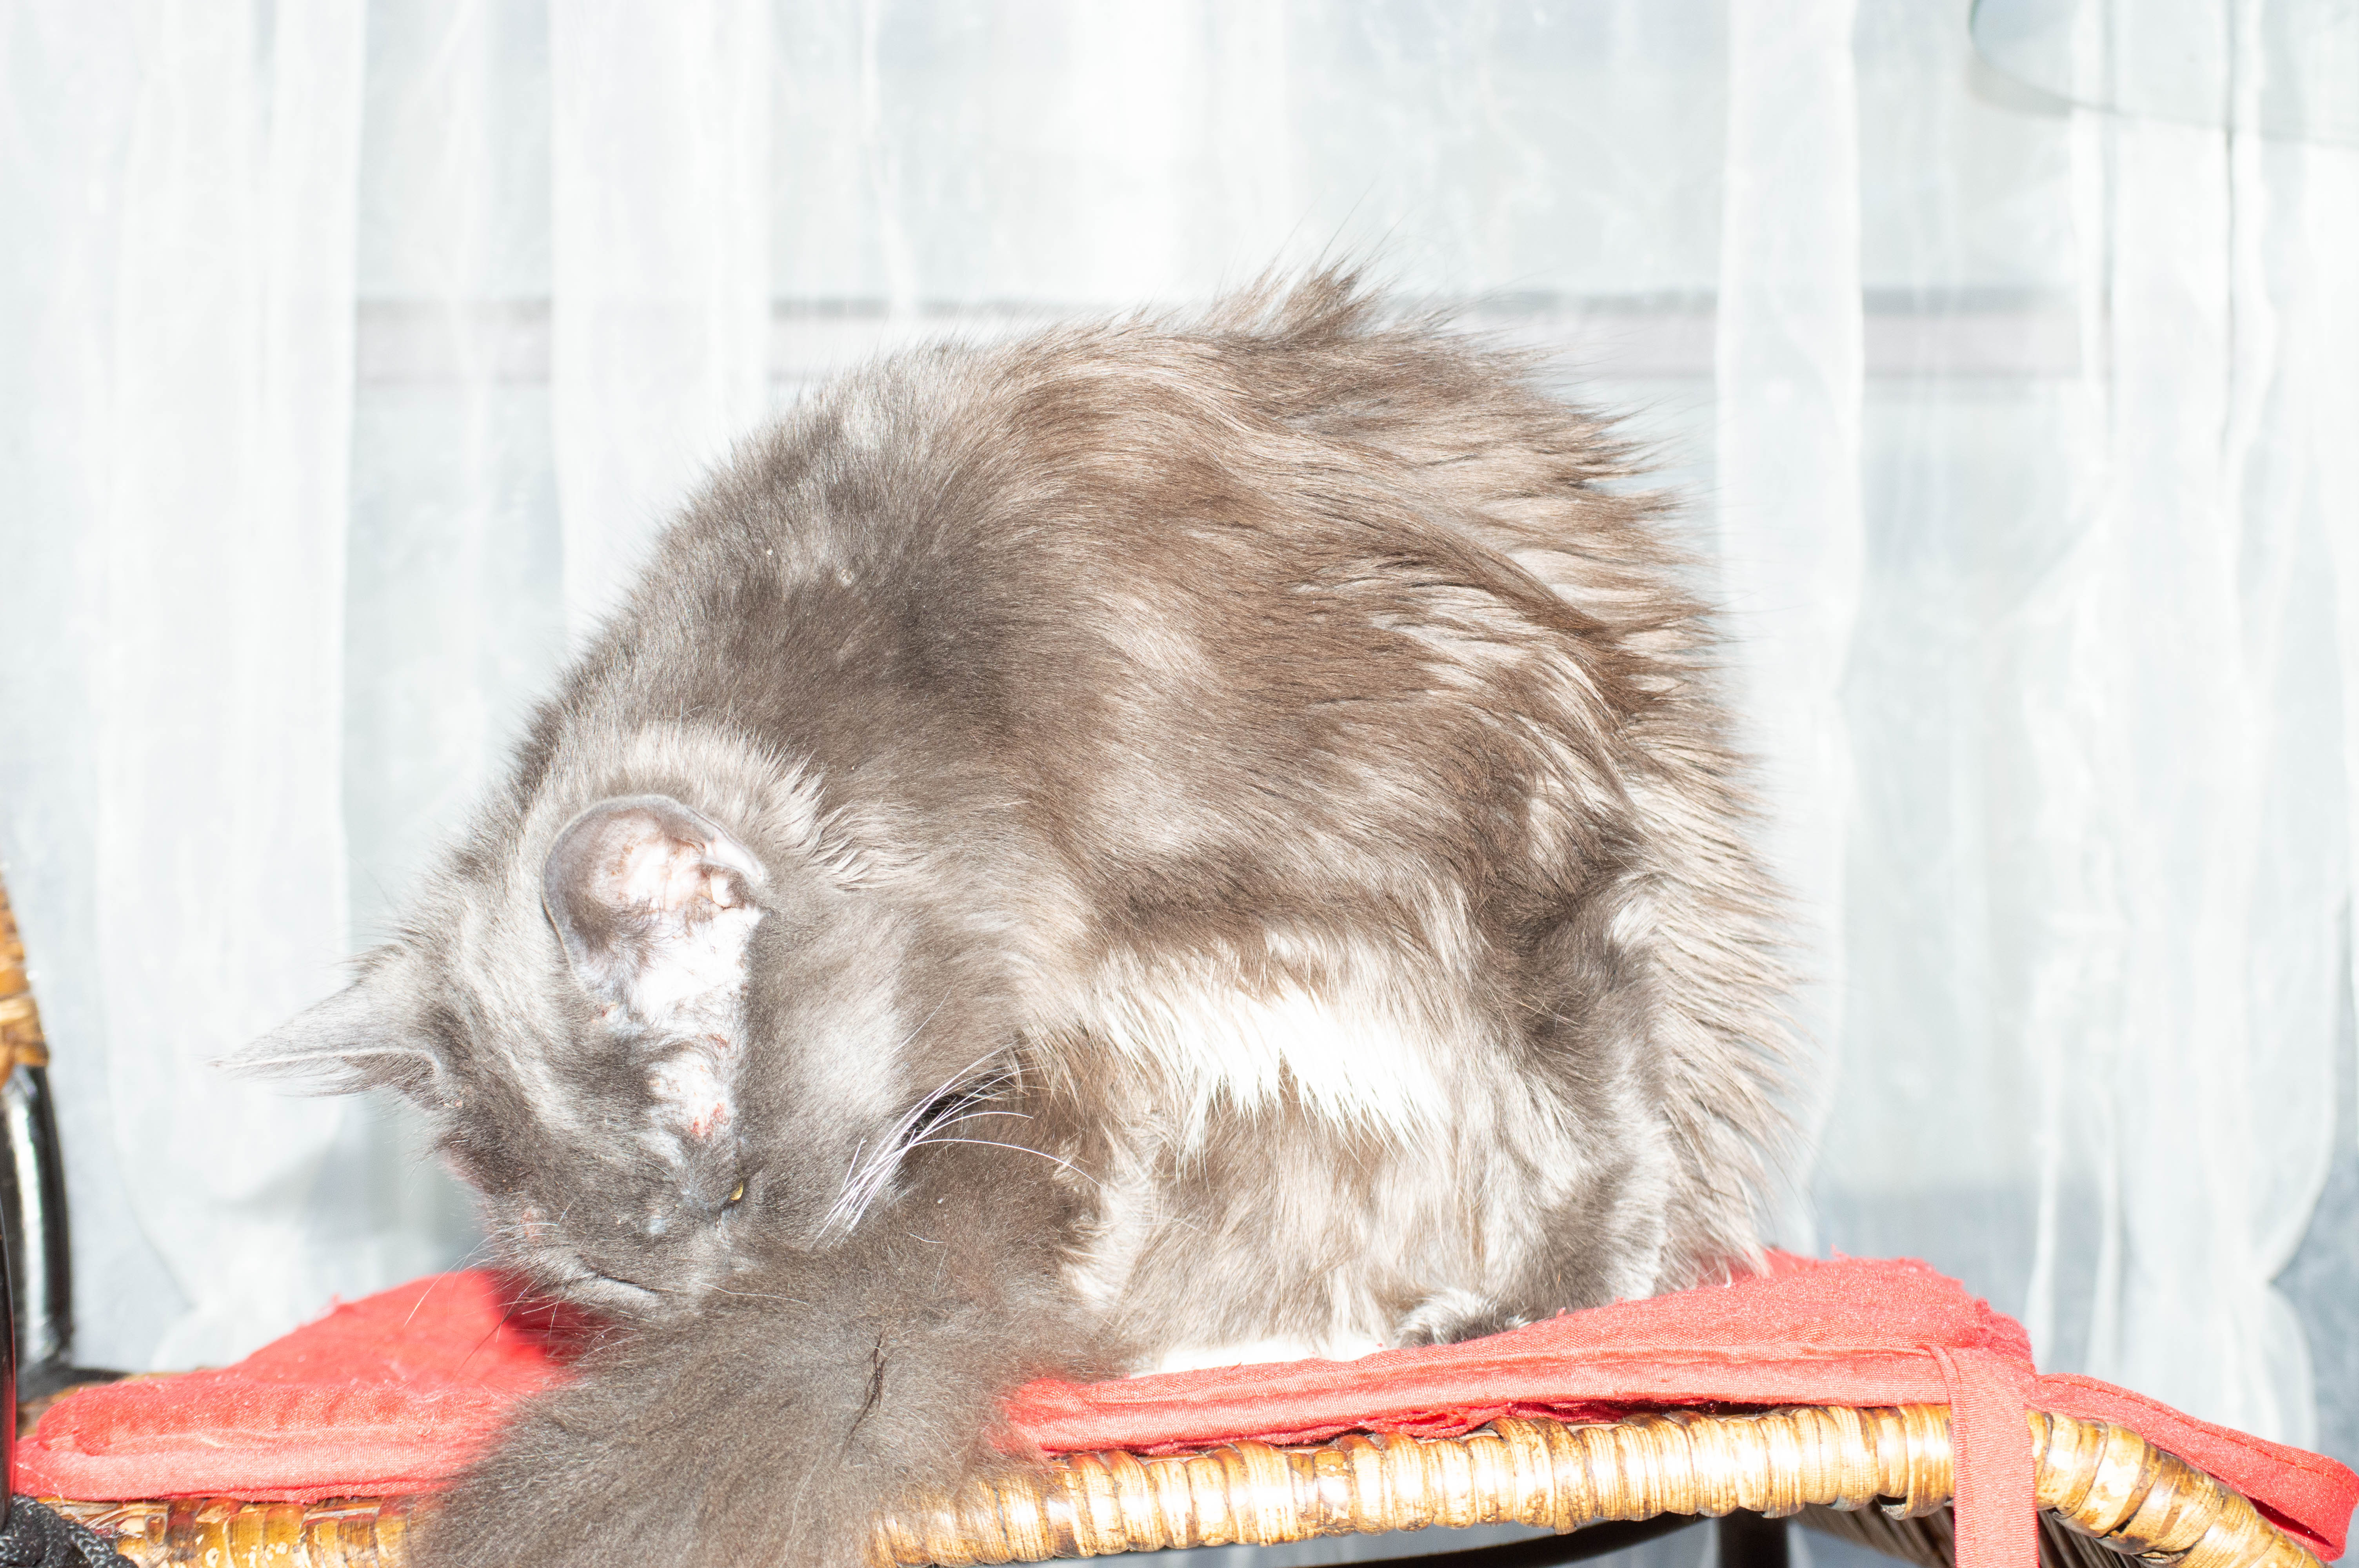
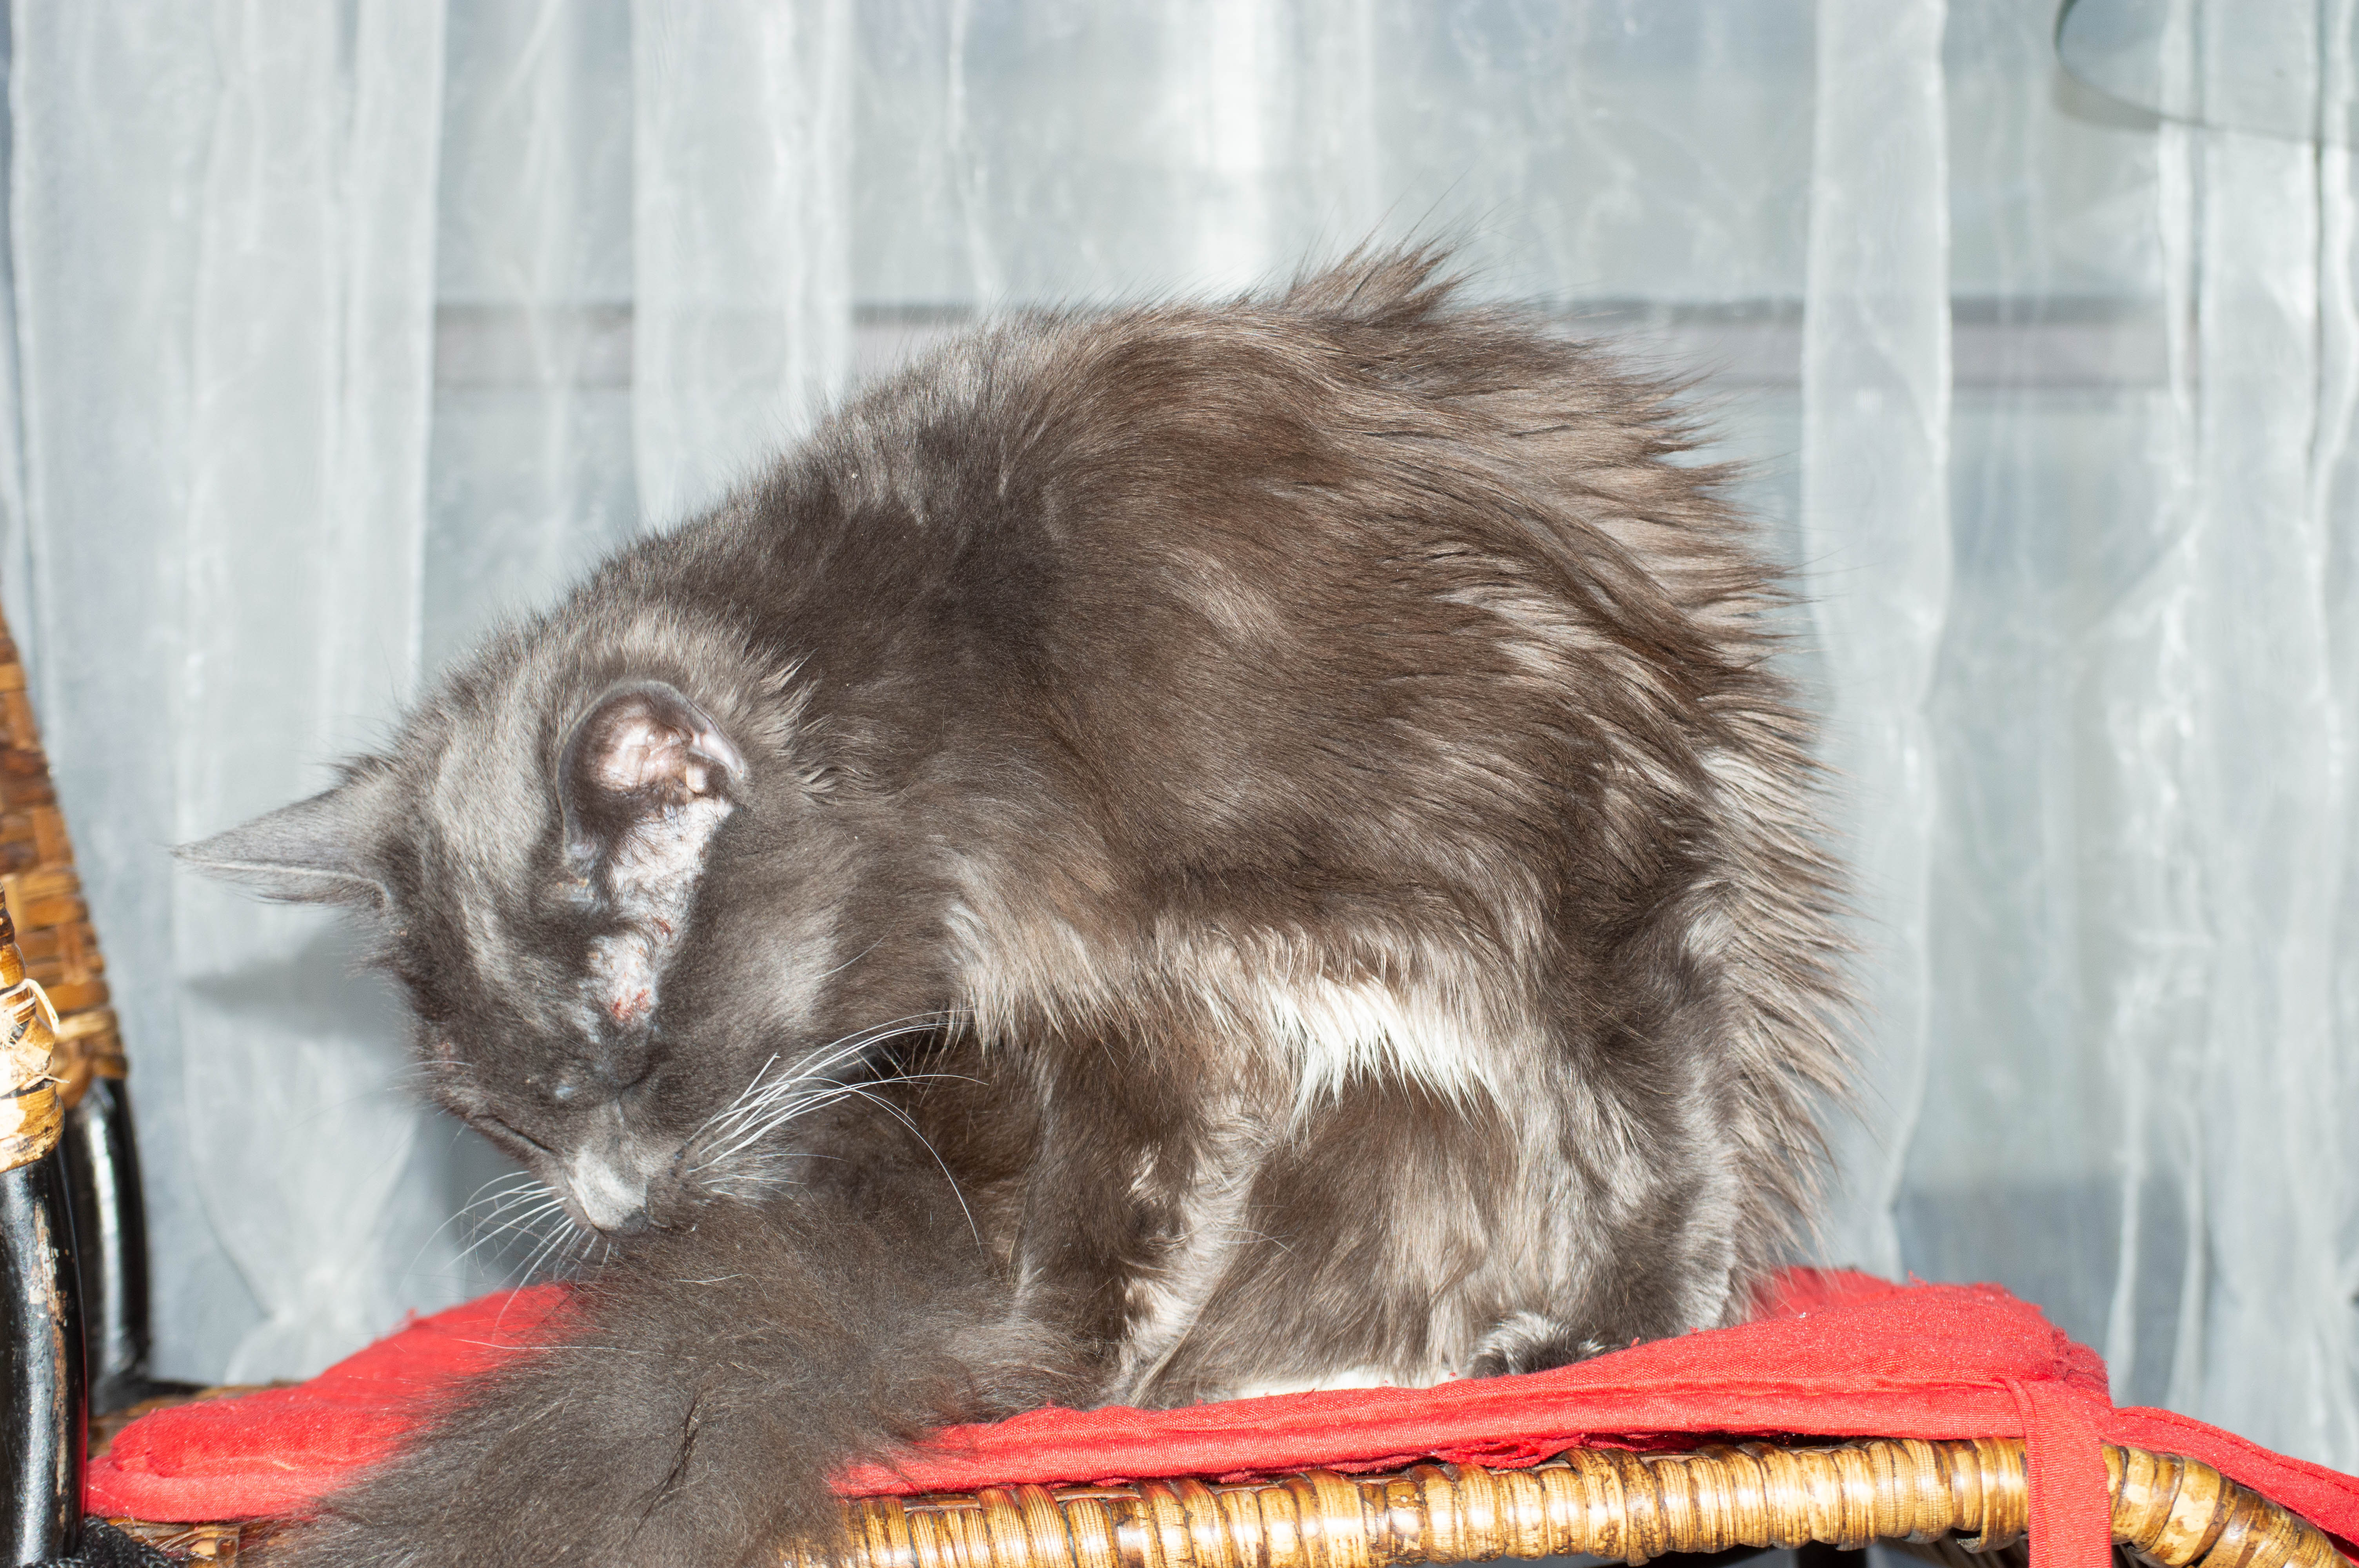
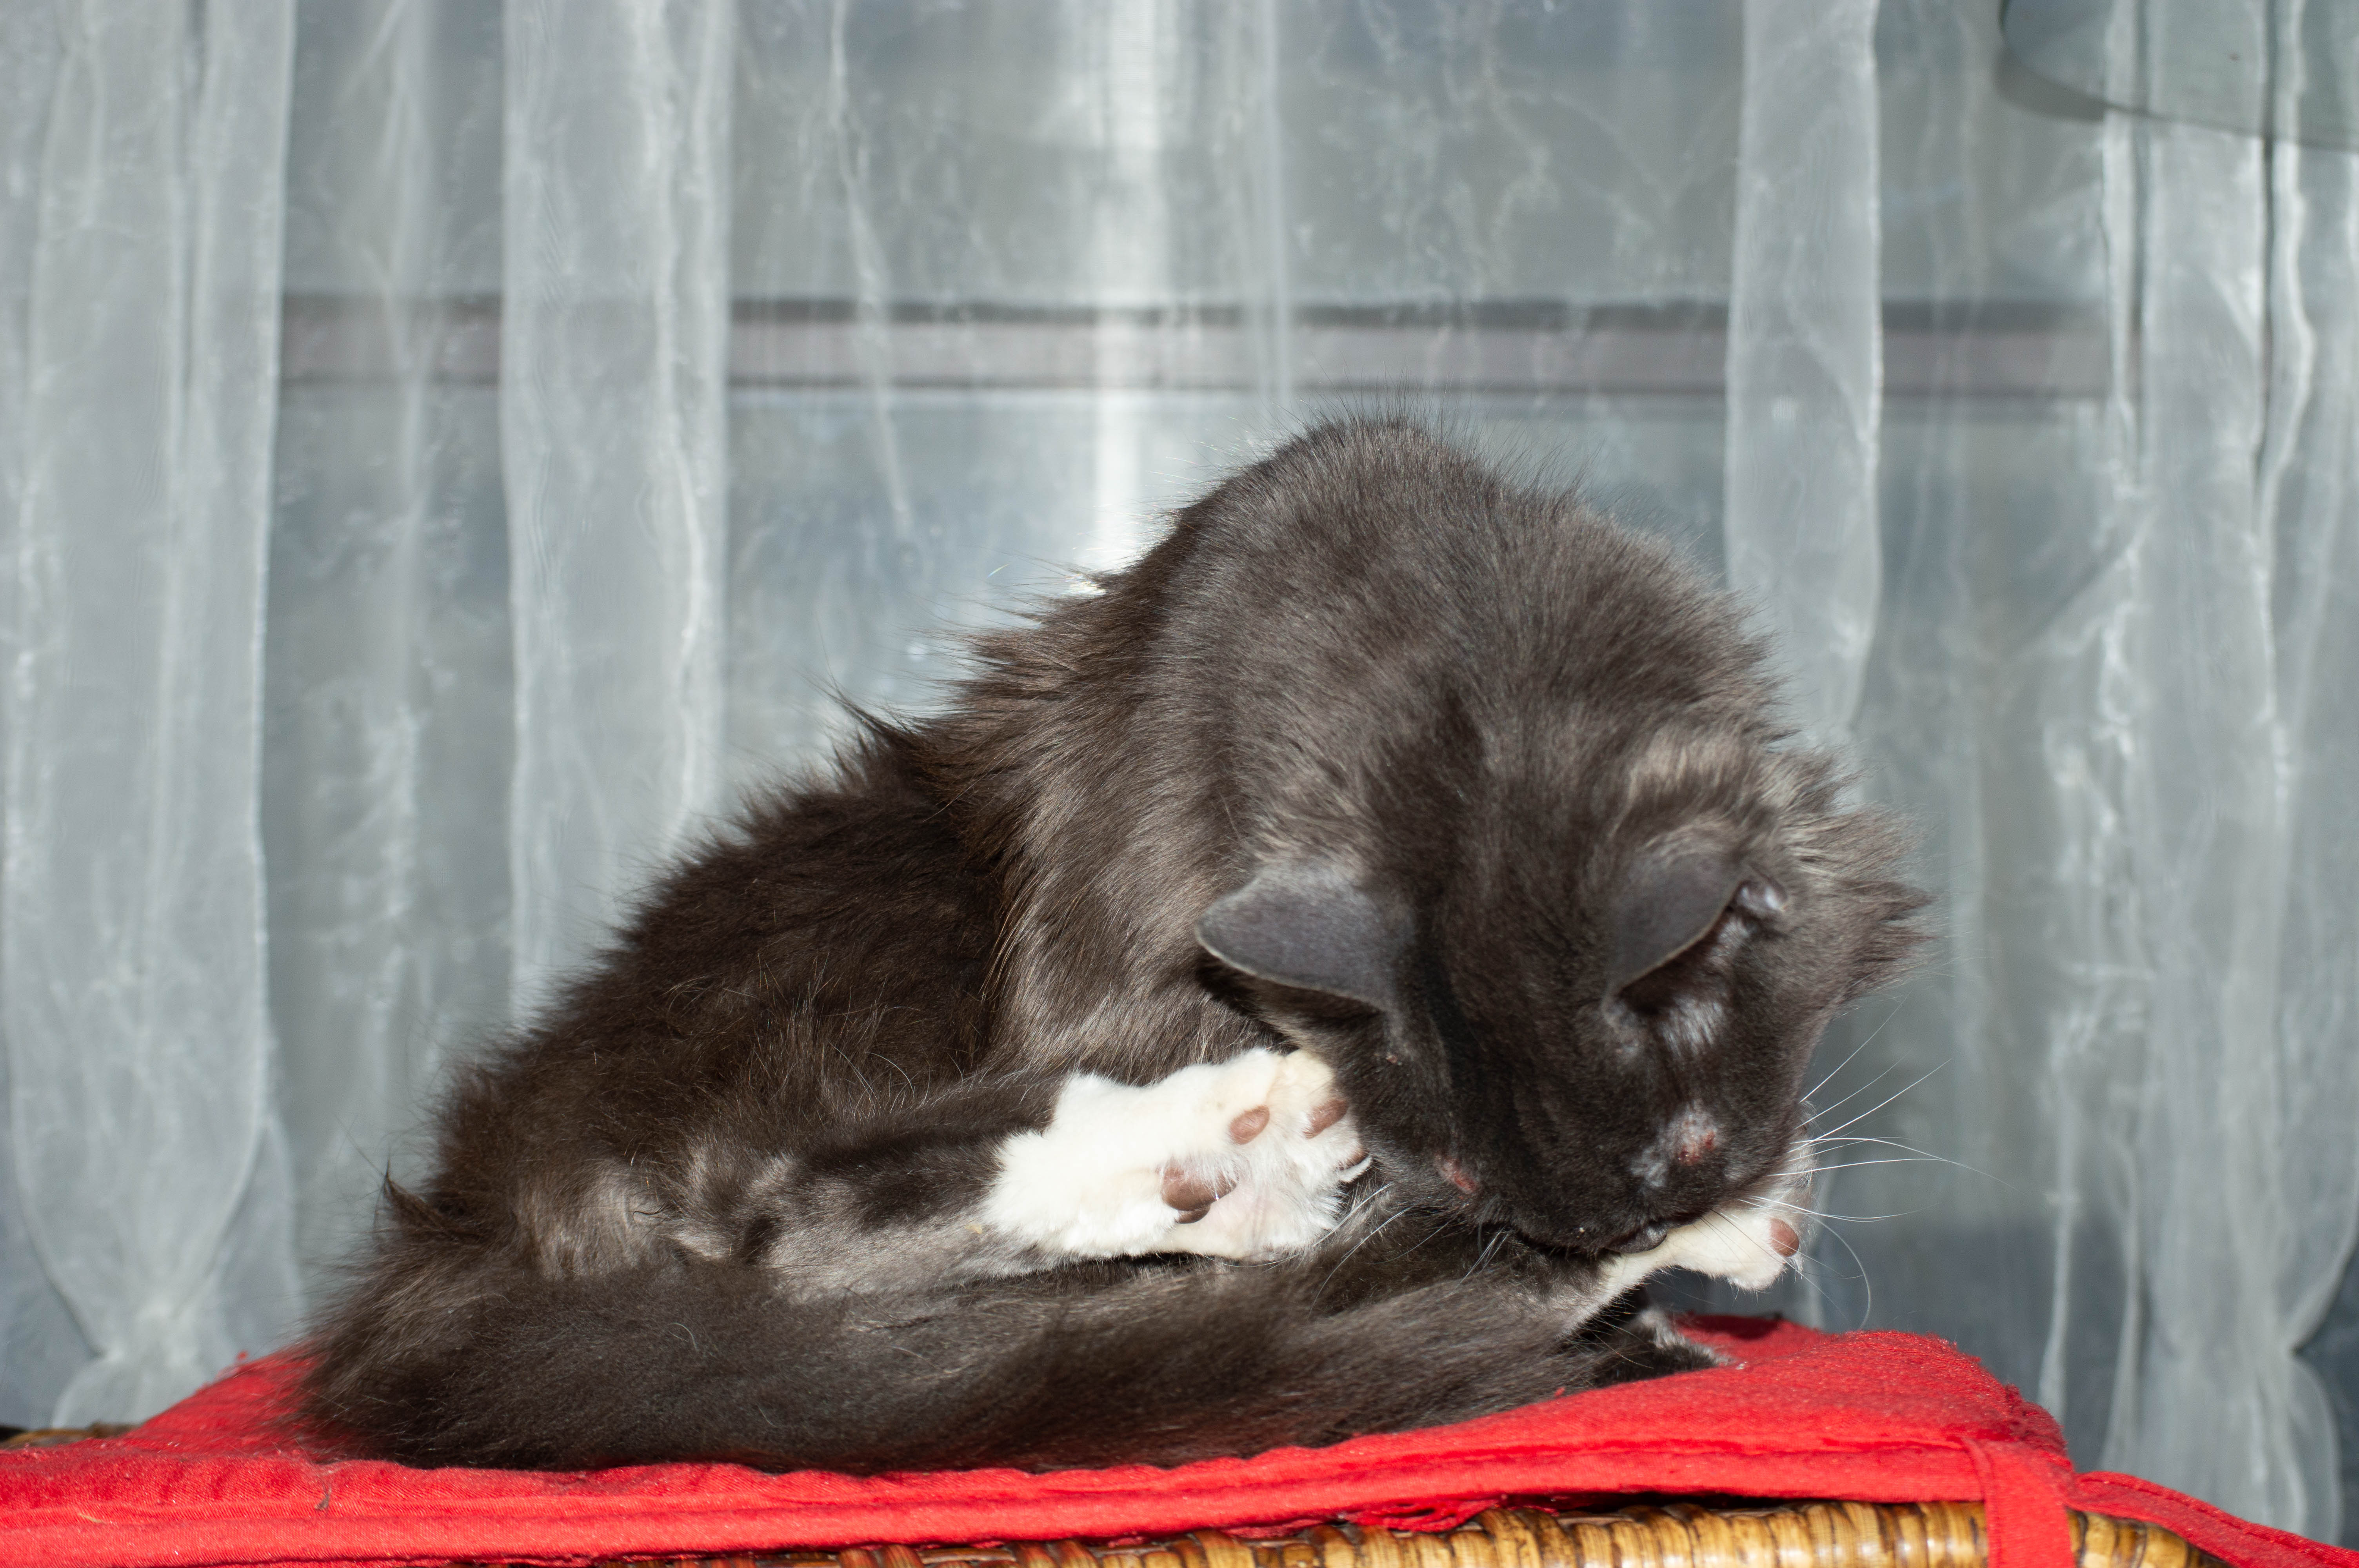
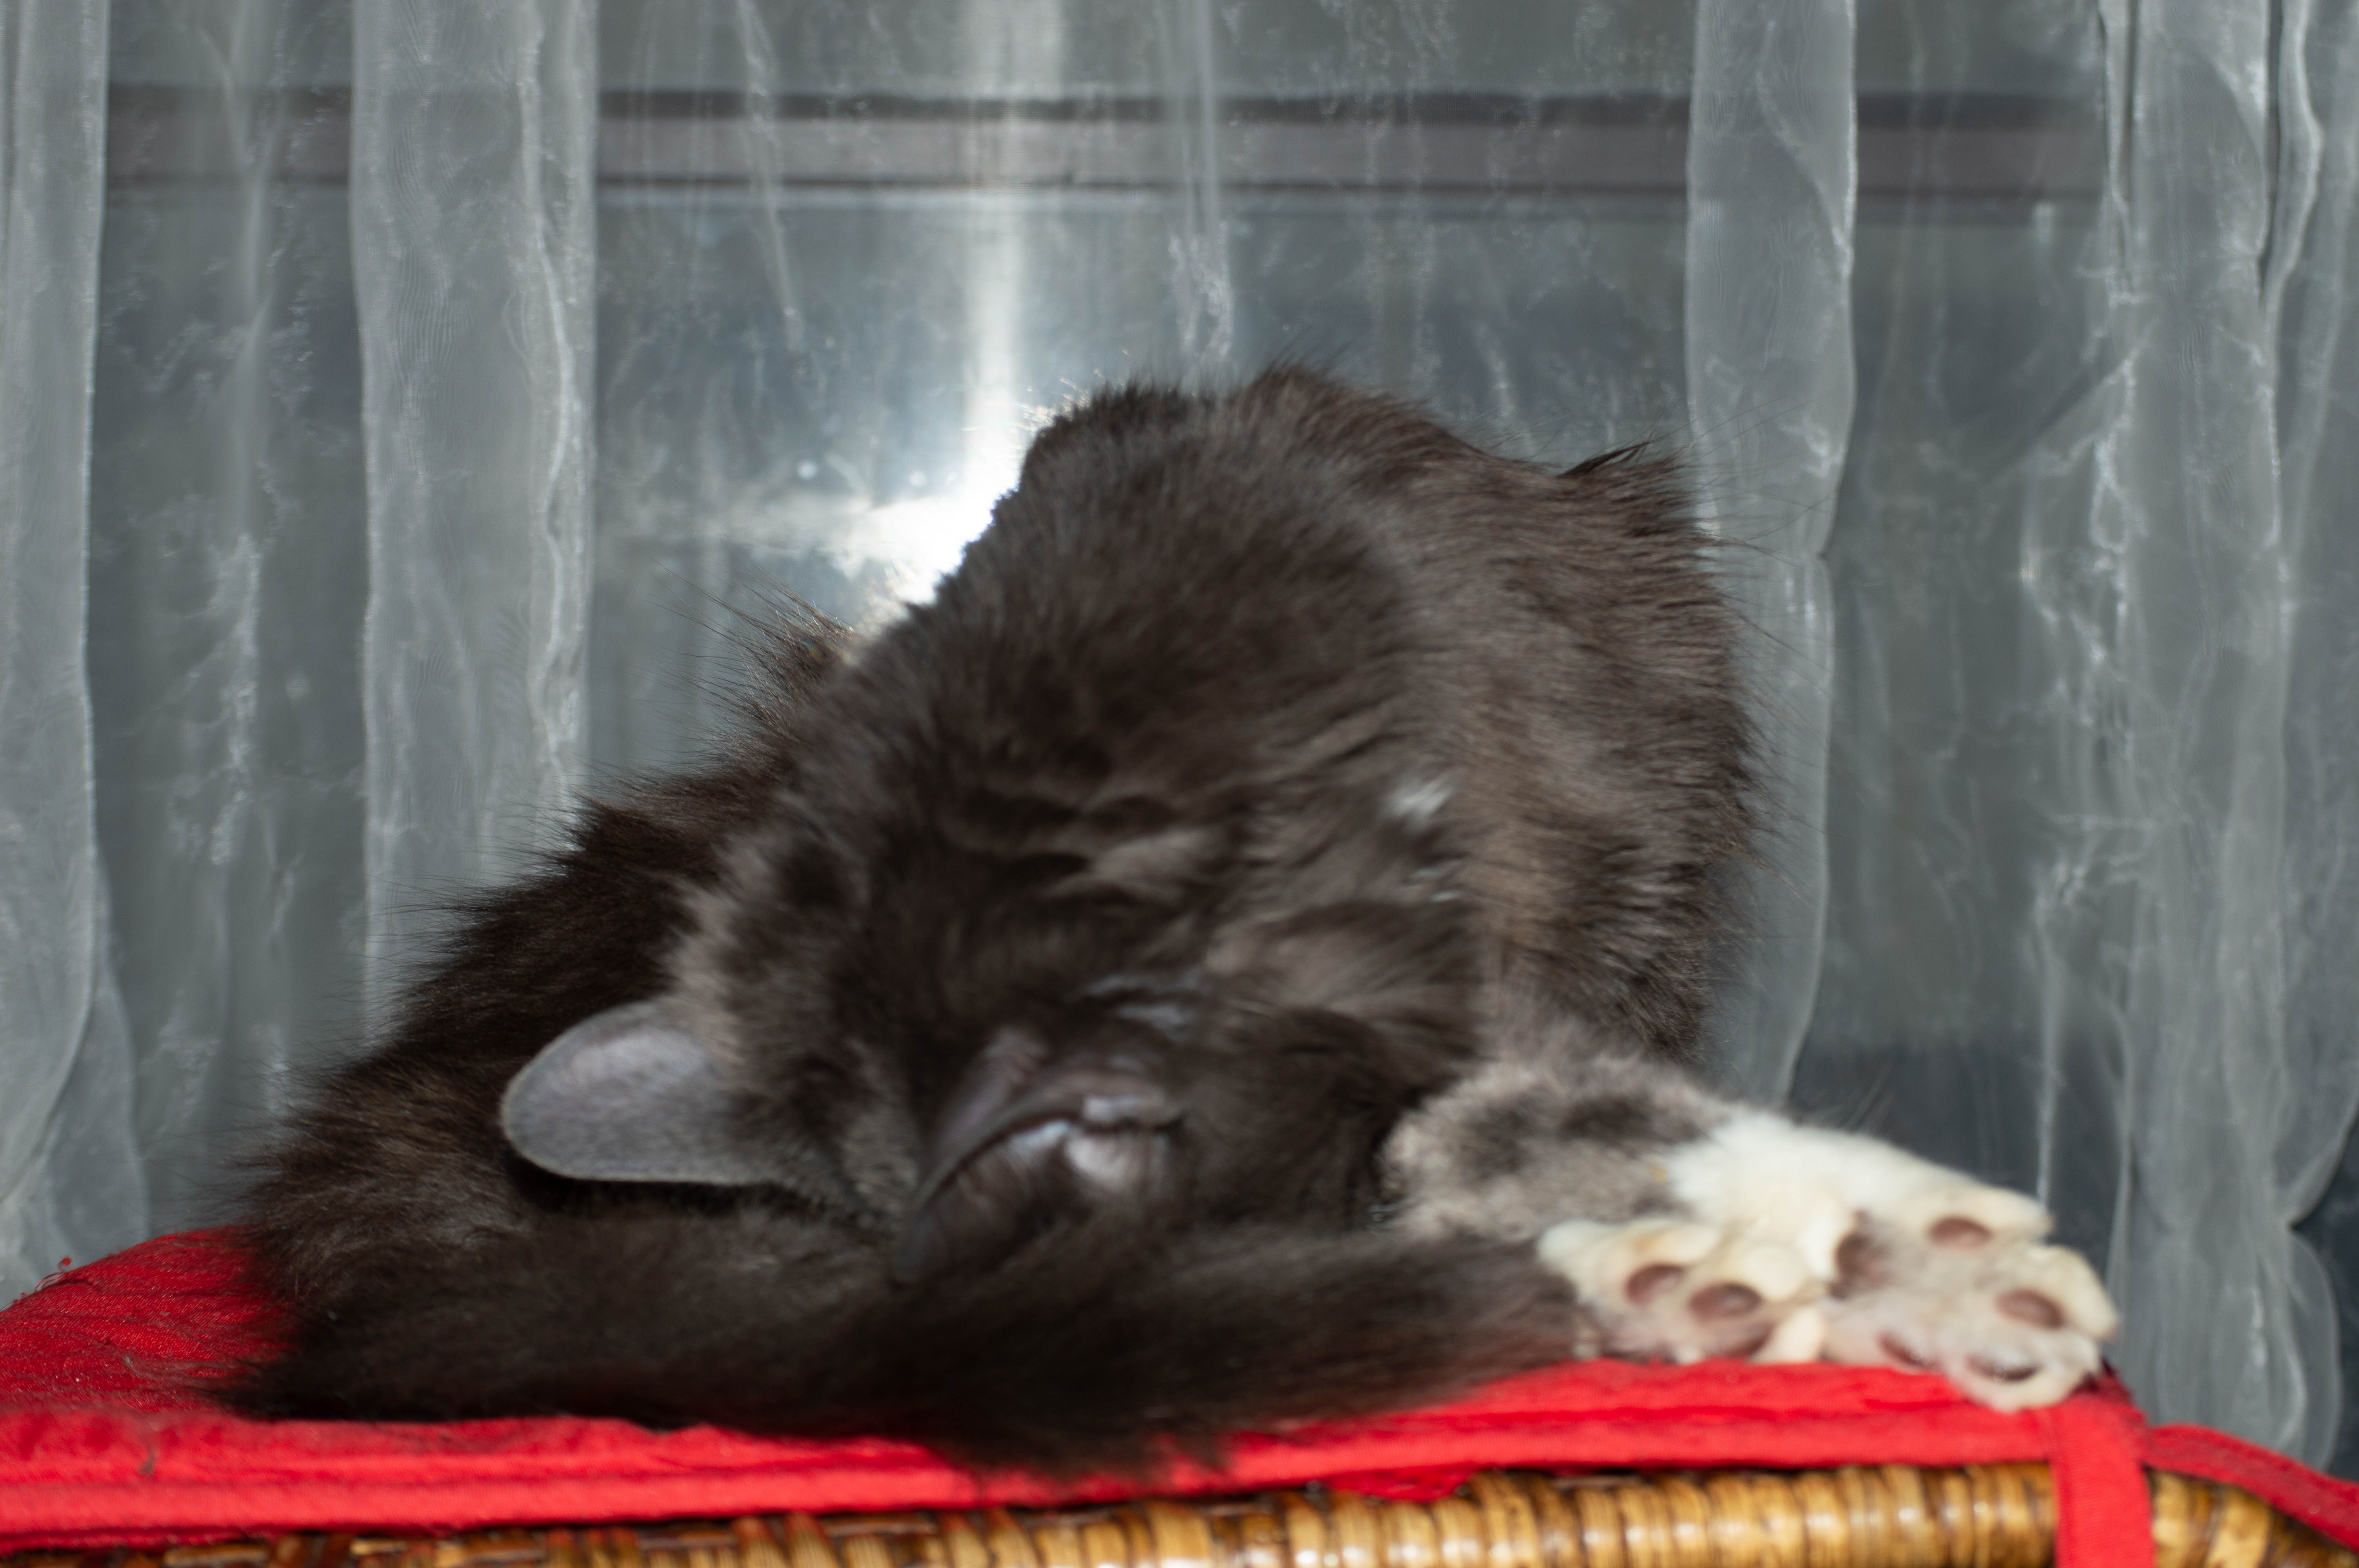
As you can see with the higher ISO in the images I. Doors near the wi Dow with my cat the higher ISO blew out the image so it was mostly highlights and un useable at 1600 ISO even 800 was a bit high. 400 was pretty good but I feel the the best exposure was at 200 ISO. I used wi Dow lighting behind the kitten to emphasise the effect too much light will have and it also depends on the lens and aperture as to how much light gets in and the effect the ISO will have. The lens I used for the shots with Ashy was my Nikkor 55-200 mm lens, in the next set of shots I used 18-55mm Nikkor lens to compare different quality of light into the sensor.


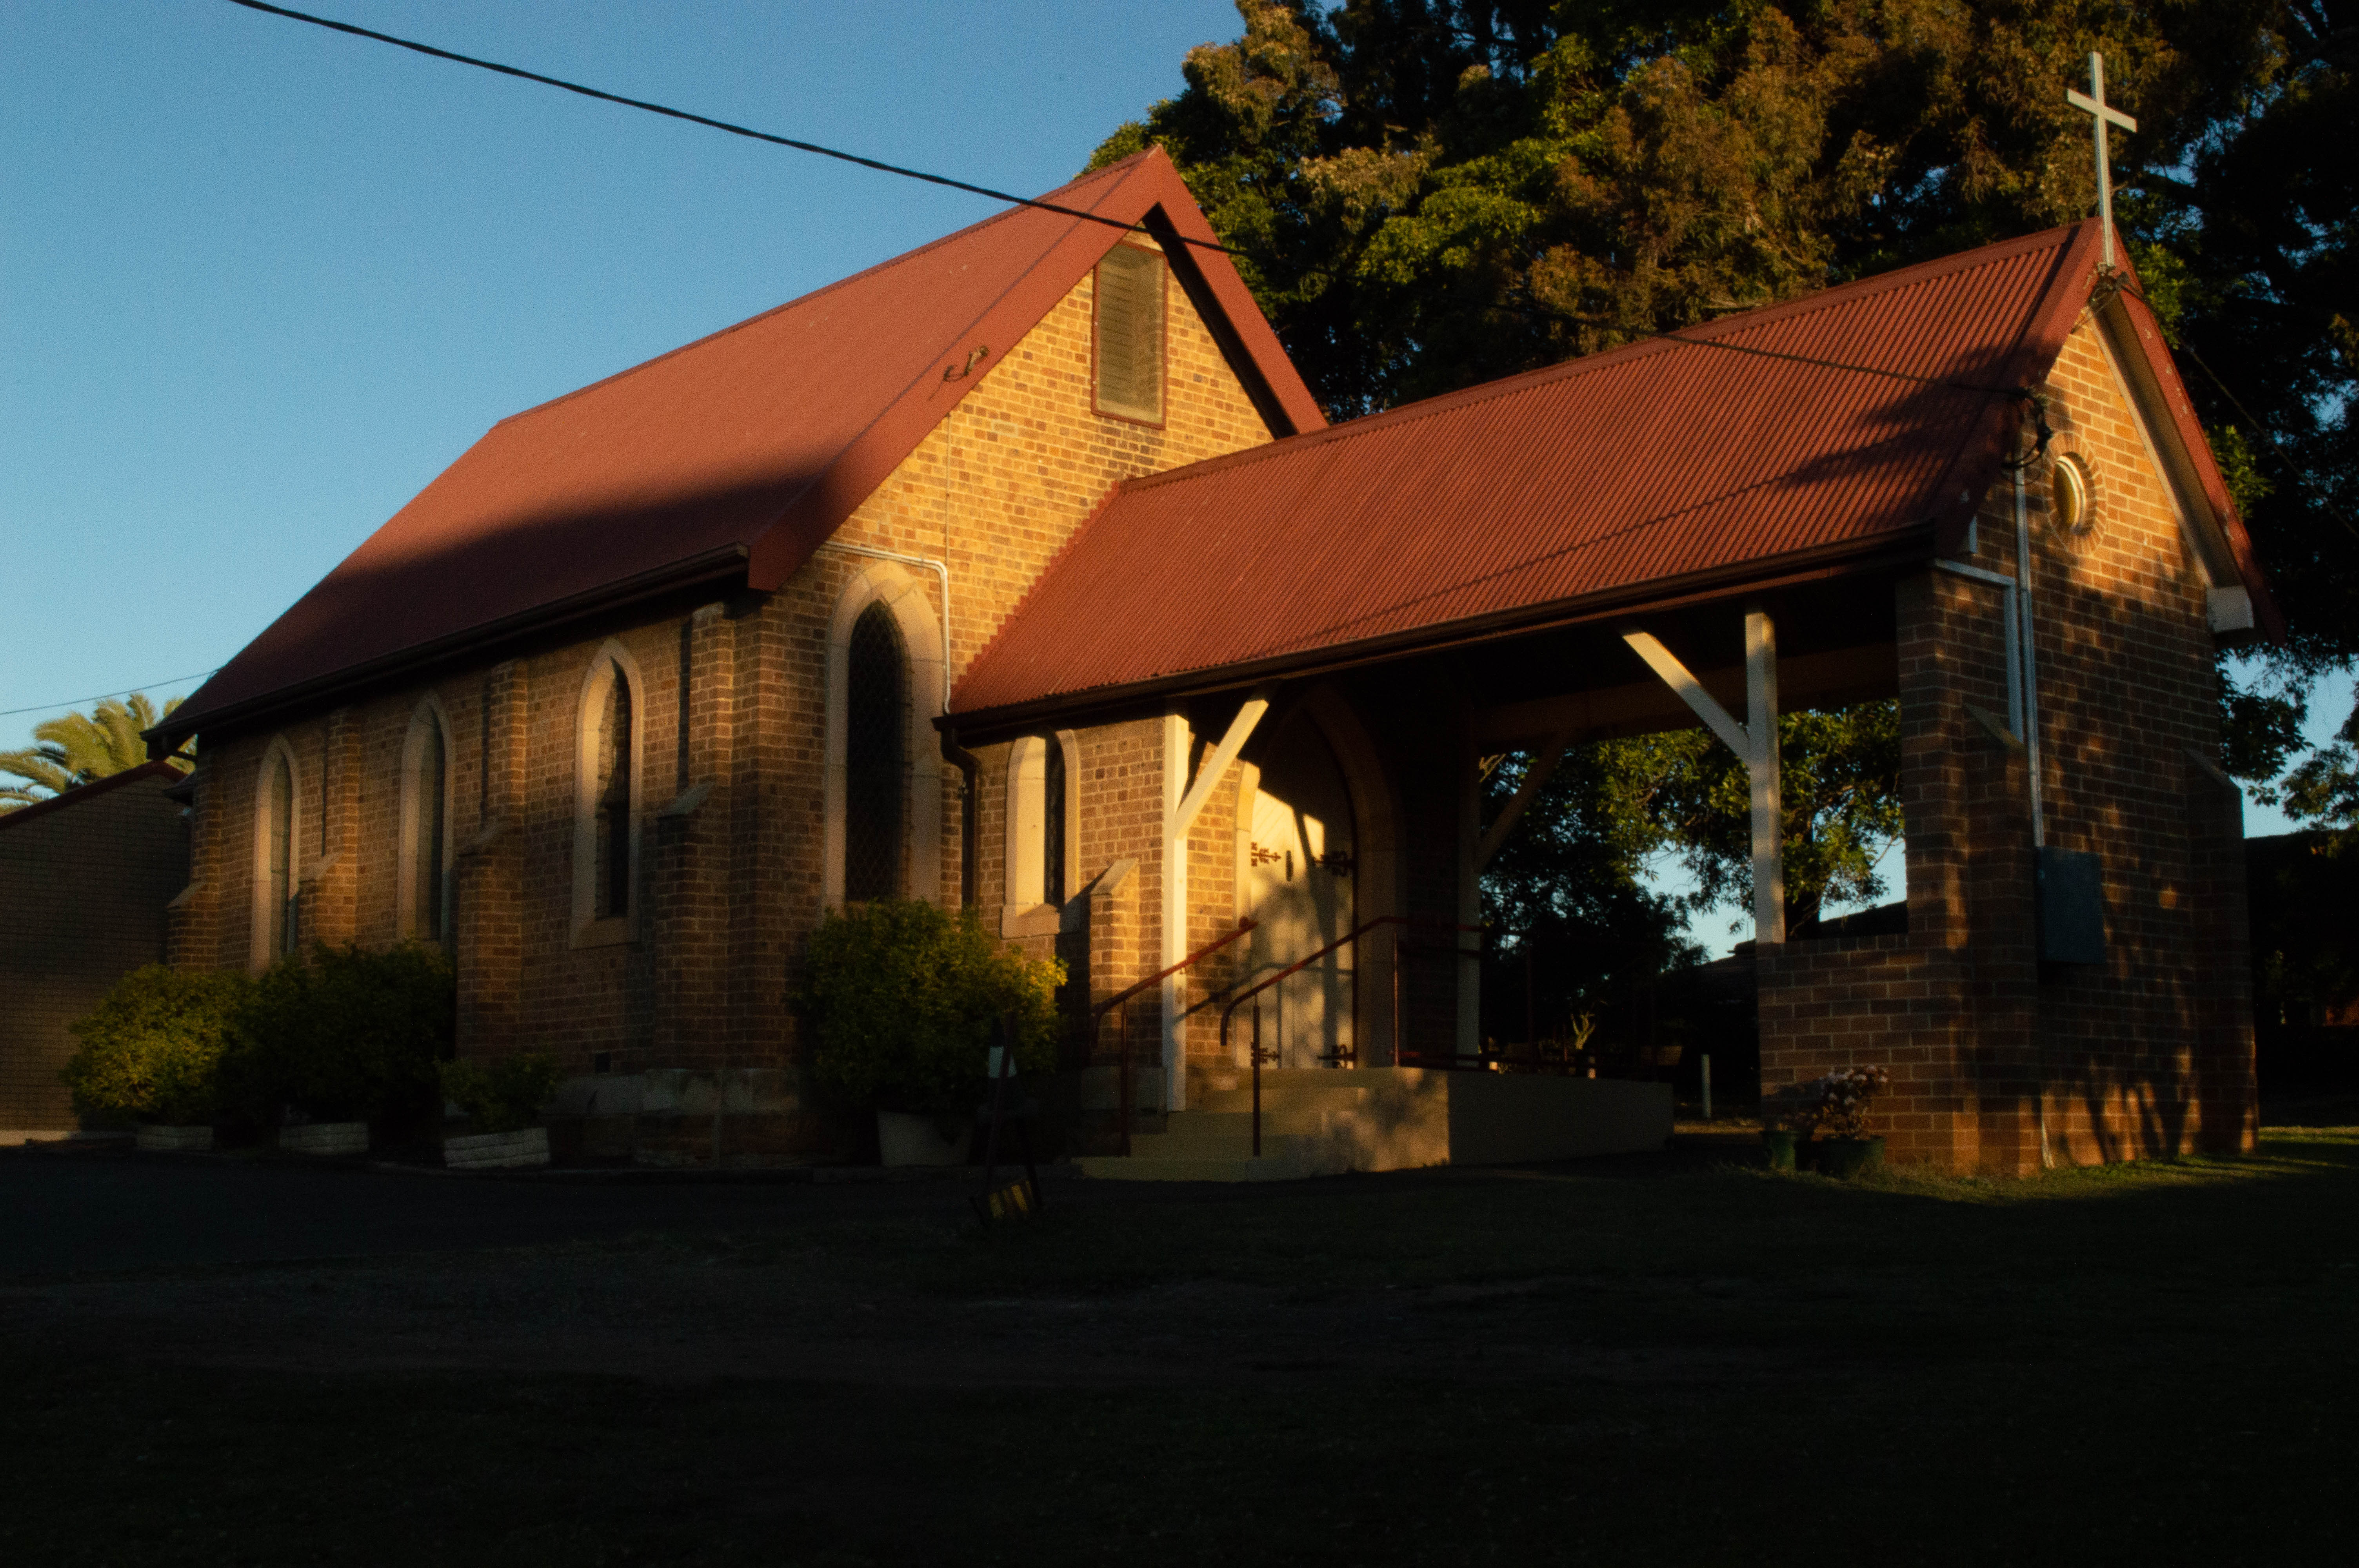
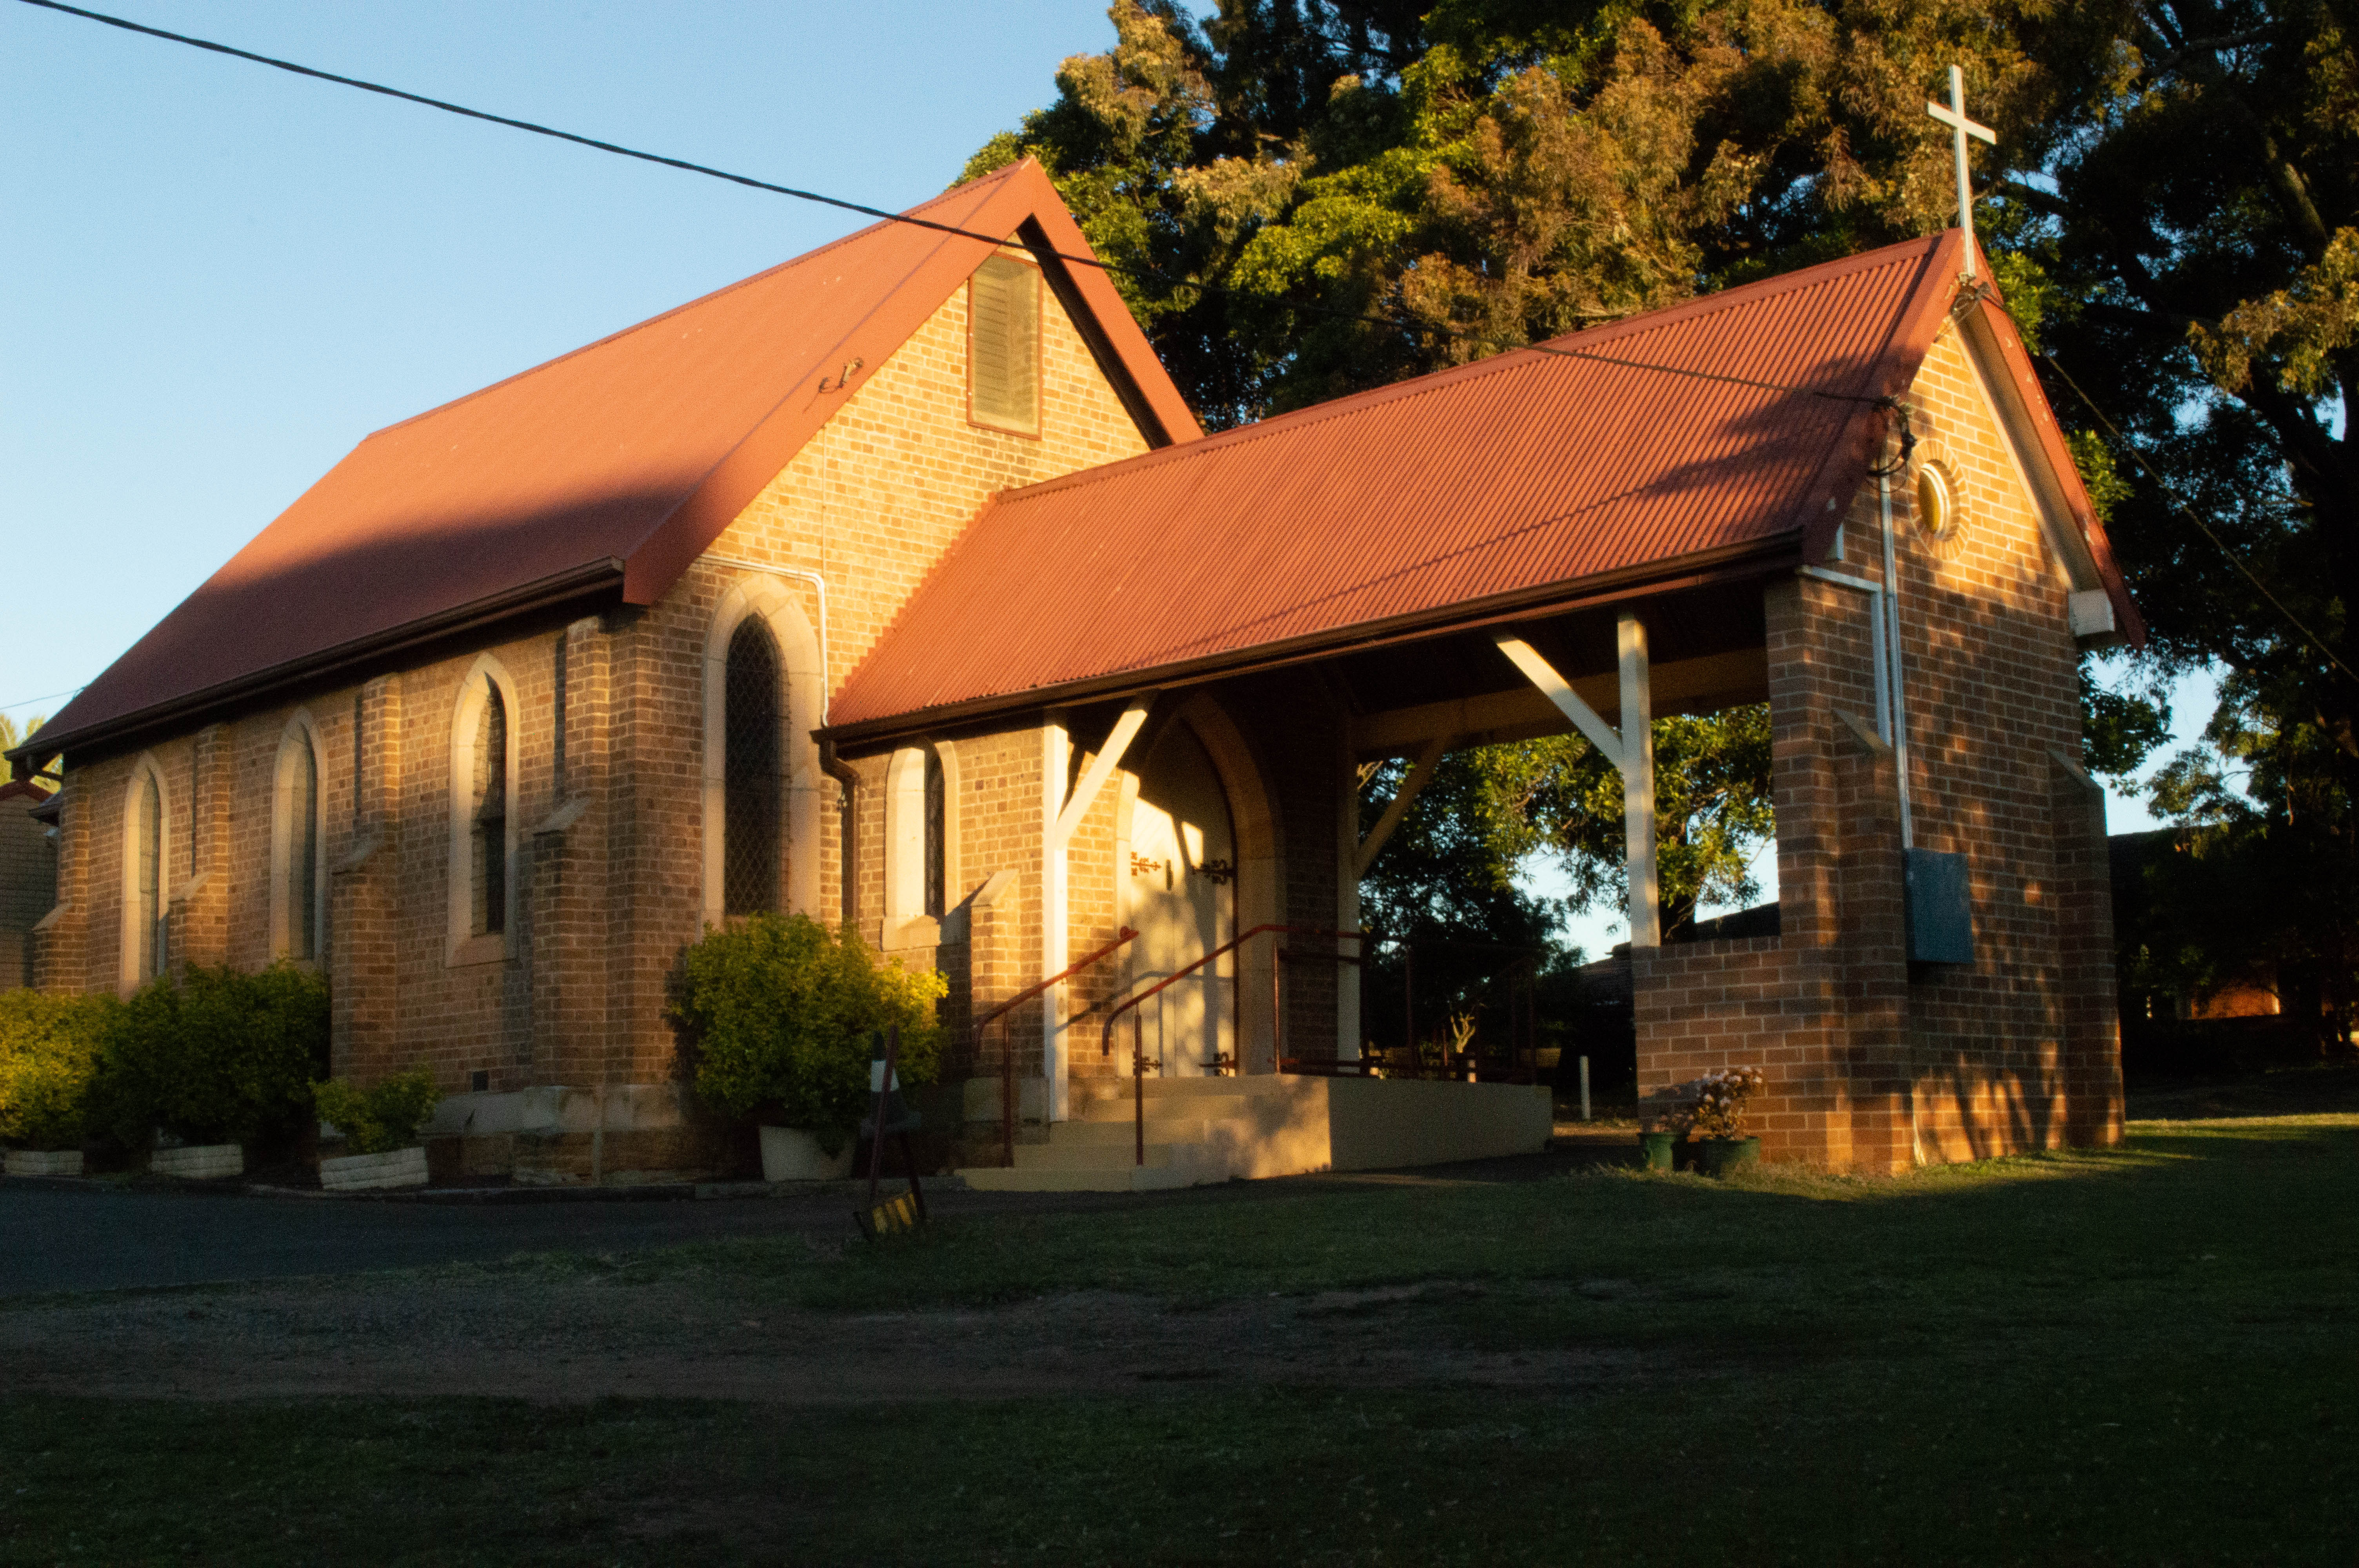


For these it was late afternoon at around 4.30 so the sun was getting fairly low in the sky, The difference in ISO in this set of images is more subtle but at the lower ISO’s the shadows and the colours are darker and more golden as the higher ISO’s the highlights are more pronounced and the image is a lot brighter. There’s not too much colour noise at this time of day as there’s still quite a lot of daylight to work with it’s just not as bright as a backlit image and balanced differently for a different light and exposure.
