Concept and Compositing (Part 2) Replace a Sky

Activity 10.1: Replace a sky

Using two images of your choice, replace a sky in one image with a sky from another image. 

If you are unable to find any suitable images in your library, stock photo sites Unsplash and Pexels provide free, high quality images.

Replace a Sky

For this exercise I was going out with my camera to take some photos but it’s been raining quite heavily and i will be finding an image or two from Pexels instead so I’m going with a different idea for a composite which I’ll be emailing to my lecturer as well to see if I’m on the right path with creating a composite image and blending right in Photoshop.

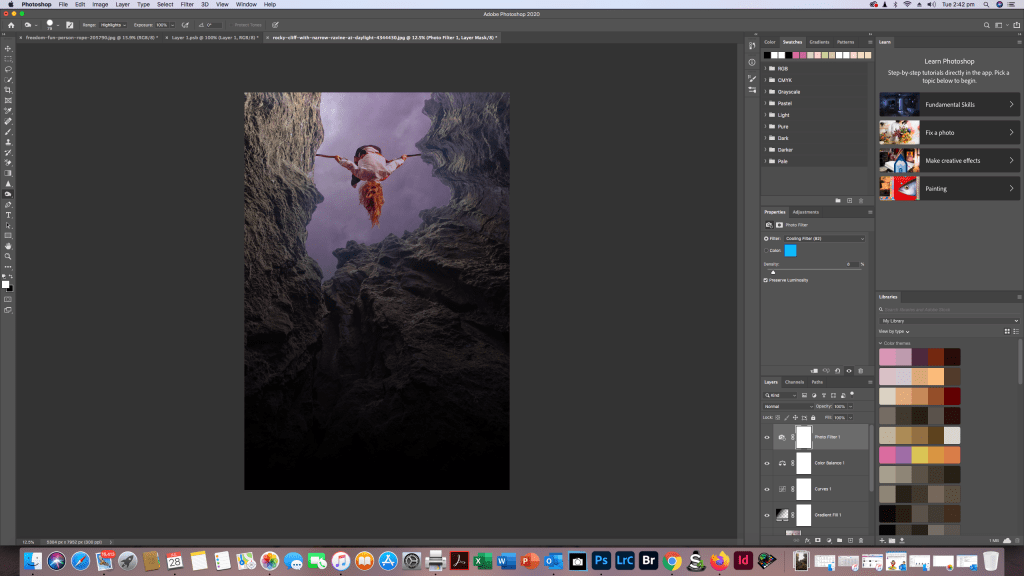
The Pexels Images I’m going to go with are A ravine /rocky out crop and a girl on a rope in mid air

I’m quite enthusiastic about this exercise because it’s something I’ve always wanted to learn but never had the time or motivation to do it. I now have both so it’s going to be a technique and skill i really want to perfect in the goal of creating beautiful landscape photo’s as that’s my passion, but I’m also keen to learn compositing in general for the fine art photography possibilities and creativity and skill it takes to make a composite surrealistic image.

Image Credit Snapwire
Image Credit Nick Bondarev

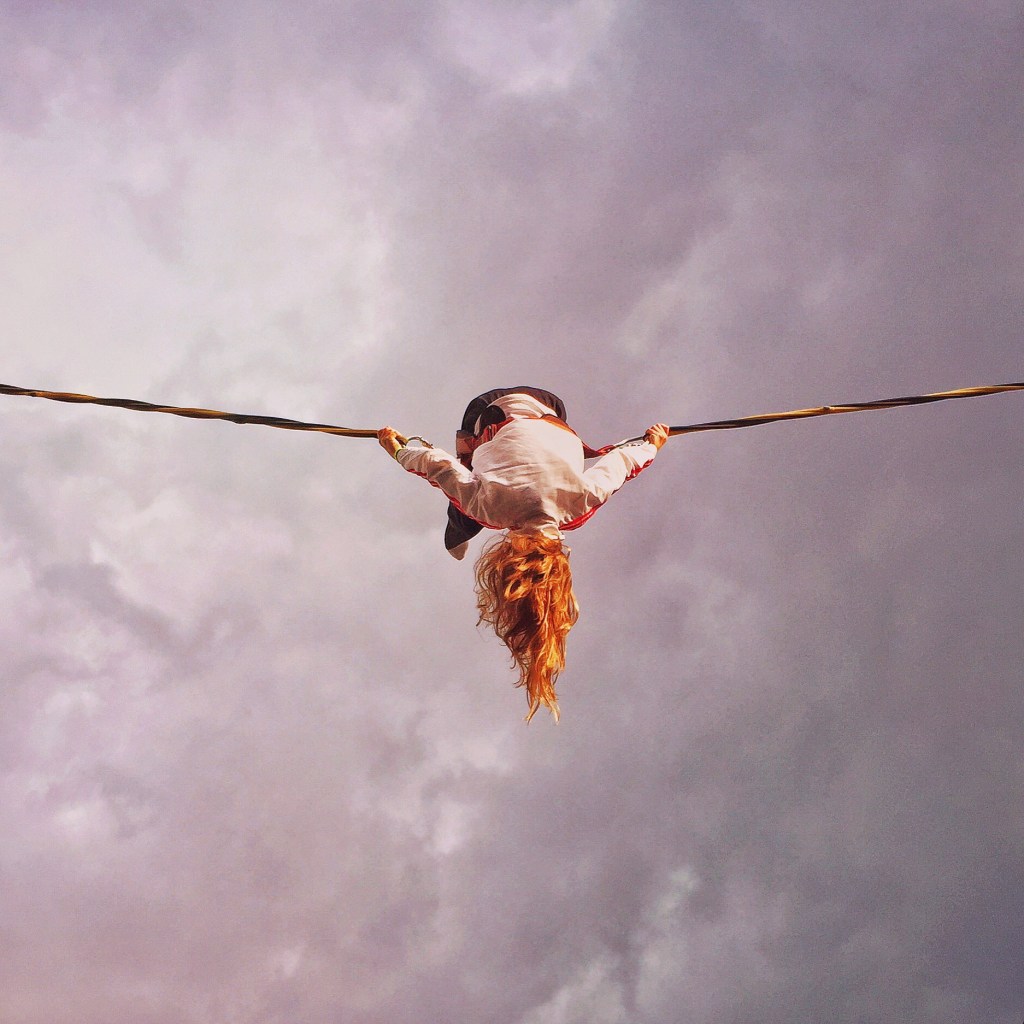
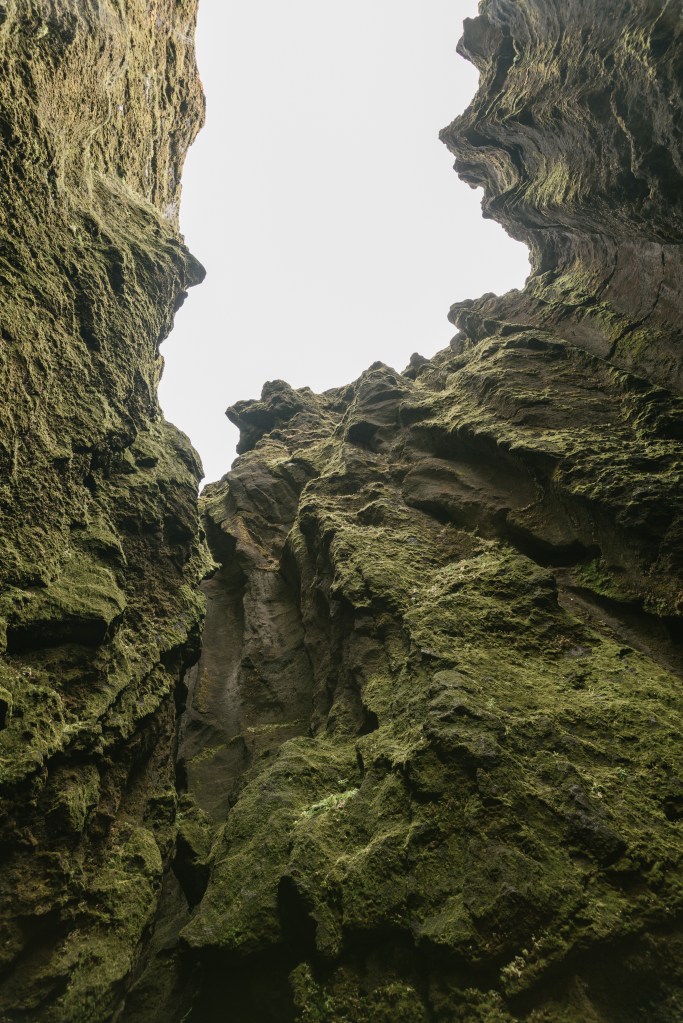
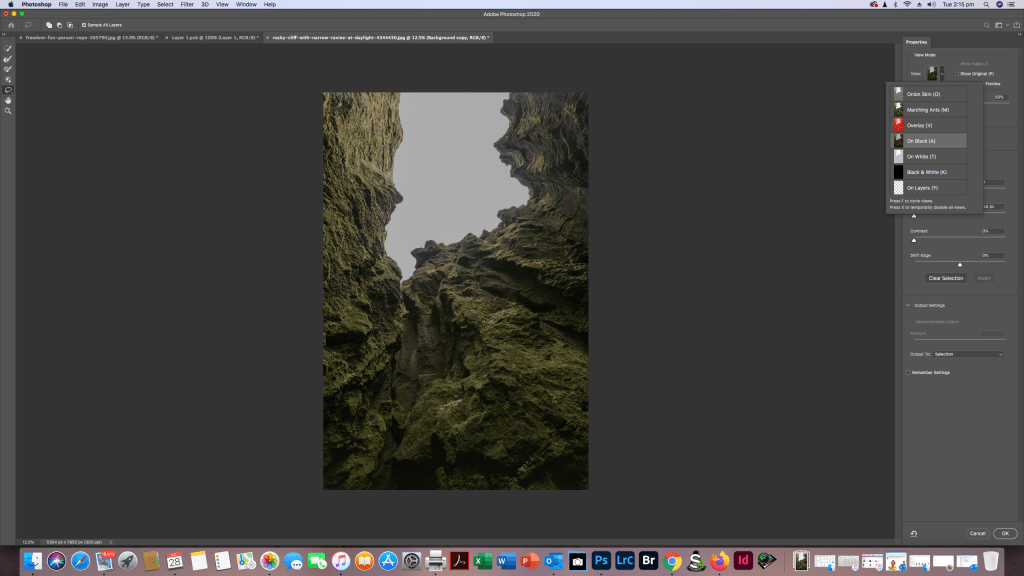
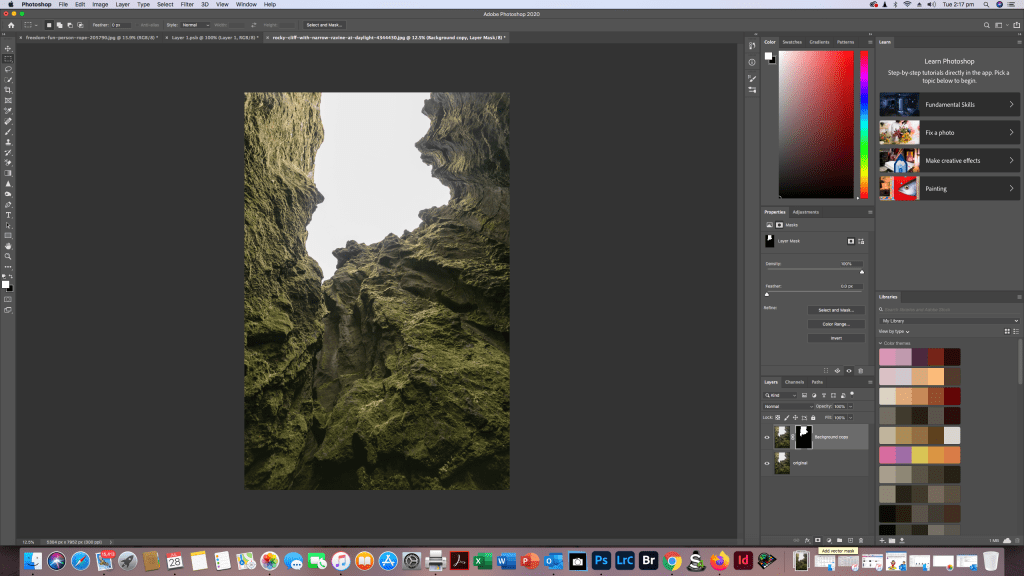
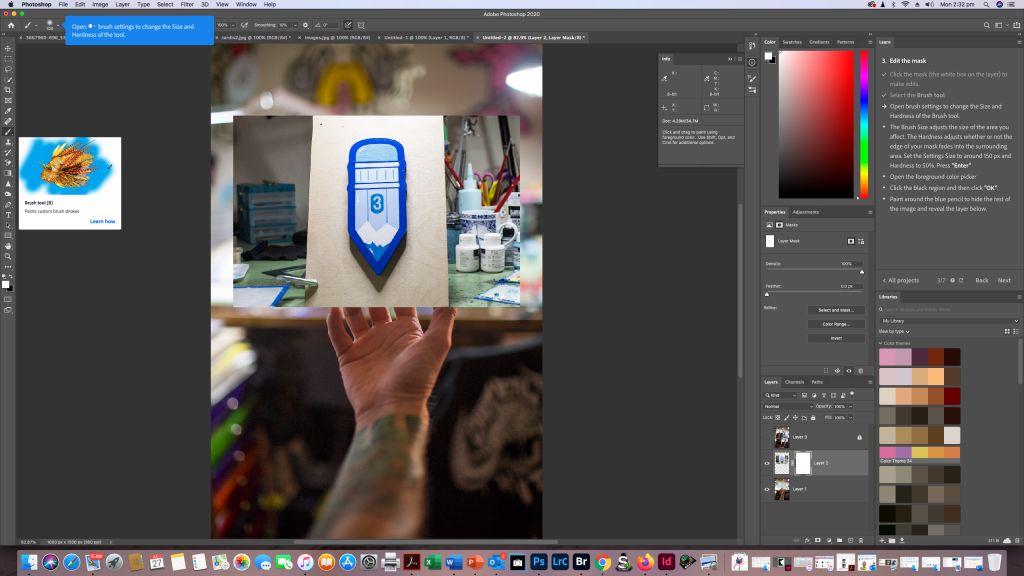
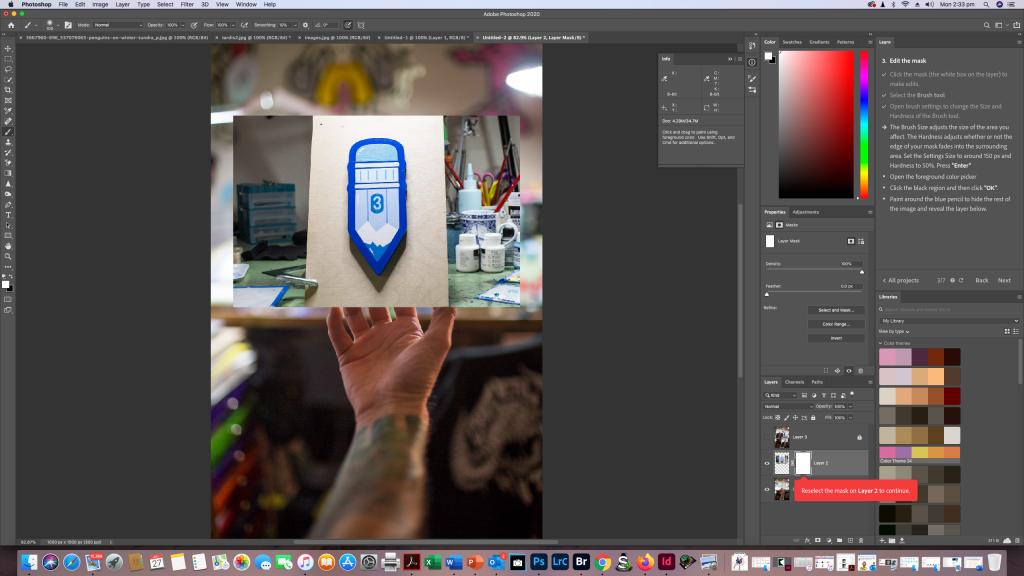
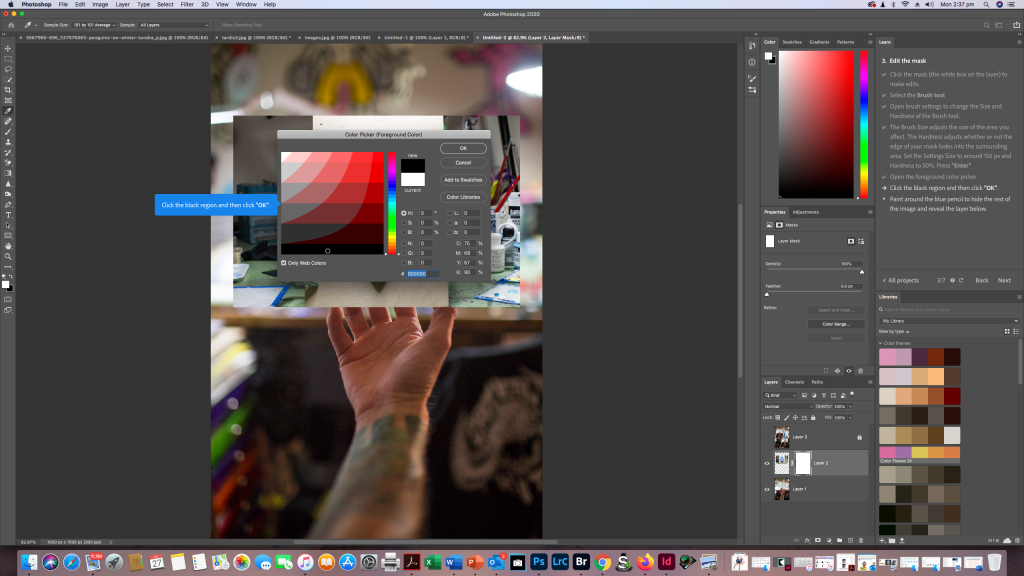
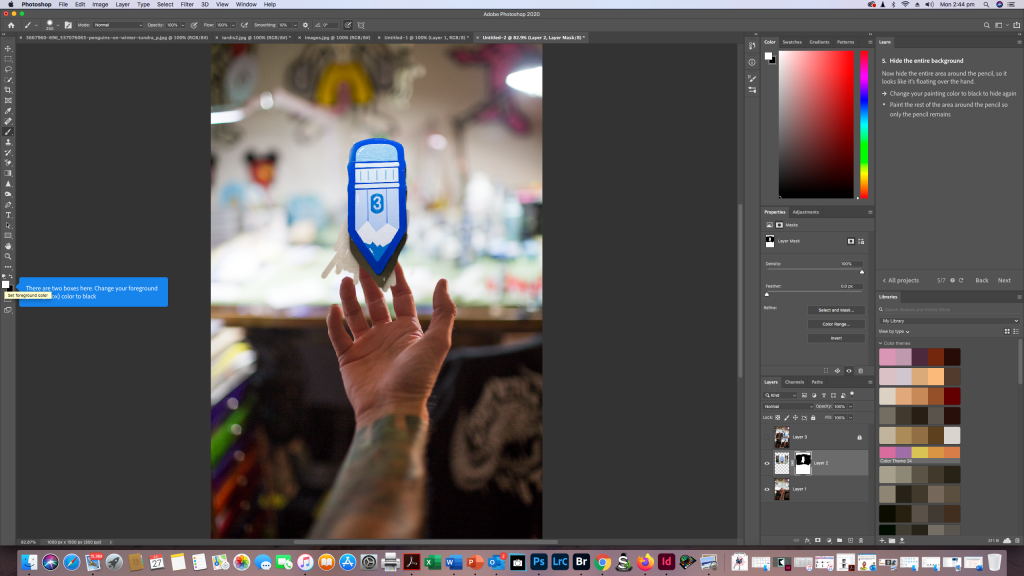
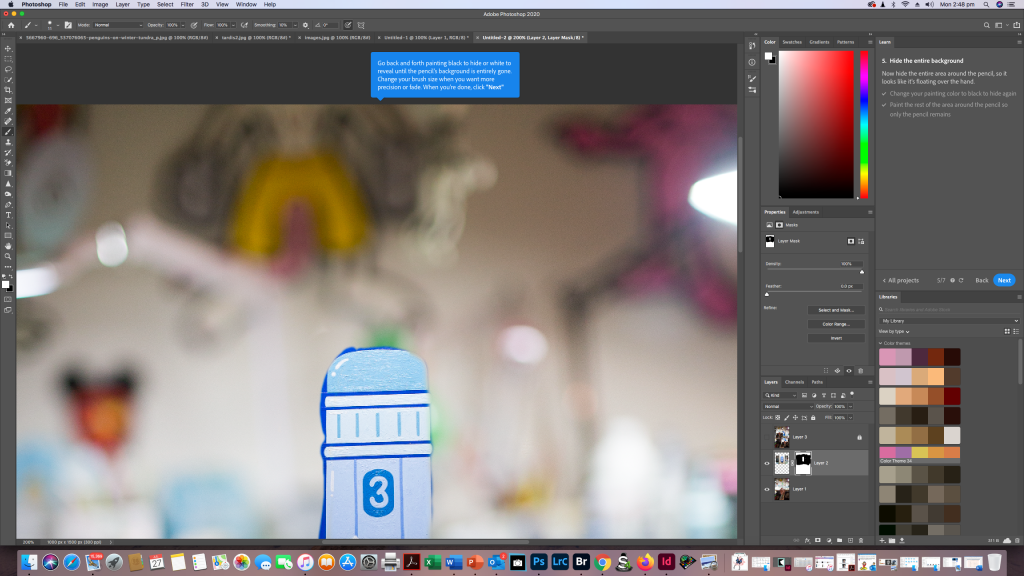
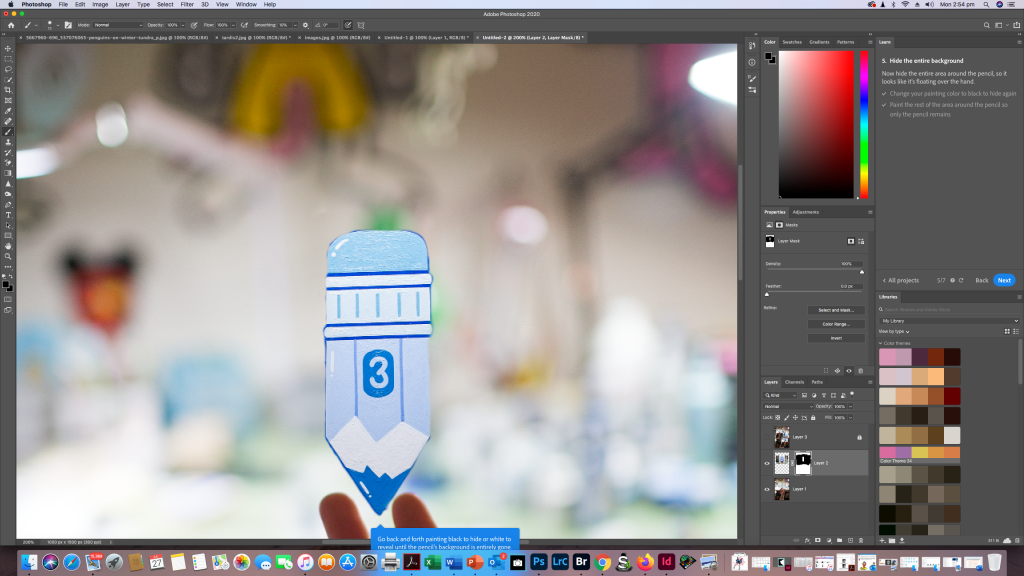
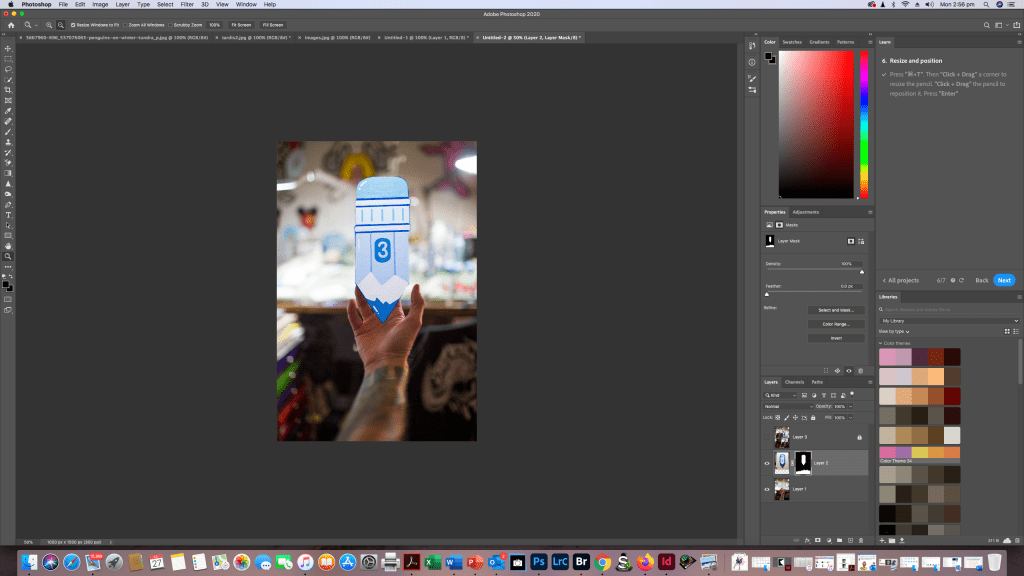
So for my composite image where i am replacing the sk, I found a sky with a girl on a tight rope type thing to create a slightly more interesting composite. Following the same method i used above, First opening the Rocky Cliff/ravine image and making a duplicate layer and then selecting and masking the area i wanted to change being the white boring sky. i did this by going into the properties panel, chose View>On Black and in the mini tool palate i chose the Quick Selection Tool chose brush and adjusted the size and hardness and painted in the sky area to select it and pressed OK. To Make the composite i opened up the tight rope image and selected it and copied it and then went back to my canyon image and pasted it in. I then clipped the tight rope image by right clicking on it and selected the option create clipping mask, i then clicked and dragged the tight rope girl to where i wanted her and added an adjustment layer on the layers palate and selected gradient. in the gradient layer i then chose the Foreground to Transparent gradient switch, before creating another clipping mask layer and made adjustments in contrast brightness etc to come up with my final image. I can probably do a bit more to it but so far I’m pretty happy with my creation.

Concept & Compositing (Part 1) Select and Mask

Activity 9.2: Refine selections with Select and Mask

Using an image of your choice, begin experimenting with Photoshop’s Select and Mask command to refine selection edges. 

If you are unable to find any suitable images in your library, stock photo sites Unsplash and Pexels provide free, high quality images.

Activity 9.2: Refine selections with Select and Mask

So for this exercise I decided to go and look at the Photoshop tutorial section in my Photoshop app on my Mac. I found it pretty easy and simple to follow and it’s a great tool for learning simple little useful Photoshop techniques. I’ve screen shotted for you so you can see where to find the tutorials and how easy they are to use then i’ll also go into my own images and use the skill I’ve just “learned”

Selection Tool

Masking

Again I’ve done the tutorial and screen shotted step by step of me following the tutorial

Over the next few weeks I will be adding more into this as i get more comfortable manipulating my own images in Adobe Photoshop.

Concept & Compositing – Developing a Concept

Activity 9.1: Develop a composite concept

Develop a concept for your third and final assessment for this subject (see brief for furtherdetails). Discuss your concept (including sketches, inspiration etc.) on your process blog.

Develop a composite concept

Anyone who knows me will know I’m a massive doctor who nut. So it wasn’t hard to come up with a concept for a composite image.

Here’s my mood board, the Dalek images are my own and taken at at property gate where this magnificent fellow stands, between Glen Innes and Tenterfield in NSW, the rest are Abode Stock Images

So far this is the concept that will be the inspiration for my final CMW assignment in colour management and compositing.

Introduction to Colour Management

The first module for Colour Management has asked us to explore colour management and workflow tools to improve colour management and monitor calibration.

Activity 1.1: Research colour management tools

Two leading brands that provide colour management tools for photographers are X-Rite and Datacolor.

Have a look at their websites and see which products you can find that would be helpful for colour-managing a photographer’s workflow.

The Results

After looking at both websites and reading extensively about the products from both companies both have external colour calibration technology utilising colorimeters and calibration software enabling true colour management and even adjustments for changes of ambient light n the room.

X-rite Colour Management
Datacolor SpyderX

Out of the two the The SpyderX has several models ranging from from $169.99 to $499.99 dependant on features and output volumes and is simpler to purchase with an online store so for practical reasons and ease of purchase this one would be my pick of the two, as information was easier to find on the web without having to check youtube tutorials and try and rack down a dealer as with the X-rite. At this point in time having upgraded from a laptop to an iMac the world of colour difference between the two platforms from Windows to Mac OS and colour calibration profiles on the mac I’ve actually re-edited some images i was previously happy with as the colours were not quite right. I will definitely look into the Spyder x to keep my colour workflow as it should be. Coming from a photofinishing and printing back ground I understand colour profiles and the difference between what can be printed and what can be see by the eye or represented on a screen and how to profile a printer but first of all your monitor needs to be calibrated right before you even get to that step.

Activity 1.2: Explore colour spaces and their differences using Mac’s ColorSync Utility

Using Mac’s ColorSync Utility app, compare different colour spaces, including:

  • sRGB
  • Adobe RGB (1998)
  • CMYK

What do you notice about each? How do they compare with one another? Record your thoughts on your process blog

The Results

The first thing i did after purchasing my Mac was to calibrate the screen, as it’s primarily for my photography

I noticed the difference immediately going from a 15 inch Lenovo laptop display (which try as you might is virtually impossible to calibrate ) to a 27 inch iMac how much more vibrant and truer colour looks and also how intuitive adobe programs are to the MAC OS X and how simple it is to calibrate the monitor by going to settings/display and clicking on the colour tab.

iMac Colour Calibration (iPad Photo haven’t worked out how to screen shot mac yet)

I played around with the various colour spaces before deciding to work in Adobe RGB (1998)

CYMK or Cyan,Yellow Magenta and Black gives you a representation of way many fewer colours available but it’s handy if your printer uses CYMK, however this can be accounted for in printer profiles in Adobe Lightroom and Photoshop when soft proofing work so you get an accurate translation for printing to whatever brand of printer your printing to. Theres a lot less available colours so it was much more muted.

sRGB gives you almost as many colours as Adobe and most windows monitors are calibrated for it. The colours weren’t quite as true and seemed to be a little more saturated than the Abode RGB