Introduction to Studio Lighting

The Task

Activity 5.2: Setting up a studio

Setting up your own studio is perhaps every photographer’s dream! In this activity, research the requirements (e.g. space, size, gear etc.) for setting up your own photography studio space.

Having previously set up a home studio a number of years ago when I was still working as a freelance and occasional portrait photographer. I have all my equipment packed away in a huge crate in our garage. So for this exerciseI found some stock photos of some of the equipment I have and I bring some of it out when needed and mainly only the smaller stuff. I used to have a 15×15 ft space with a separate, dark room in my home studio , as well and bracketed dropdown backdrops attached to the wall, portable backdrop stand, floor sheets. I had to downsize and sell a lot of gear when my daughter was diagnosed with Crohn’s disease to pay bills while we were staying at Westmead Childrens hospital so most of what I have left is fairly cheap portable equipment that gets the job done.

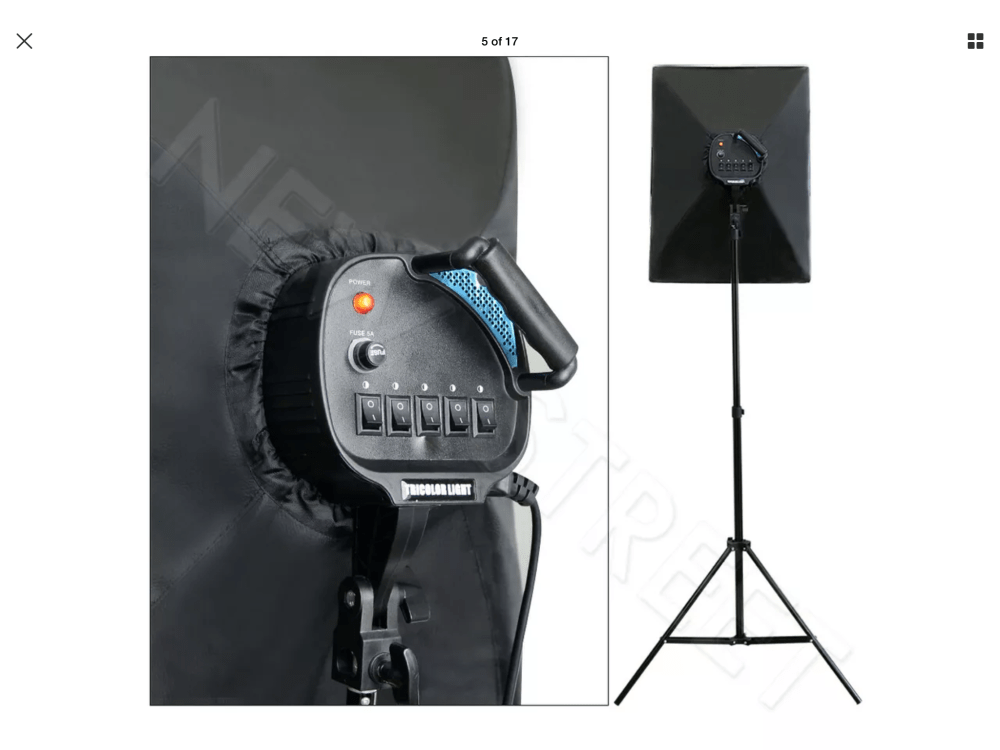
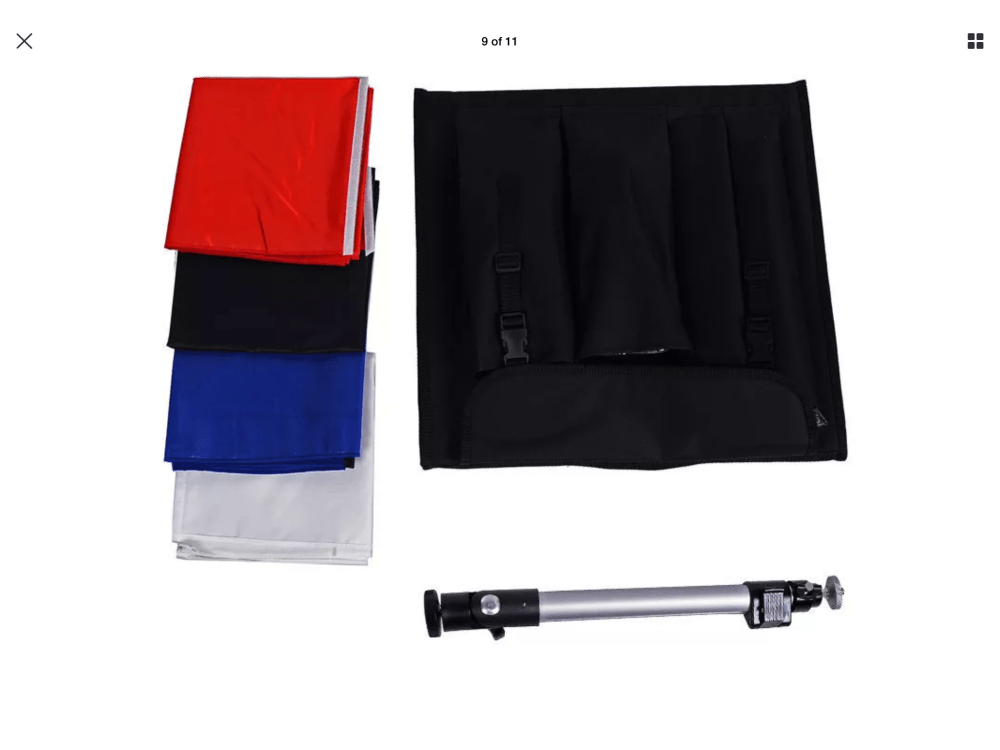
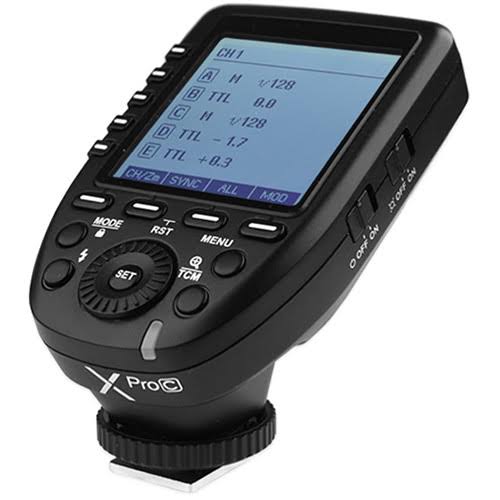
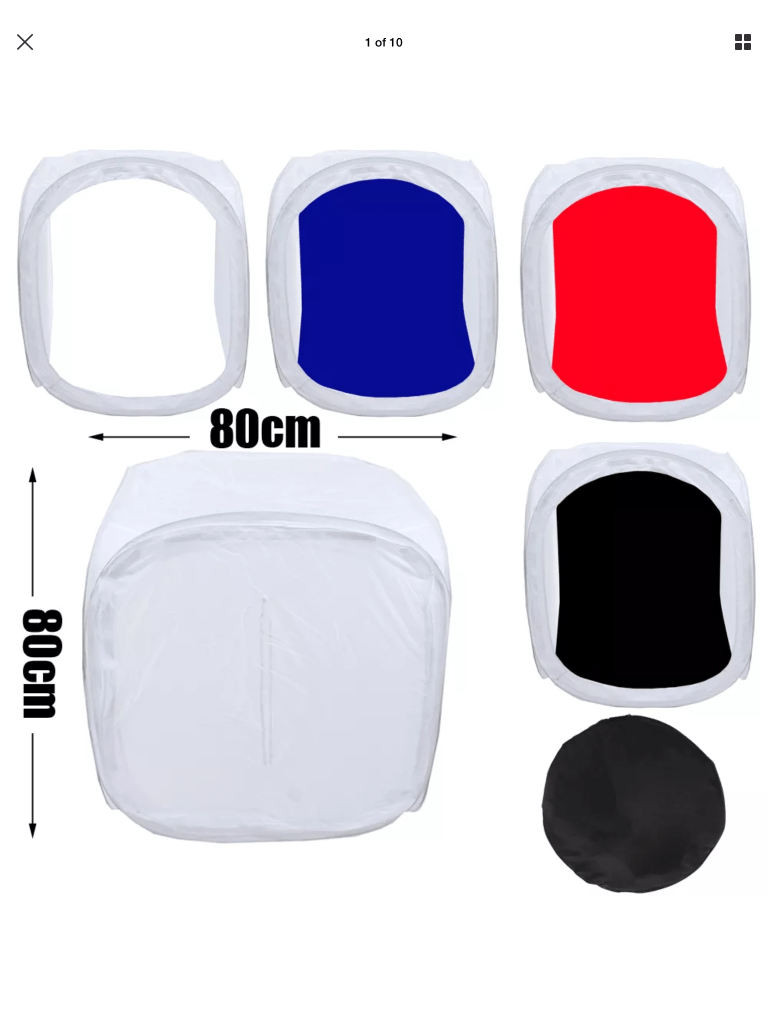
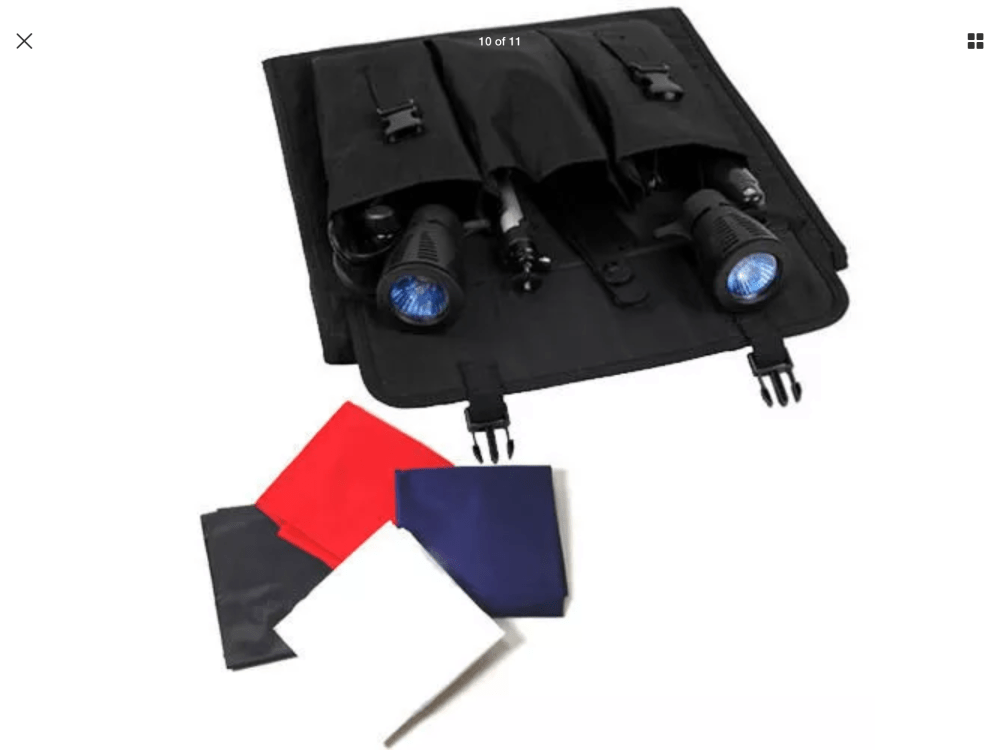
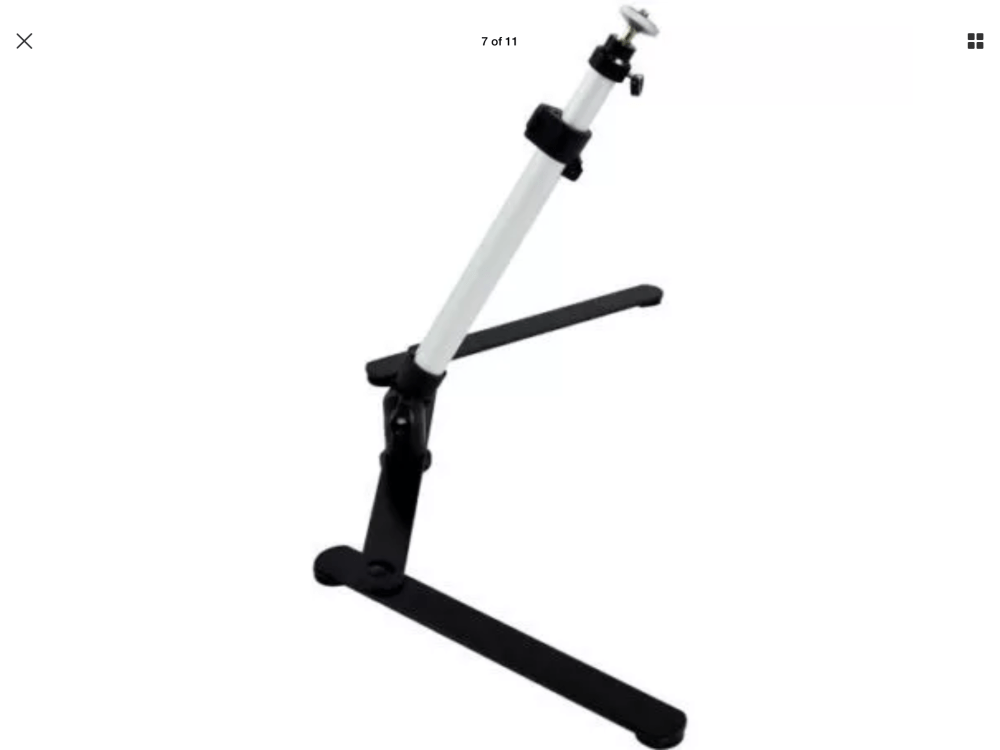
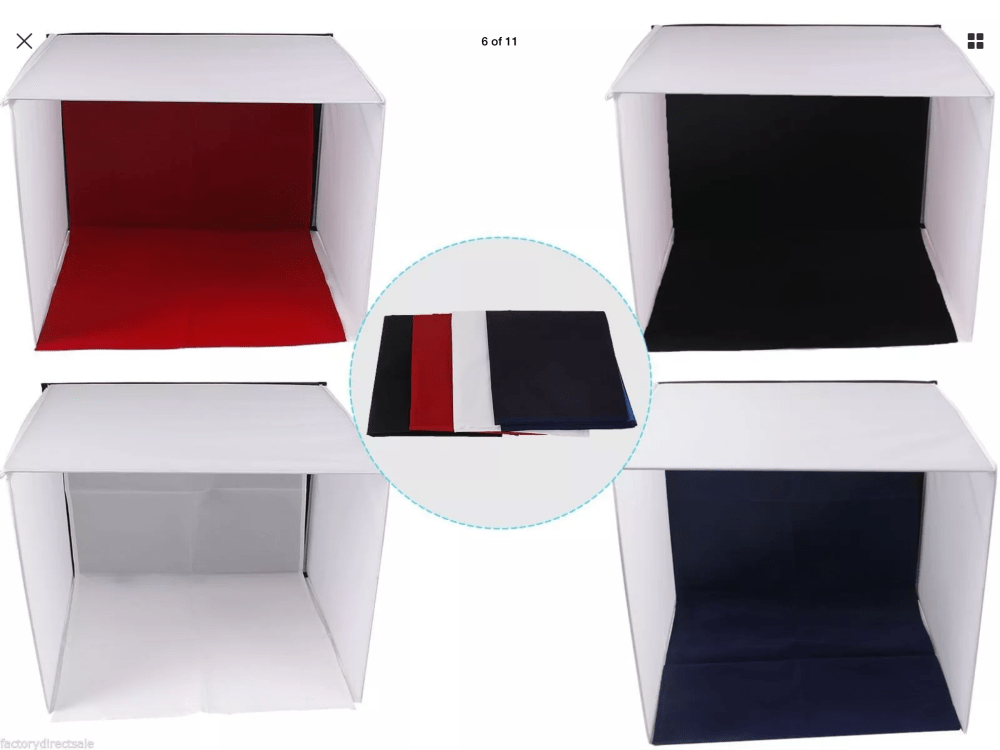
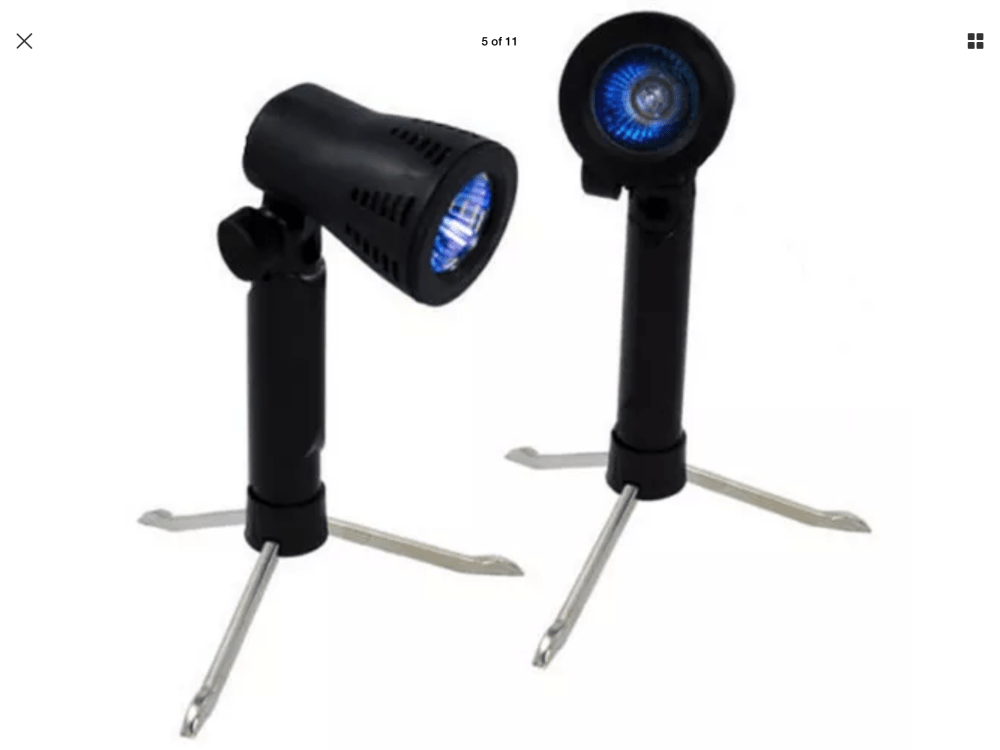
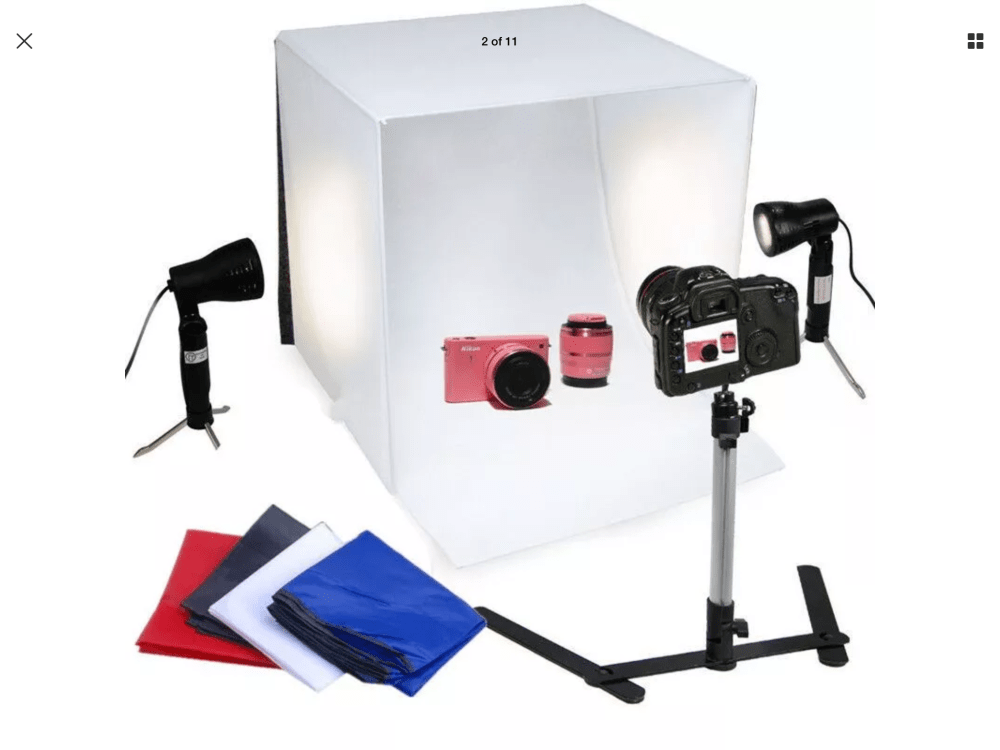
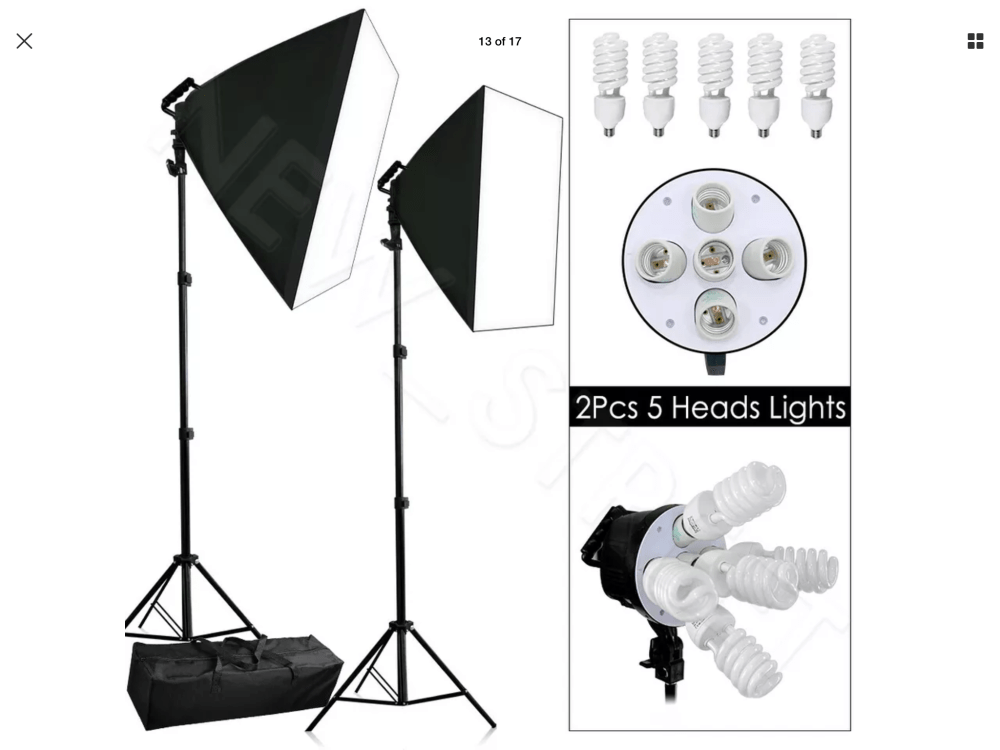
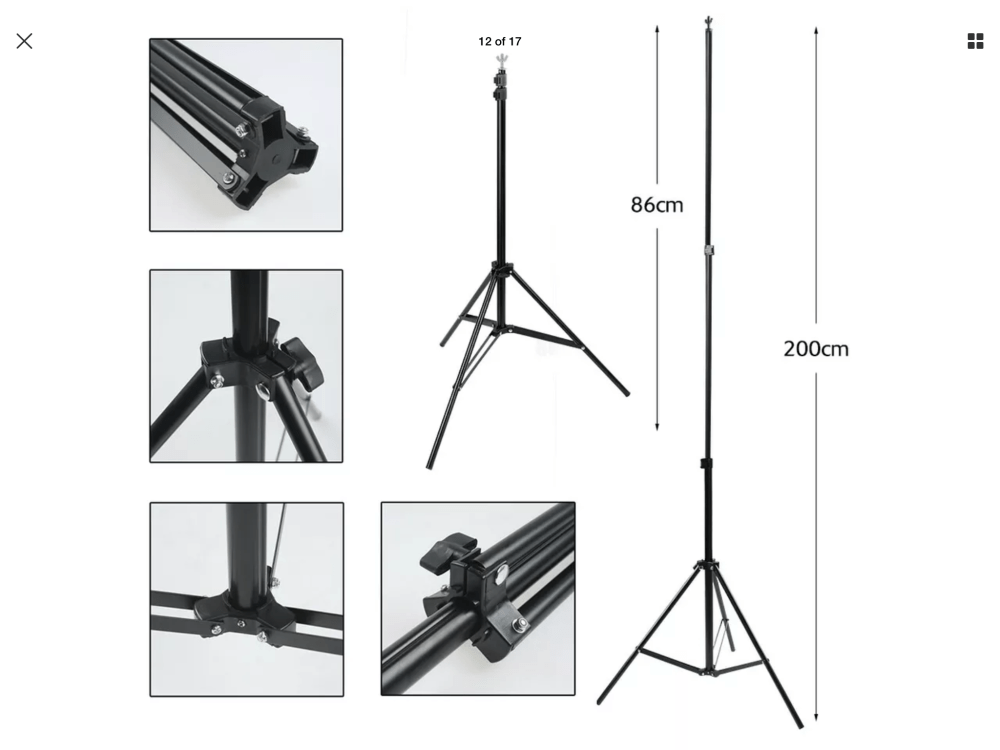
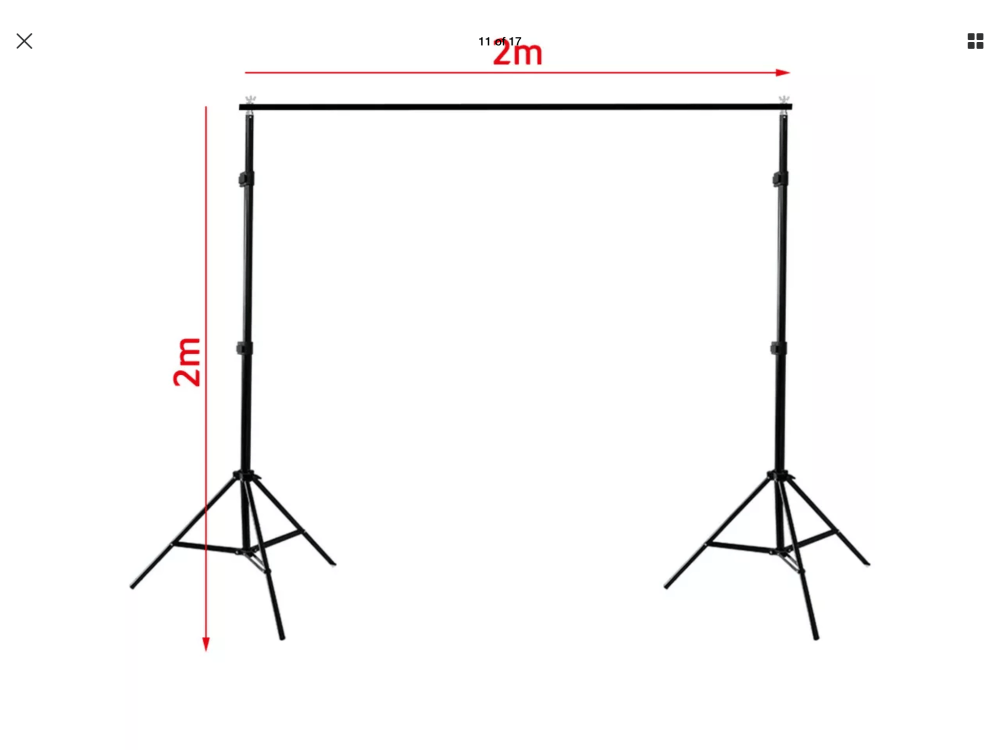
Equipment that I still have comprises of fairly cheap portable equipment with two portable backdrop stands ,white ,grey ,black and green chroma key large backdrops. Four soft boxes with interchangeable globes two that take 5 globes and two that take one , one Godox strobe (not pictured) various small lighting tents and a godox strobe. Reflectors , grey cards and dark room equipment I can’t bear to part with.

I need a new light meter as that got broken during our last house move along with a favourite 70-300mm lens I’ve had for almost two decades that I originally bought for my canon EOS 3000 film camera back in 2003. The move was last November and I was pretty upset so much swearing was heard denouncing the moving company. I really miss having a dedicated space for all my gear permanently set up, but as I do a lot of natural light photography and landscapes I don’t use it a lot anymore.

Basic cost is around $500-$1000 to start out and then more specialty lighting equipment, gels, better stands, beauty dishes and set ups are incremental, depending on what you can afford to spend, to be honest if I needed to use a studio these days I would look at booking time in an established studio otherwise I can get away with a few lights for specific tasks or temporarily moving furniture out of the way in my lounge room to create a temporary studio environment.

Comparing Light

The task – Activity 3.1: Comparing light 

Photograph a set of images of a static subject that will allow you to make a comparison between the effect and look of light at different times during the day.

Steps: 

  • Find a location well lit by natural light either at home (eg a room with a north facing window) or an outdoor scene that you can easily return to photograph from the same position/viewpoint throughout the day.
  • If shooting at home, position an object within the room in such a way as to achieve a visually attractive composition. Ensure that the object may remain in that same position throughout the day.
  • If shooting an outdoor location, make sure you are photographing the same scene.
  • Shoot in Program Mode and set the white balance to the daylight preset in your camera or 5500K using your camera’s custom white balance so you can observe the effect time of day and weather have on the colour of light and the colour casts produced during the day.
  • Take at least 5 shots spread out over the day.

The Results

For this activity I chose my favourite plant. I was actually quite fortunate with changing light during the day as we had cloud cover and brilliant sunlight at various times ranging from 8.30am to 3.18pm. The most noticeable changes were in colour hue and intensity of light with the changes in conditions and with the strength of light coming in the window. The light cast shade and illuminated different parts of the orchids depending whether there was brilliant sunlight or more muted light with cloud cover.

Ashy loves helping me when I‘m working
The Subject and location on my kitchen table beside the window

Revisiting The Egg – a study in studio lighting.

The task for module two was to view a YouTube clip of The Egg and create a series of images of an egg with different light angles. The purpose of the task is to show how light can change the feel of an image with the way it’s cast onto the subject. All in all a fun exercise that’s taken me back to the fundamentals of photography and how a subject can be lit to achieve different results and how the direction can change the feel and perspective of an image. My favourite shot was the back lit egg with the diffuser panel on the light

While i enjoyed getting behind the camera and trying to achieve a specific outcome i was outside my comfort zone as i prefer outdoor and street photography and have to be coerced into a studio environment by my lovely friend and visionary assistant Sara but the whole purpose of doing this course to get a Diploma of Photo Imaging is to become a better photographer in all aspects of photography.

The Egg

The set ofsix images above were with the use of the diffuser panel which softens the light and the amount of detail on the egg as well as the colour tones.

The second set of images were without the diffuser panel on the light, the light was stronger and the colour tone was a lot starker and more vibrant.

Module one – part two.

As in part one we were asked to look at four pictures and describe them, this time however they were Images of our own choosing. I chose strong black and white images and I guess that monochromatic is my preference when looking at photos I admire most and the way their lit and what they convey to me. The photographers featured in this task are Man Ray , Saul Leiter , Annie Leibovitz and Rebecca Lepkopf

Glass Tears – Man Ray

Glass Tears by Man Ray

The image is lit by ambient studio lighting with a white cool feel to it. The image has been cropped to accentuate the glass tear drops on the models face and she’s looking up away from the camera projecting a sense of sorrow. Man Ray was a photographer and artist during the Dada and Surrealist movements whose imagery was strong and provocative in order to illicit a response from the viewe and is considered to be one of the greatest artists in the 20th century and widely recognised for his contributions to photography.

In Her Room – Saul Lieter

In her Room by Saul Leiter

At first glance it has a feel of looking through slightly misted glass at a young woman burdened by something that happened during the course of her day, it evokes the feeling of sitting on your bed in the moment just before you burst into tears. The subject is lit from the front with a dark background emphasising her eyes and forehead the blurring around her hands suggests a narrow depth of field and moment of her hands to her face but could be moment in camera and how the light was captured on the film.

Angelina Jolie – Annie Leibovitz

Angelina Jolie

I just love Annie Leibovitz’s portraits, the dark studio background and her subject lit from the front with a cool ambience reflected to bring out the angular beauty of her face and wearing black to emphasise her face even more so. A strong portrait of a strong lady.

Street Photography- Rebecca Lepkoff

Life on the lower east side- Street Photography by Rebecca Lepkoff

Street Photography is one of my passions and I just love images from the earlier part of the 20th century. This captures young boys doing what boys do, playing in the street about to splash in a gutter. Lit naturally during the day showing boys in the afternoon in New York Cities Lower East Side. Rebecca was a photographer during the 1940s and purchased her first camera in 1939 by working as a Dancer at The World Fair and her work captured life on the streets, which is what I love best when I have a camera in my hands.

Light and Lighting-Module One.

This weeks task asked us to view a series of images and describe the light and what emotions and critiques the images invoked in us. These are not my images and were part of the assessment brief from our lecturer.

Female Portrait

The image evokes a sense of unconventional beauty in the wonderful symmetry of her face and the freckles covering it. The studio lighting is a a cool white and reflected to highlight her face combined with a shallow depth of field emphasising the subjects face and bold unblinking stare as if she’s daring you to pick on her about her freckles.

Male Portrait

This image stuck me as a high contrast studio portrait with warm directional artificial light from the side so directed to profile the subject in a way that conveys the emotion in this image. I feel a sense of sadness and deep despair as I look on this young man. The black backdrop and lighting helps convey the emotion by directing our eyes to his posture in and downcast eyes in this pose.

Double Portrait

This delightful image of siblings blowing bubble in a field automatically gives me the feeling of cliched current trends in “candid” style family photography, that said the beautiful natural lighting backlit the subjects so that the sun glints of their hair creating natural highlights a sense of warmth and joy and childhood innocence.

Seascape

The cool natural light reflected in the water and clouds coupled with the rising mist on the shoreline and the sharpness of the image convey a sense of calm before a storm and of a cool winters and early mornings almost so you don’t notice the muted green of the hills and rising island.