Shutter Speed

The tasks

Activity 5.1: Freezing and Blurring Motion

For your first task this lesson, we will experiment with shutter speed to see how the various settings effect movement and motion.

Find a moving subject such as a person running, car driving, water flowing or birds flying. For best results your subject and its movement should be predictable and repeatable. For this reason, finding a friend or family member to run laps at the local park, for example, is an ideal solution.

With moving subject ready, set, go! – capture a series of images cycling through the shutter speed settings from fast (e.g. 1/2000, 1/4000) to slow (e.g. 1/2, 1”) and compare and contrast the results

Activity 5.2: Panning

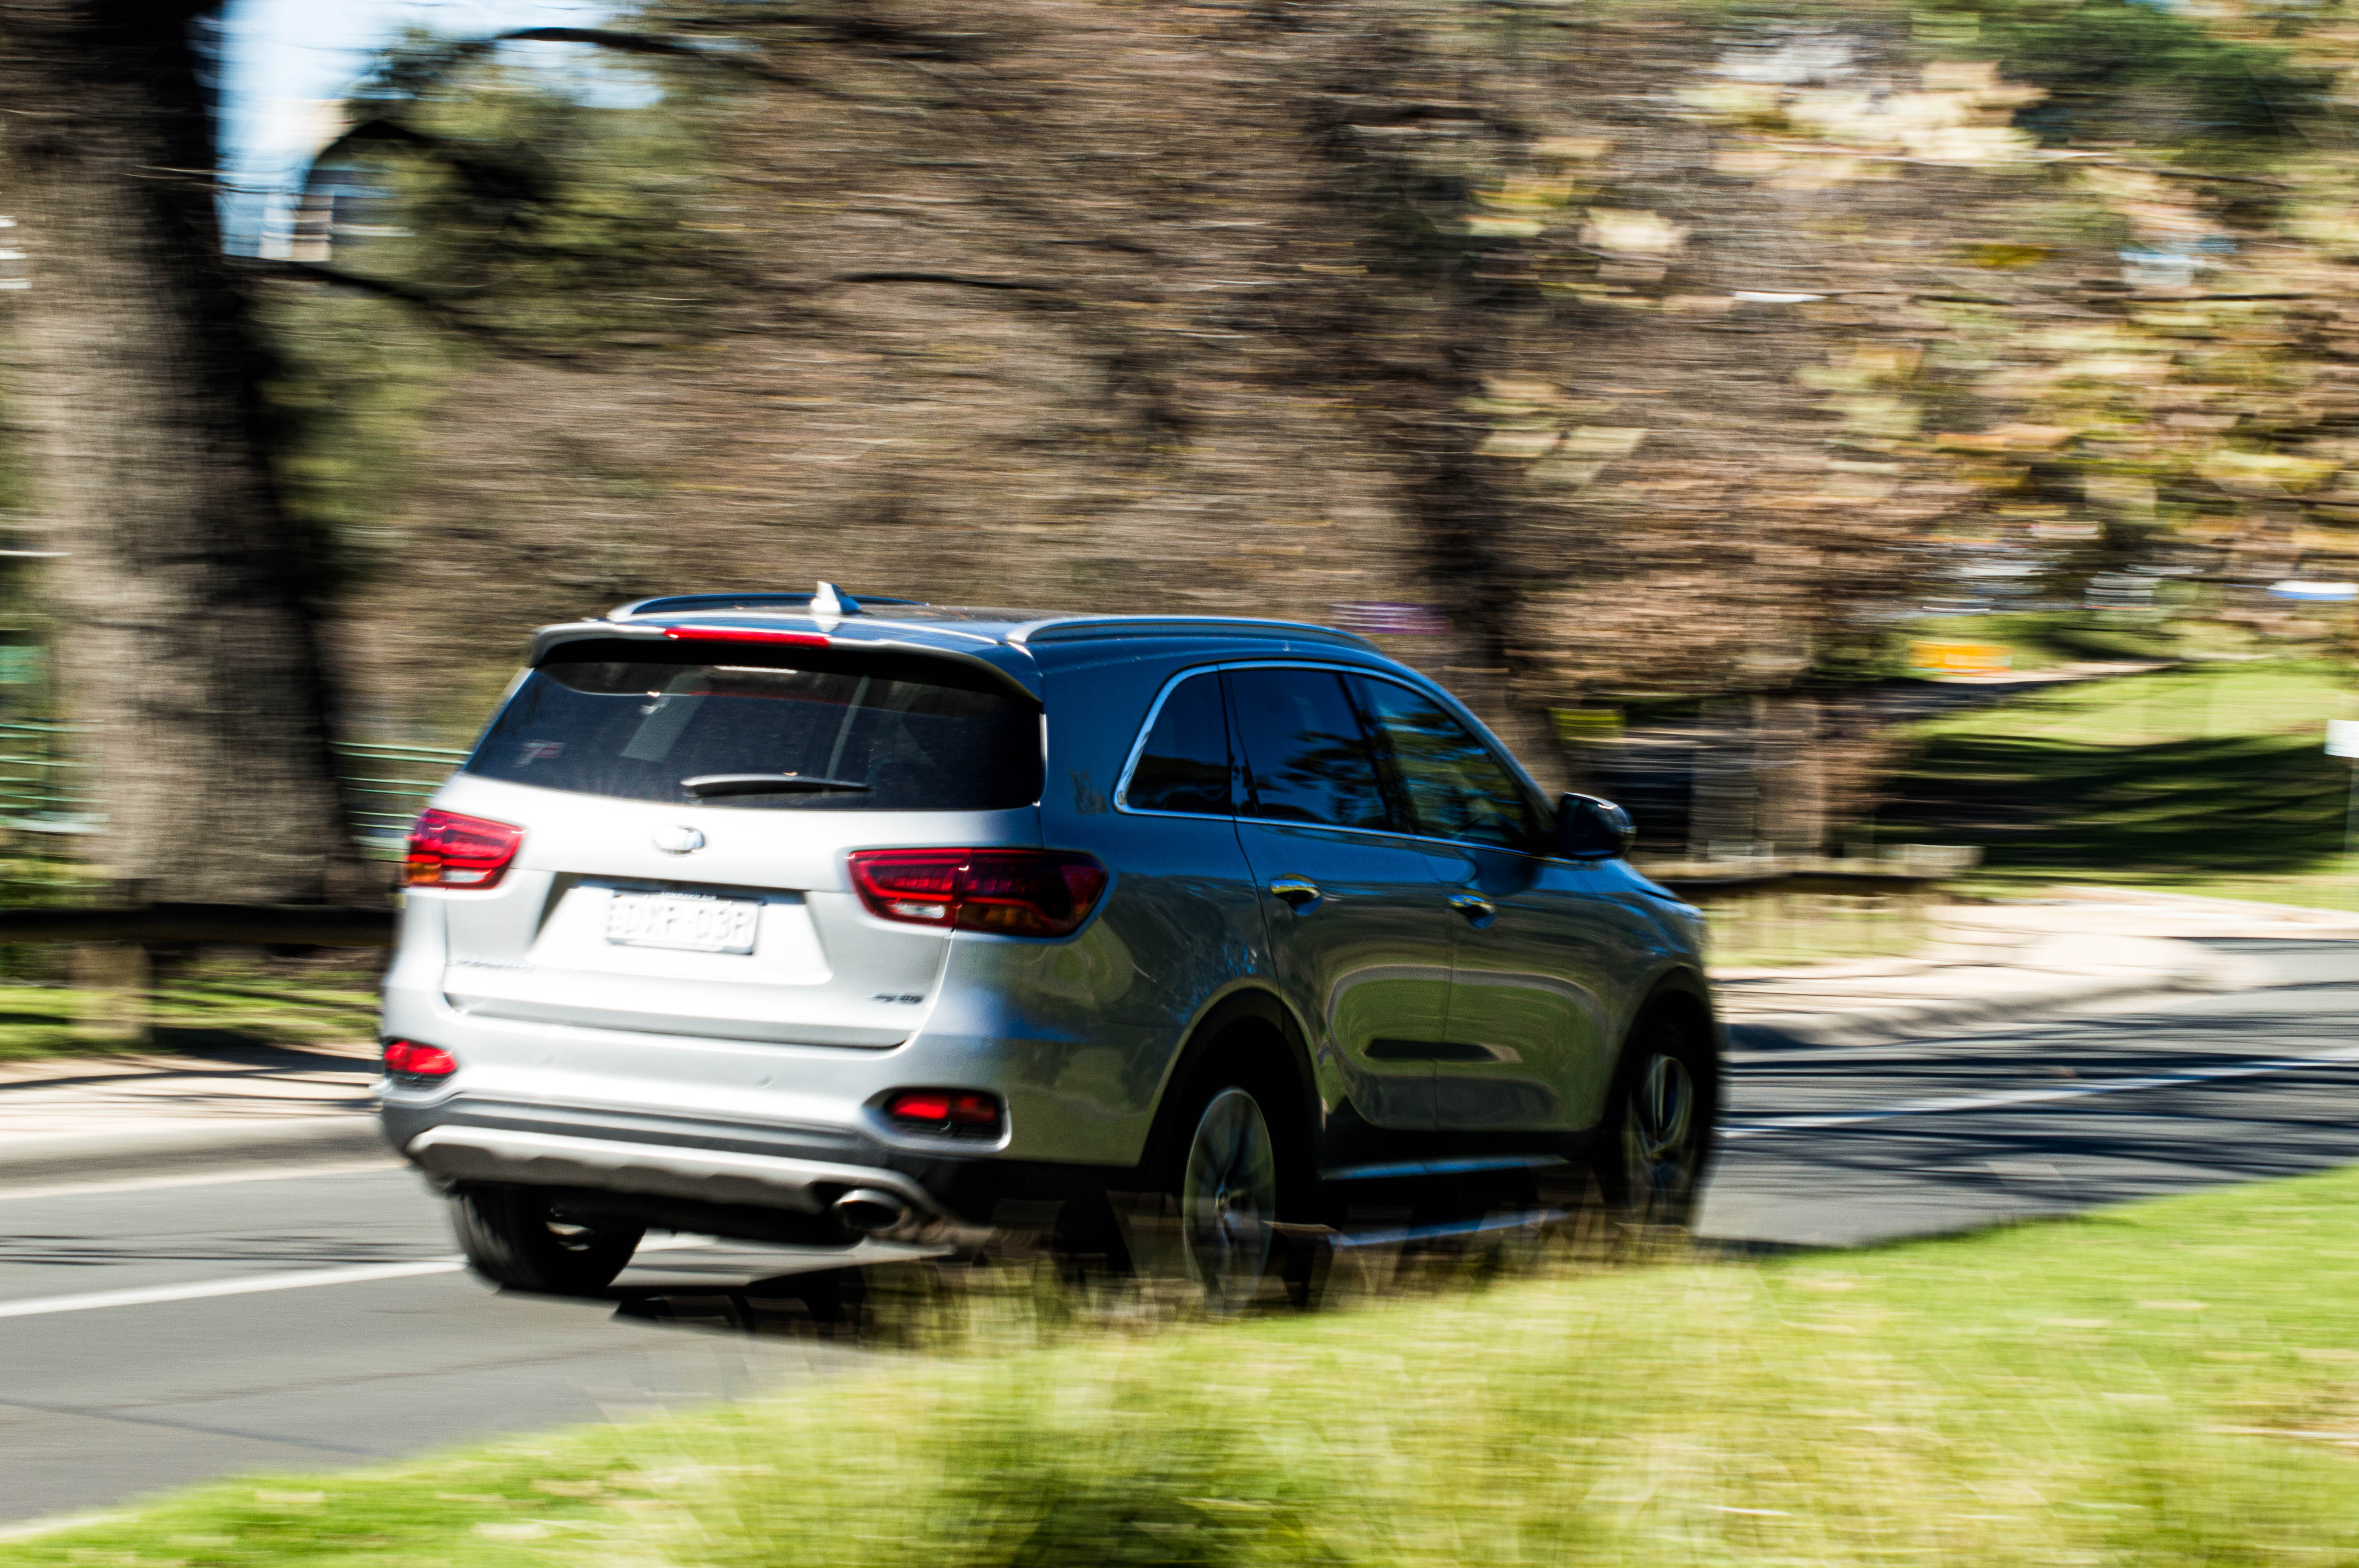
Panning is a shutter speed technique which freezes a moving object whilst blurring the background.

It’s a lot of fun and the results can be spectacular. However, it also requires a lot of trial and error – not to mention plenty of patience!

Like the previous activity, for best results you will need a subject in motion whose movement is predictable and repeatable. You may use the same subject for this exercise if you choose.

Panning works by choosing a slow shutter speed (e.g. 1/8, 1/4) while you track your subject’s movement, either horizontally or vertically.

The exact shutter speed required will vary depending on the focal length used, the speed of your subject and the distance between the camera and your subject. It’s best to pick a starting shutter speed of around 1/8 or 1/15 and then work from there by adjusting the shutter speed until you find the right one, then taking lots of shots.

The Results

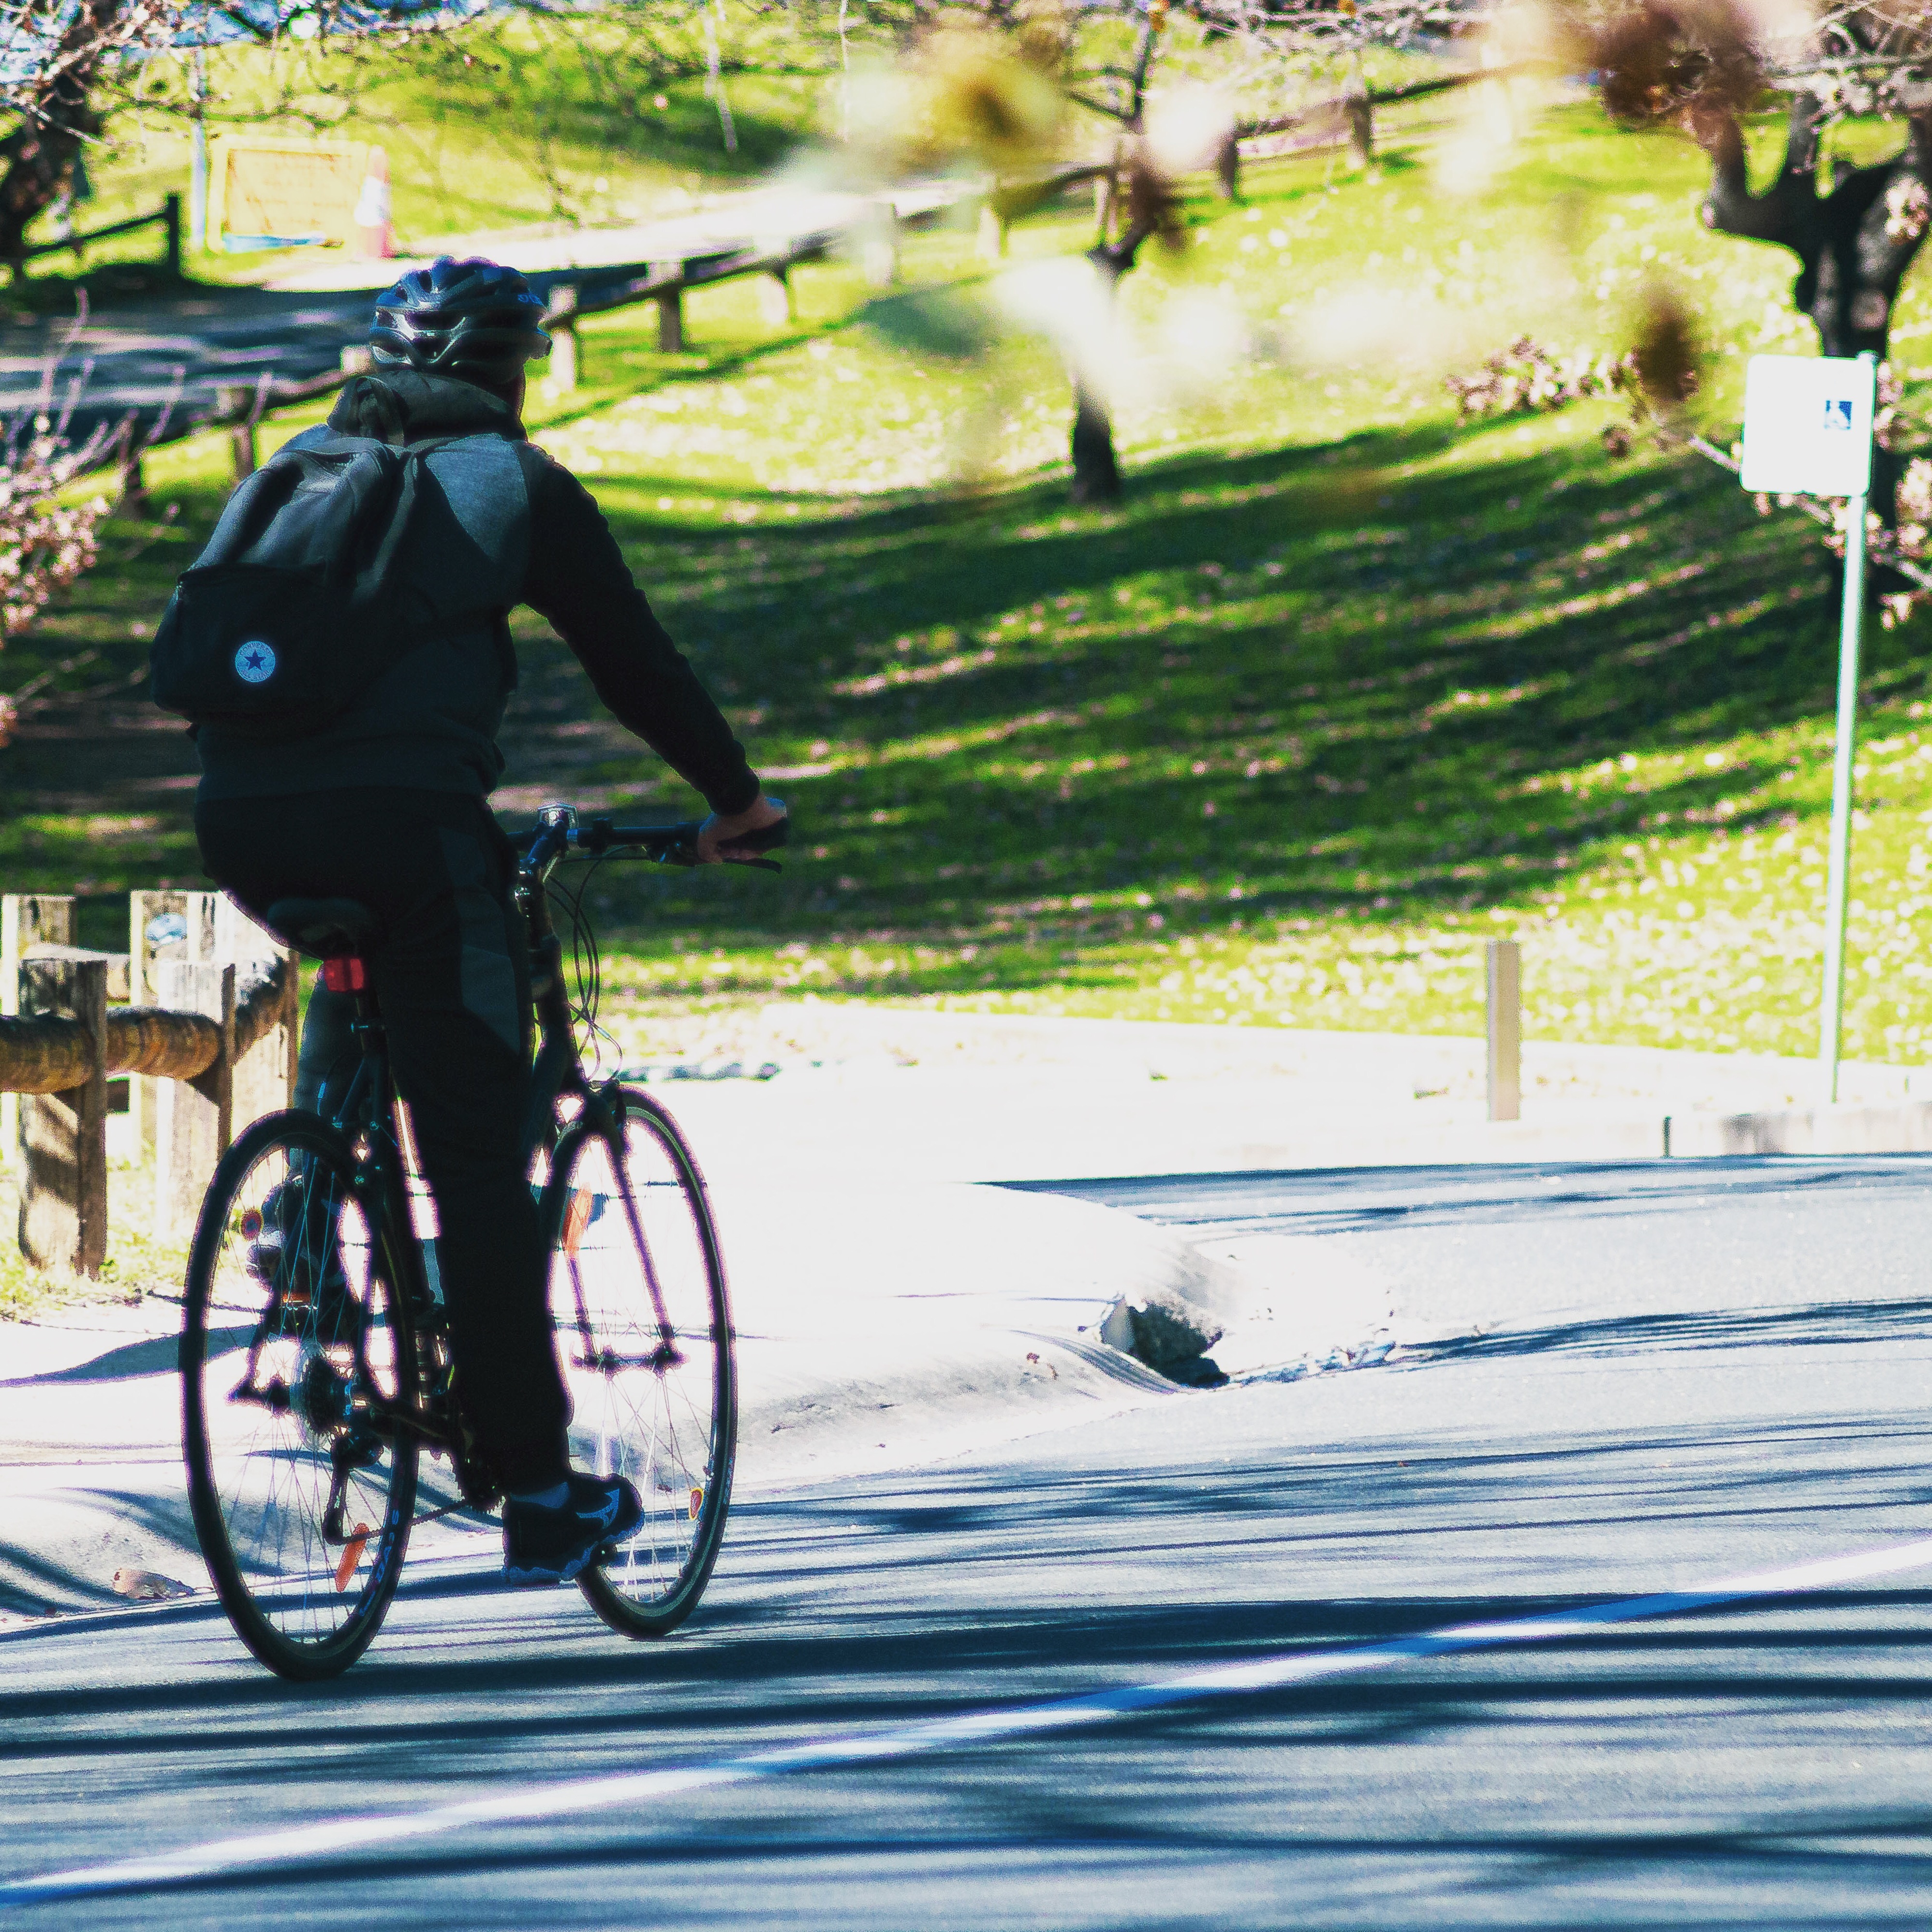
For this activity I went to Parramatta plaza and Parramatta Park as there is a great variety of subjects and a roadway for cars, joggers and cyclists. I also needed a break from my family as prior to this it had been raining for weeks. I found the slower the speed and the quicker I moved which I will say was difficult with a shoulder injury the crisper the panning image and I like the little white hatch the best. And of course the faster the shutter speed the more things were frozen as seen with the cyclist and the people frozen whilst in motion in the plaza . Too slow and the image takes on an abstract painterly look as people walk past. I think my favourite was the man standing still while others walked past displaying crisp sharpness and motion blur in the one image, I used manual for that shot and a really slow shutter speed of about 3 seconds and a Nikkor 70-300mm lens, and my tripod and camera remote.

I really enjoyed just getting out with my camera and getting creative with techniques I haven’t thought about using in years. I’ll definitely be using more creative work in future photography projects.

Comparing Light

The task – Activity 3.1: Comparing light 

Photograph a set of images of a static subject that will allow you to make a comparison between the effect and look of light at different times during the day.

Steps: 

  • Find a location well lit by natural light either at home (eg a room with a north facing window) or an outdoor scene that you can easily return to photograph from the same position/viewpoint throughout the day.
  • If shooting at home, position an object within the room in such a way as to achieve a visually attractive composition. Ensure that the object may remain in that same position throughout the day.
  • If shooting an outdoor location, make sure you are photographing the same scene.
  • Shoot in Program Mode and set the white balance to the daylight preset in your camera or 5500K using your camera’s custom white balance so you can observe the effect time of day and weather have on the colour of light and the colour casts produced during the day.
  • Take at least 5 shots spread out over the day.

The Results

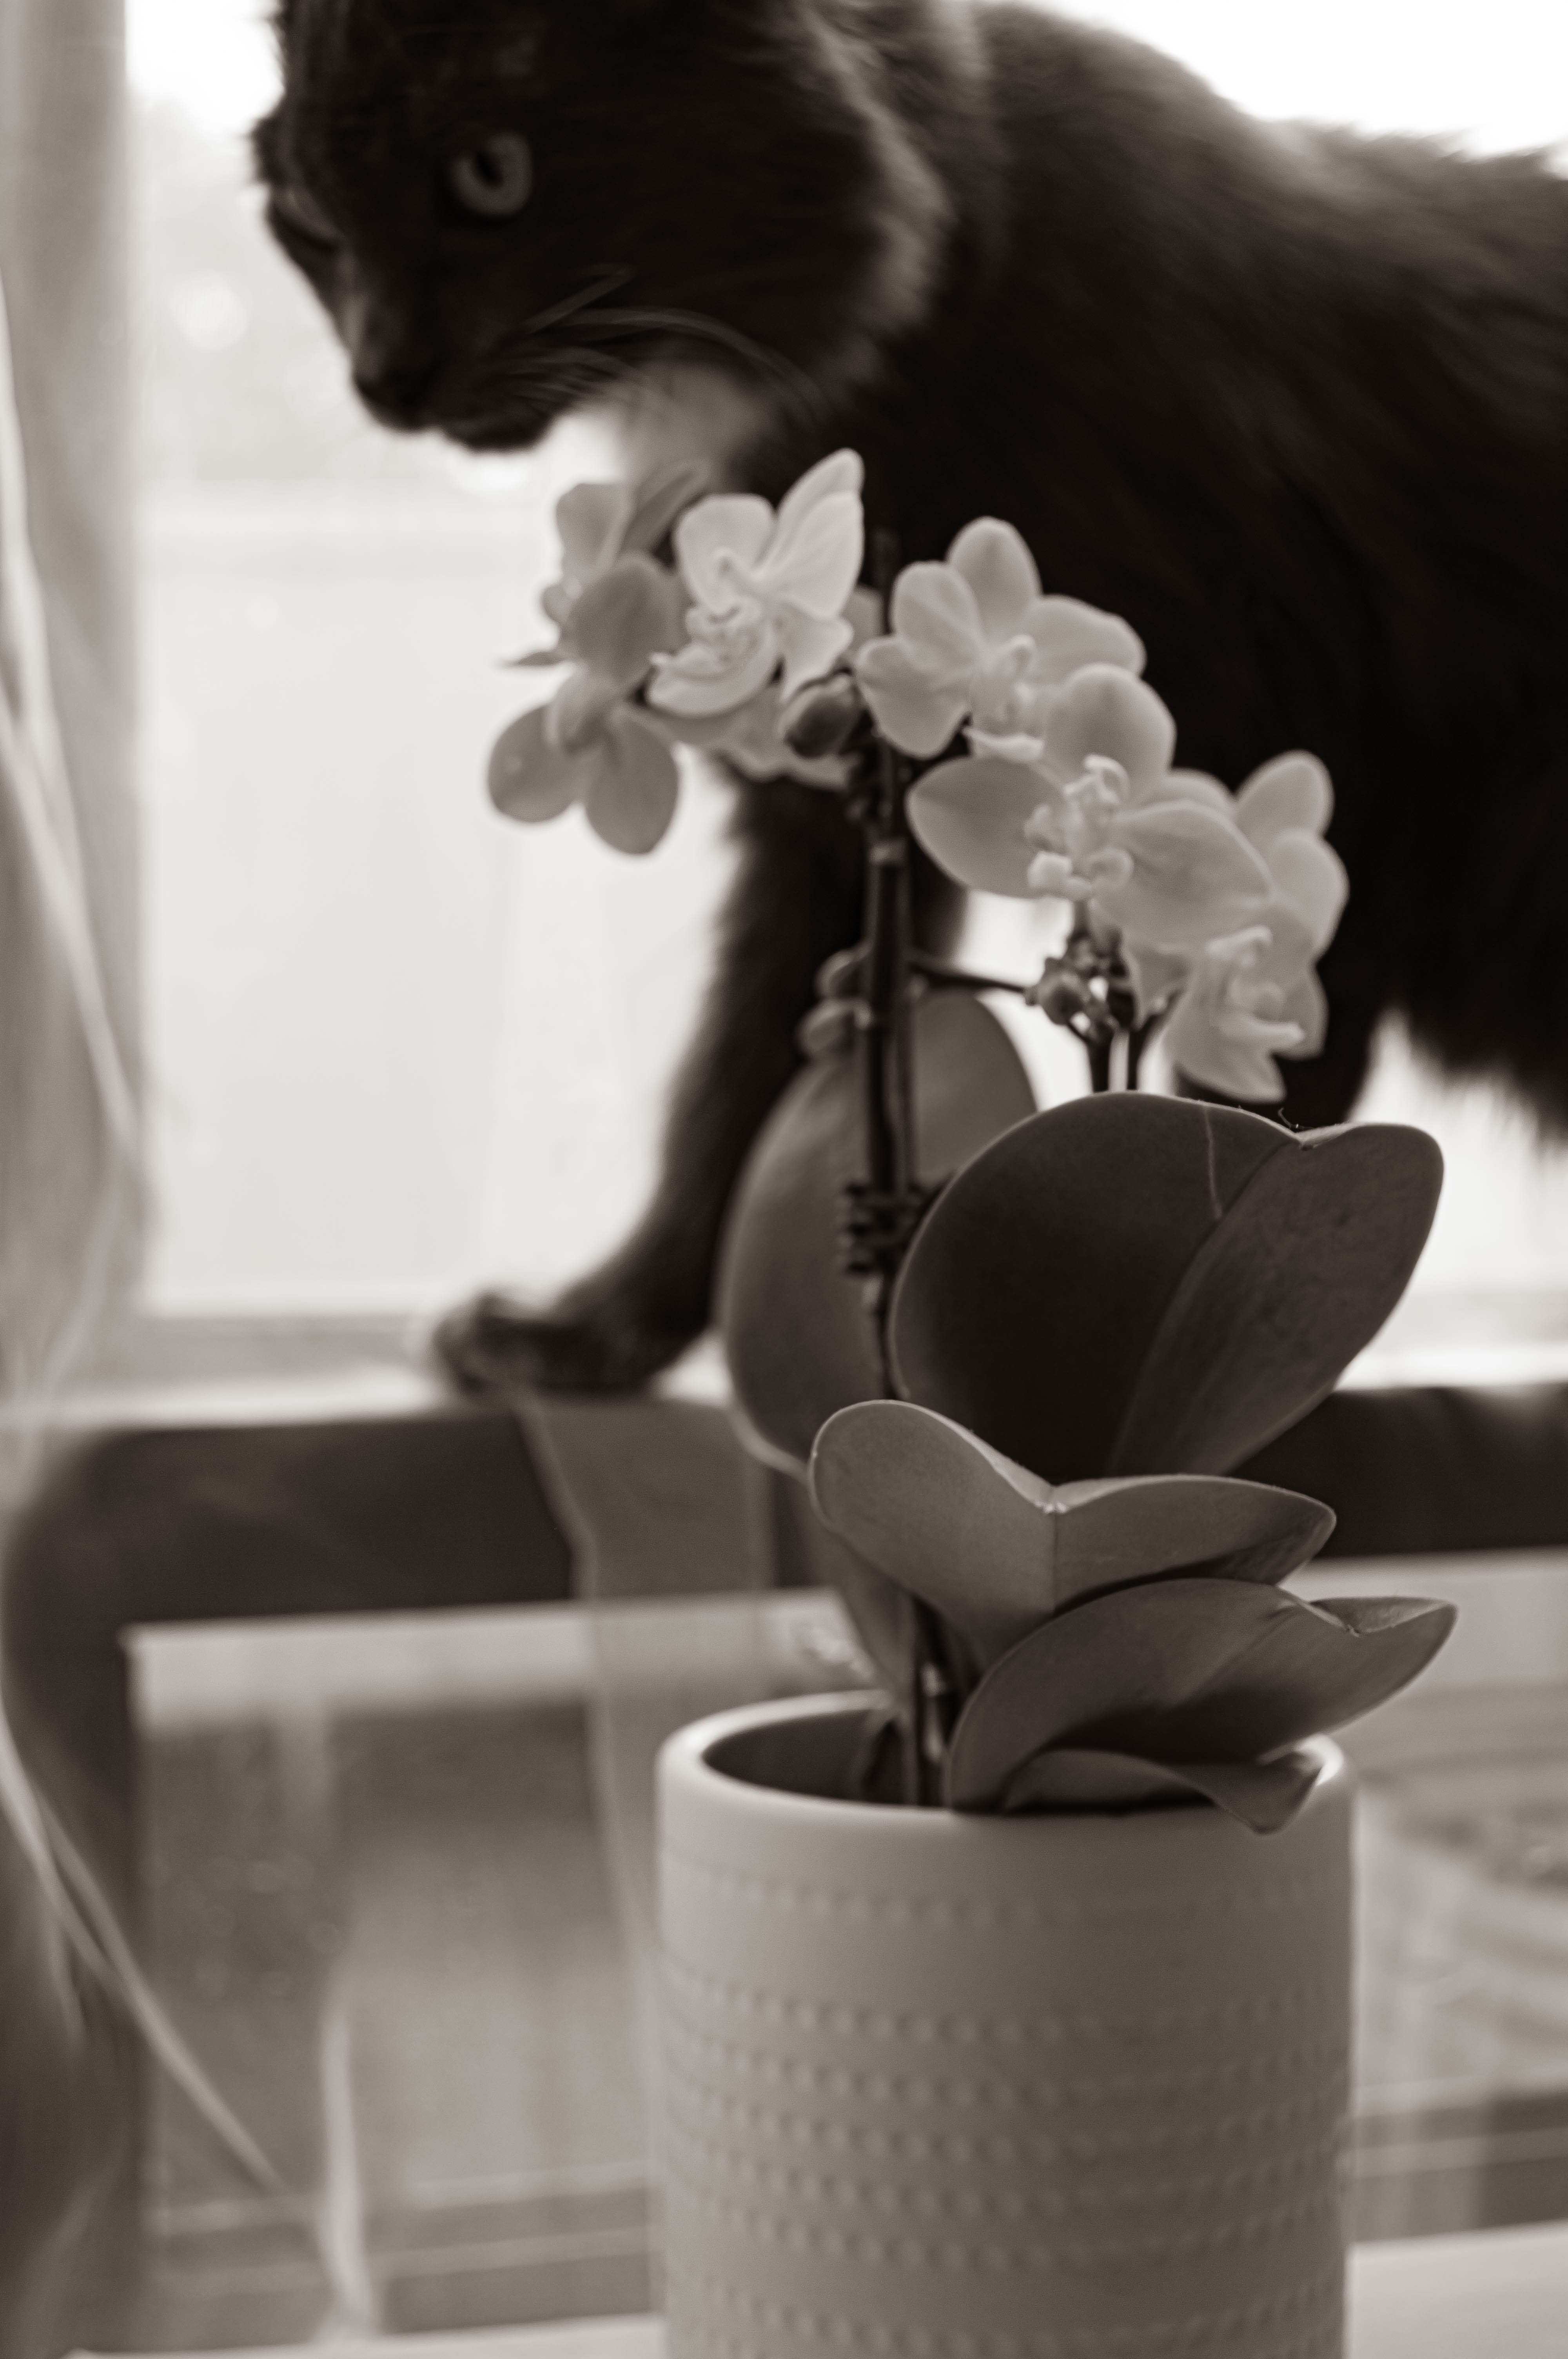
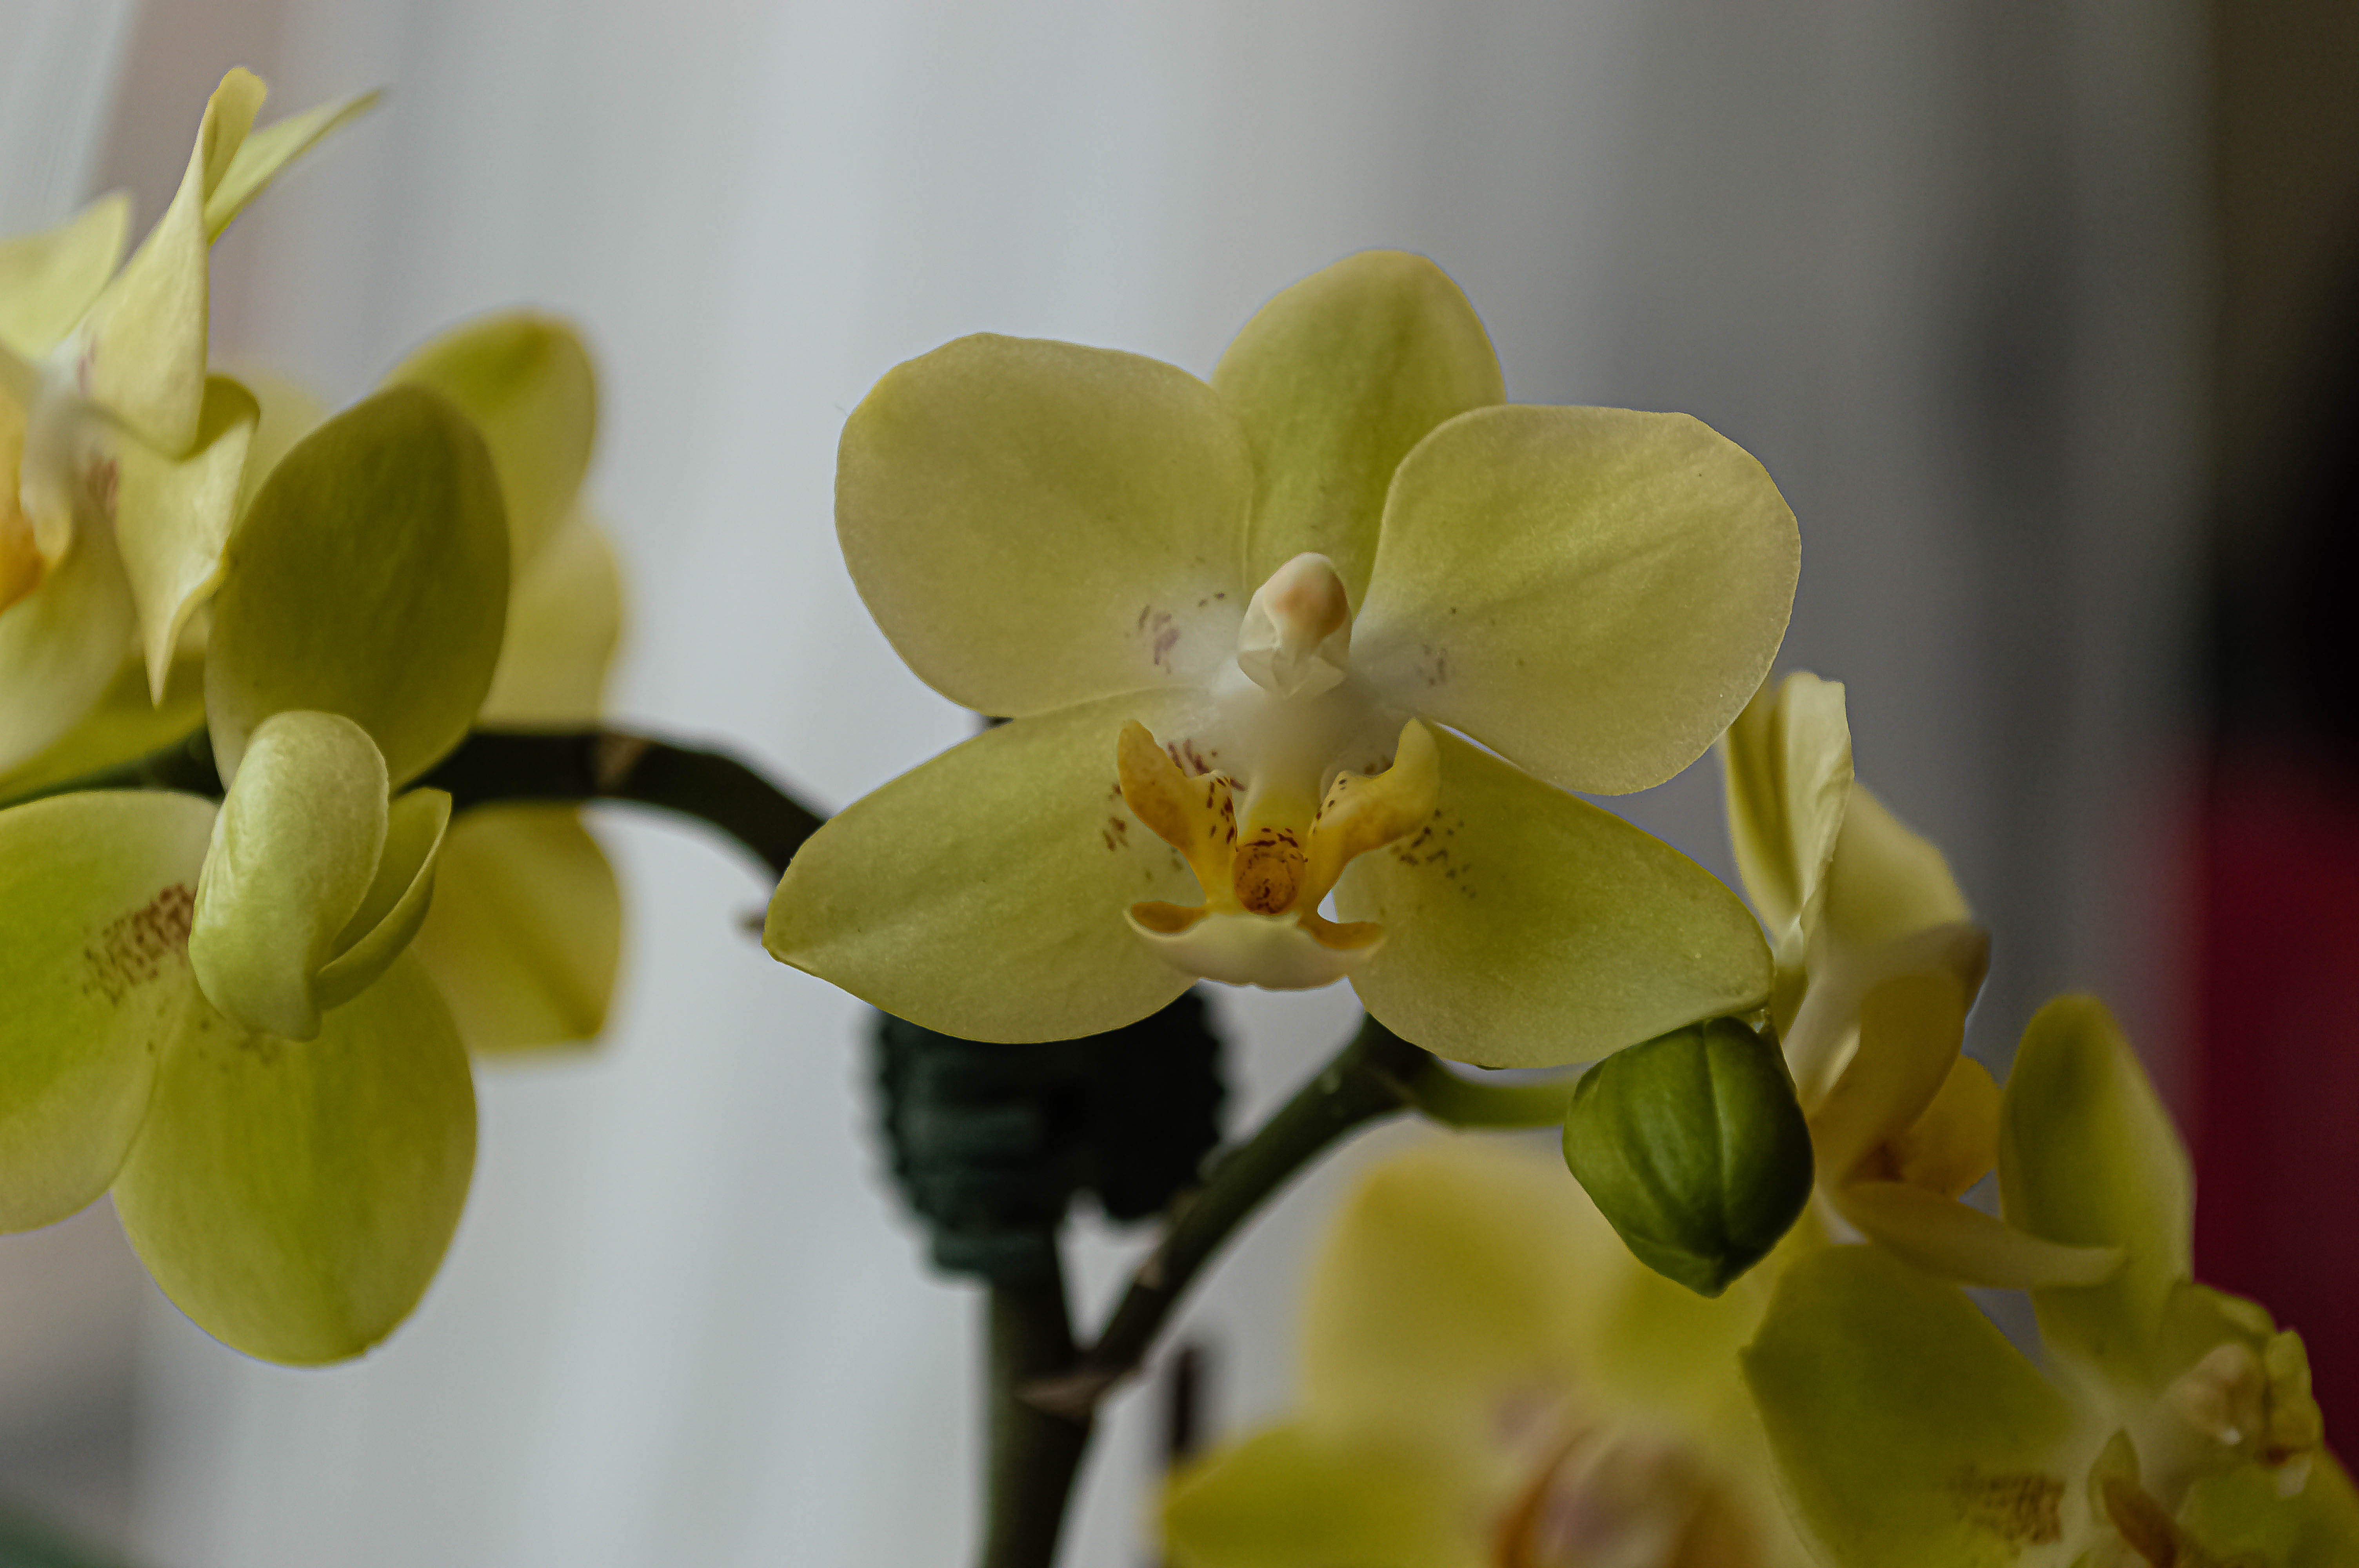
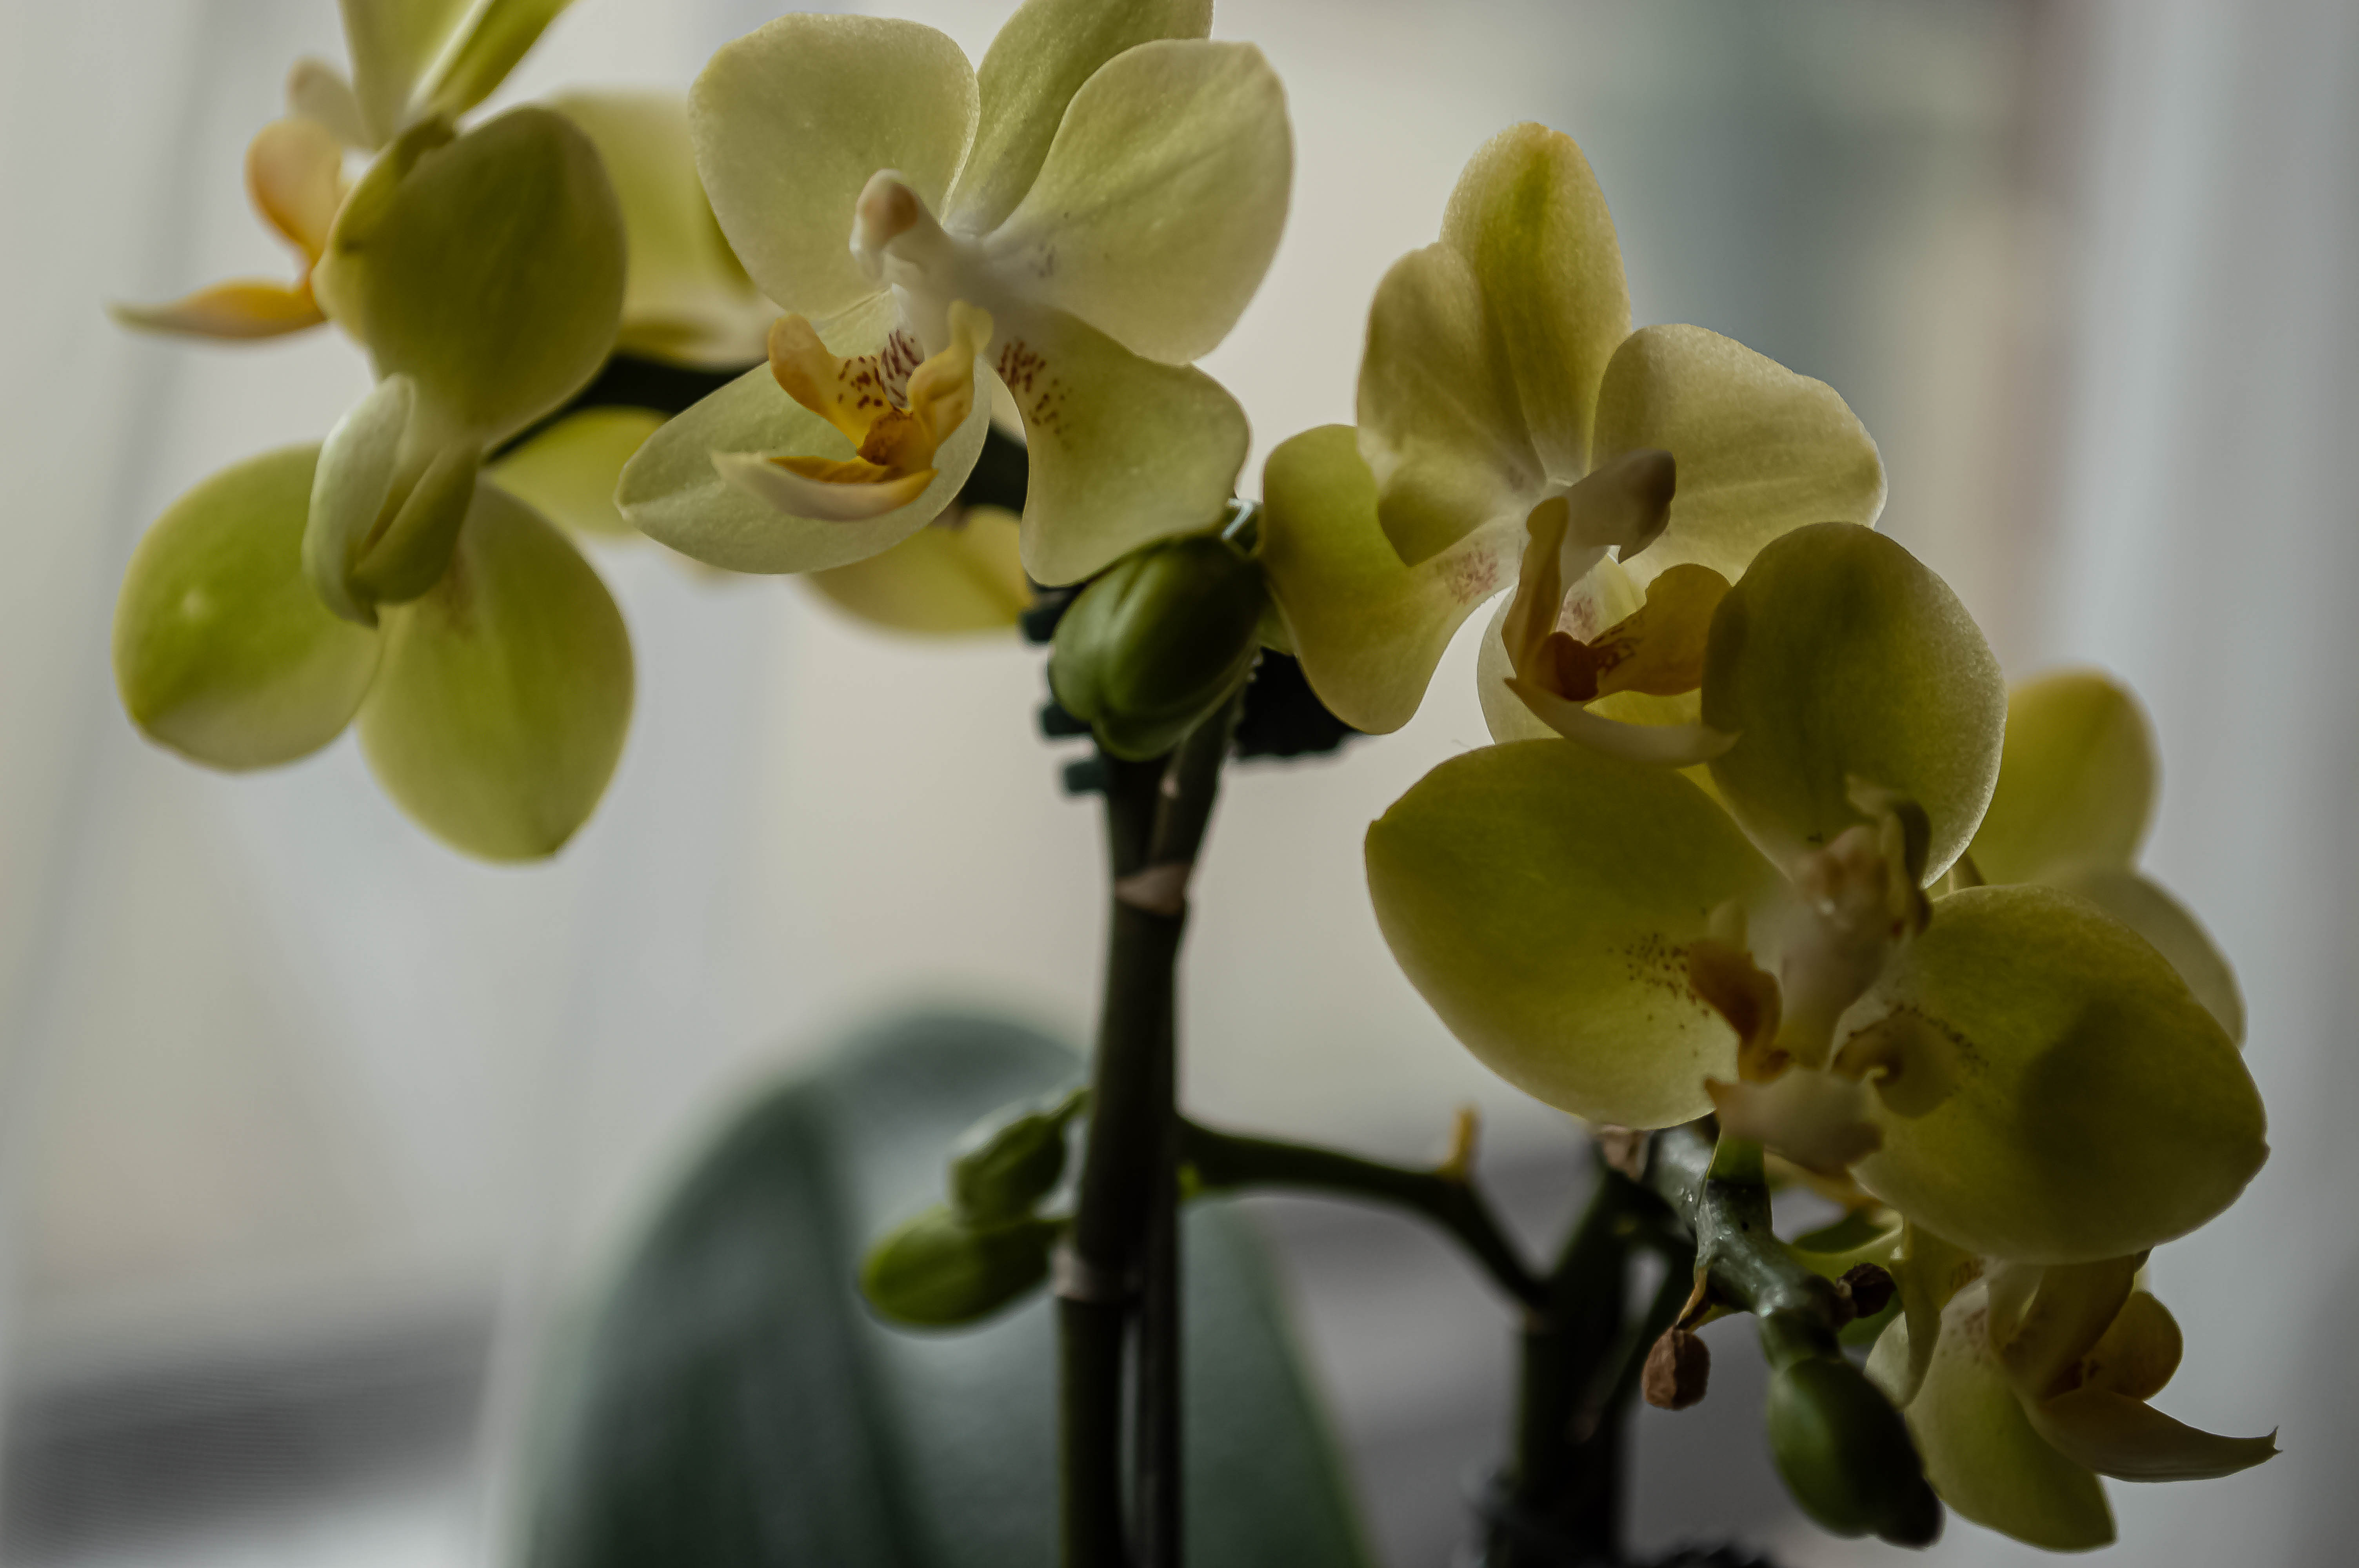
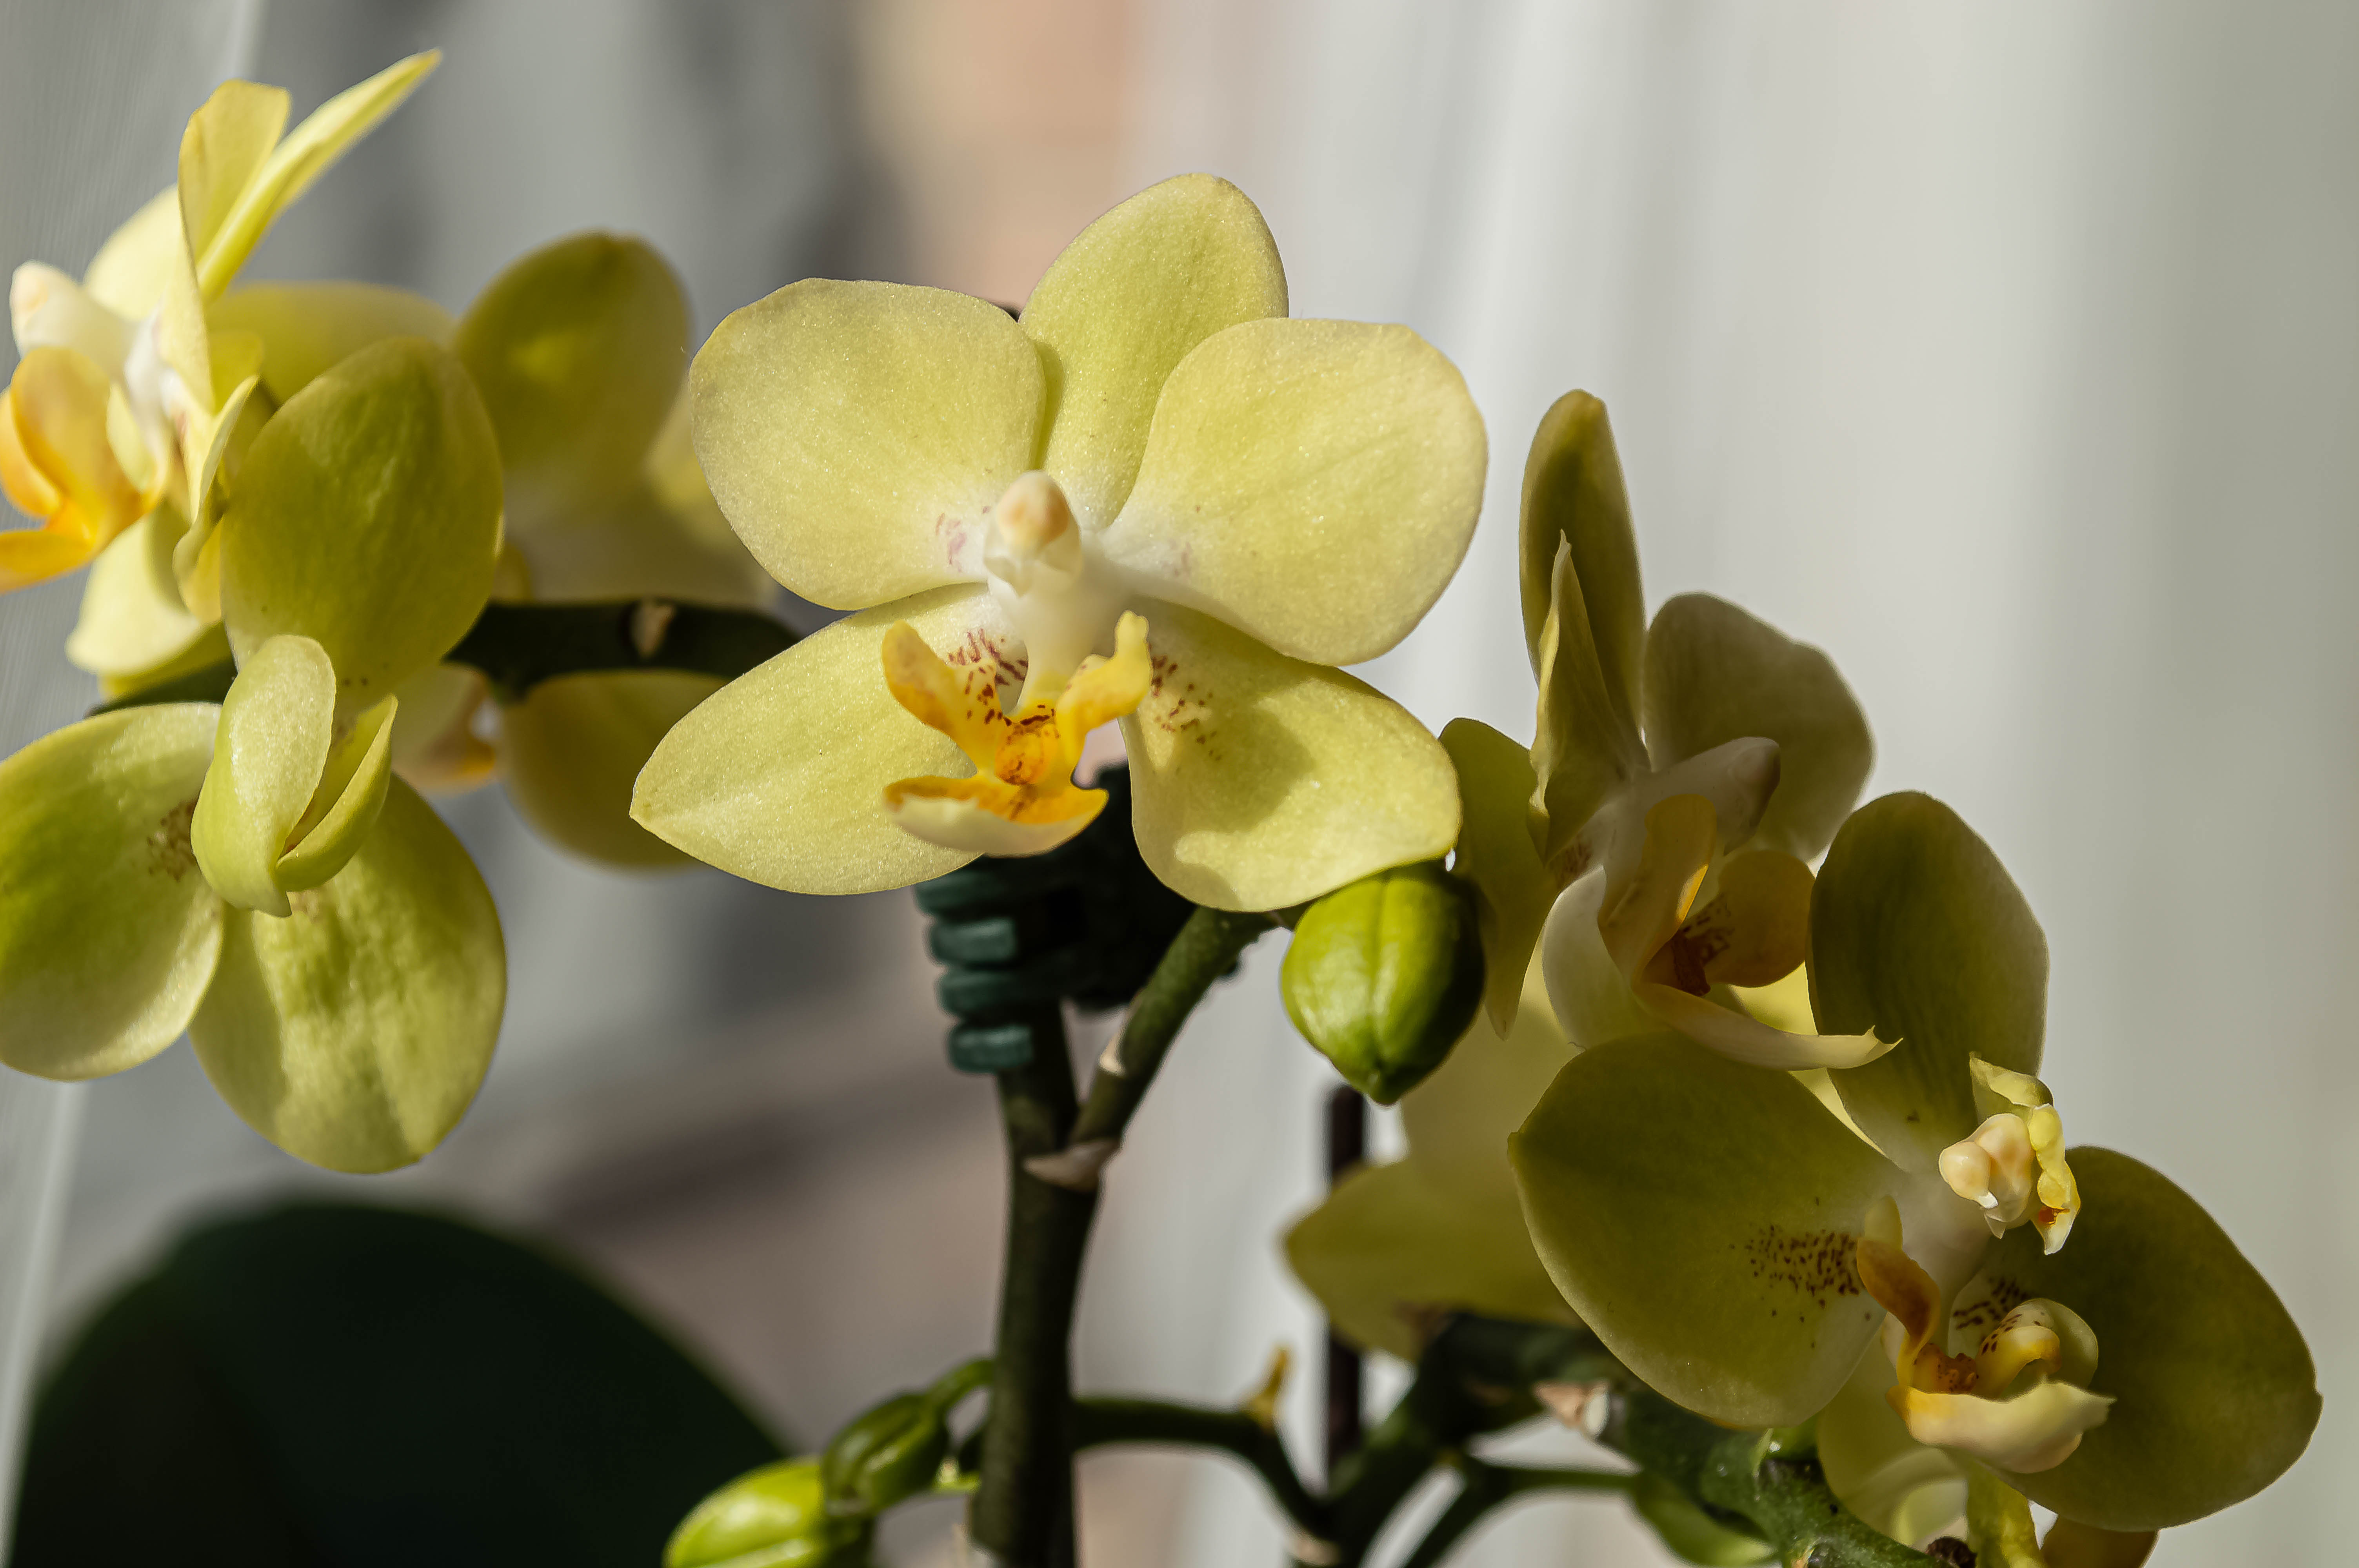
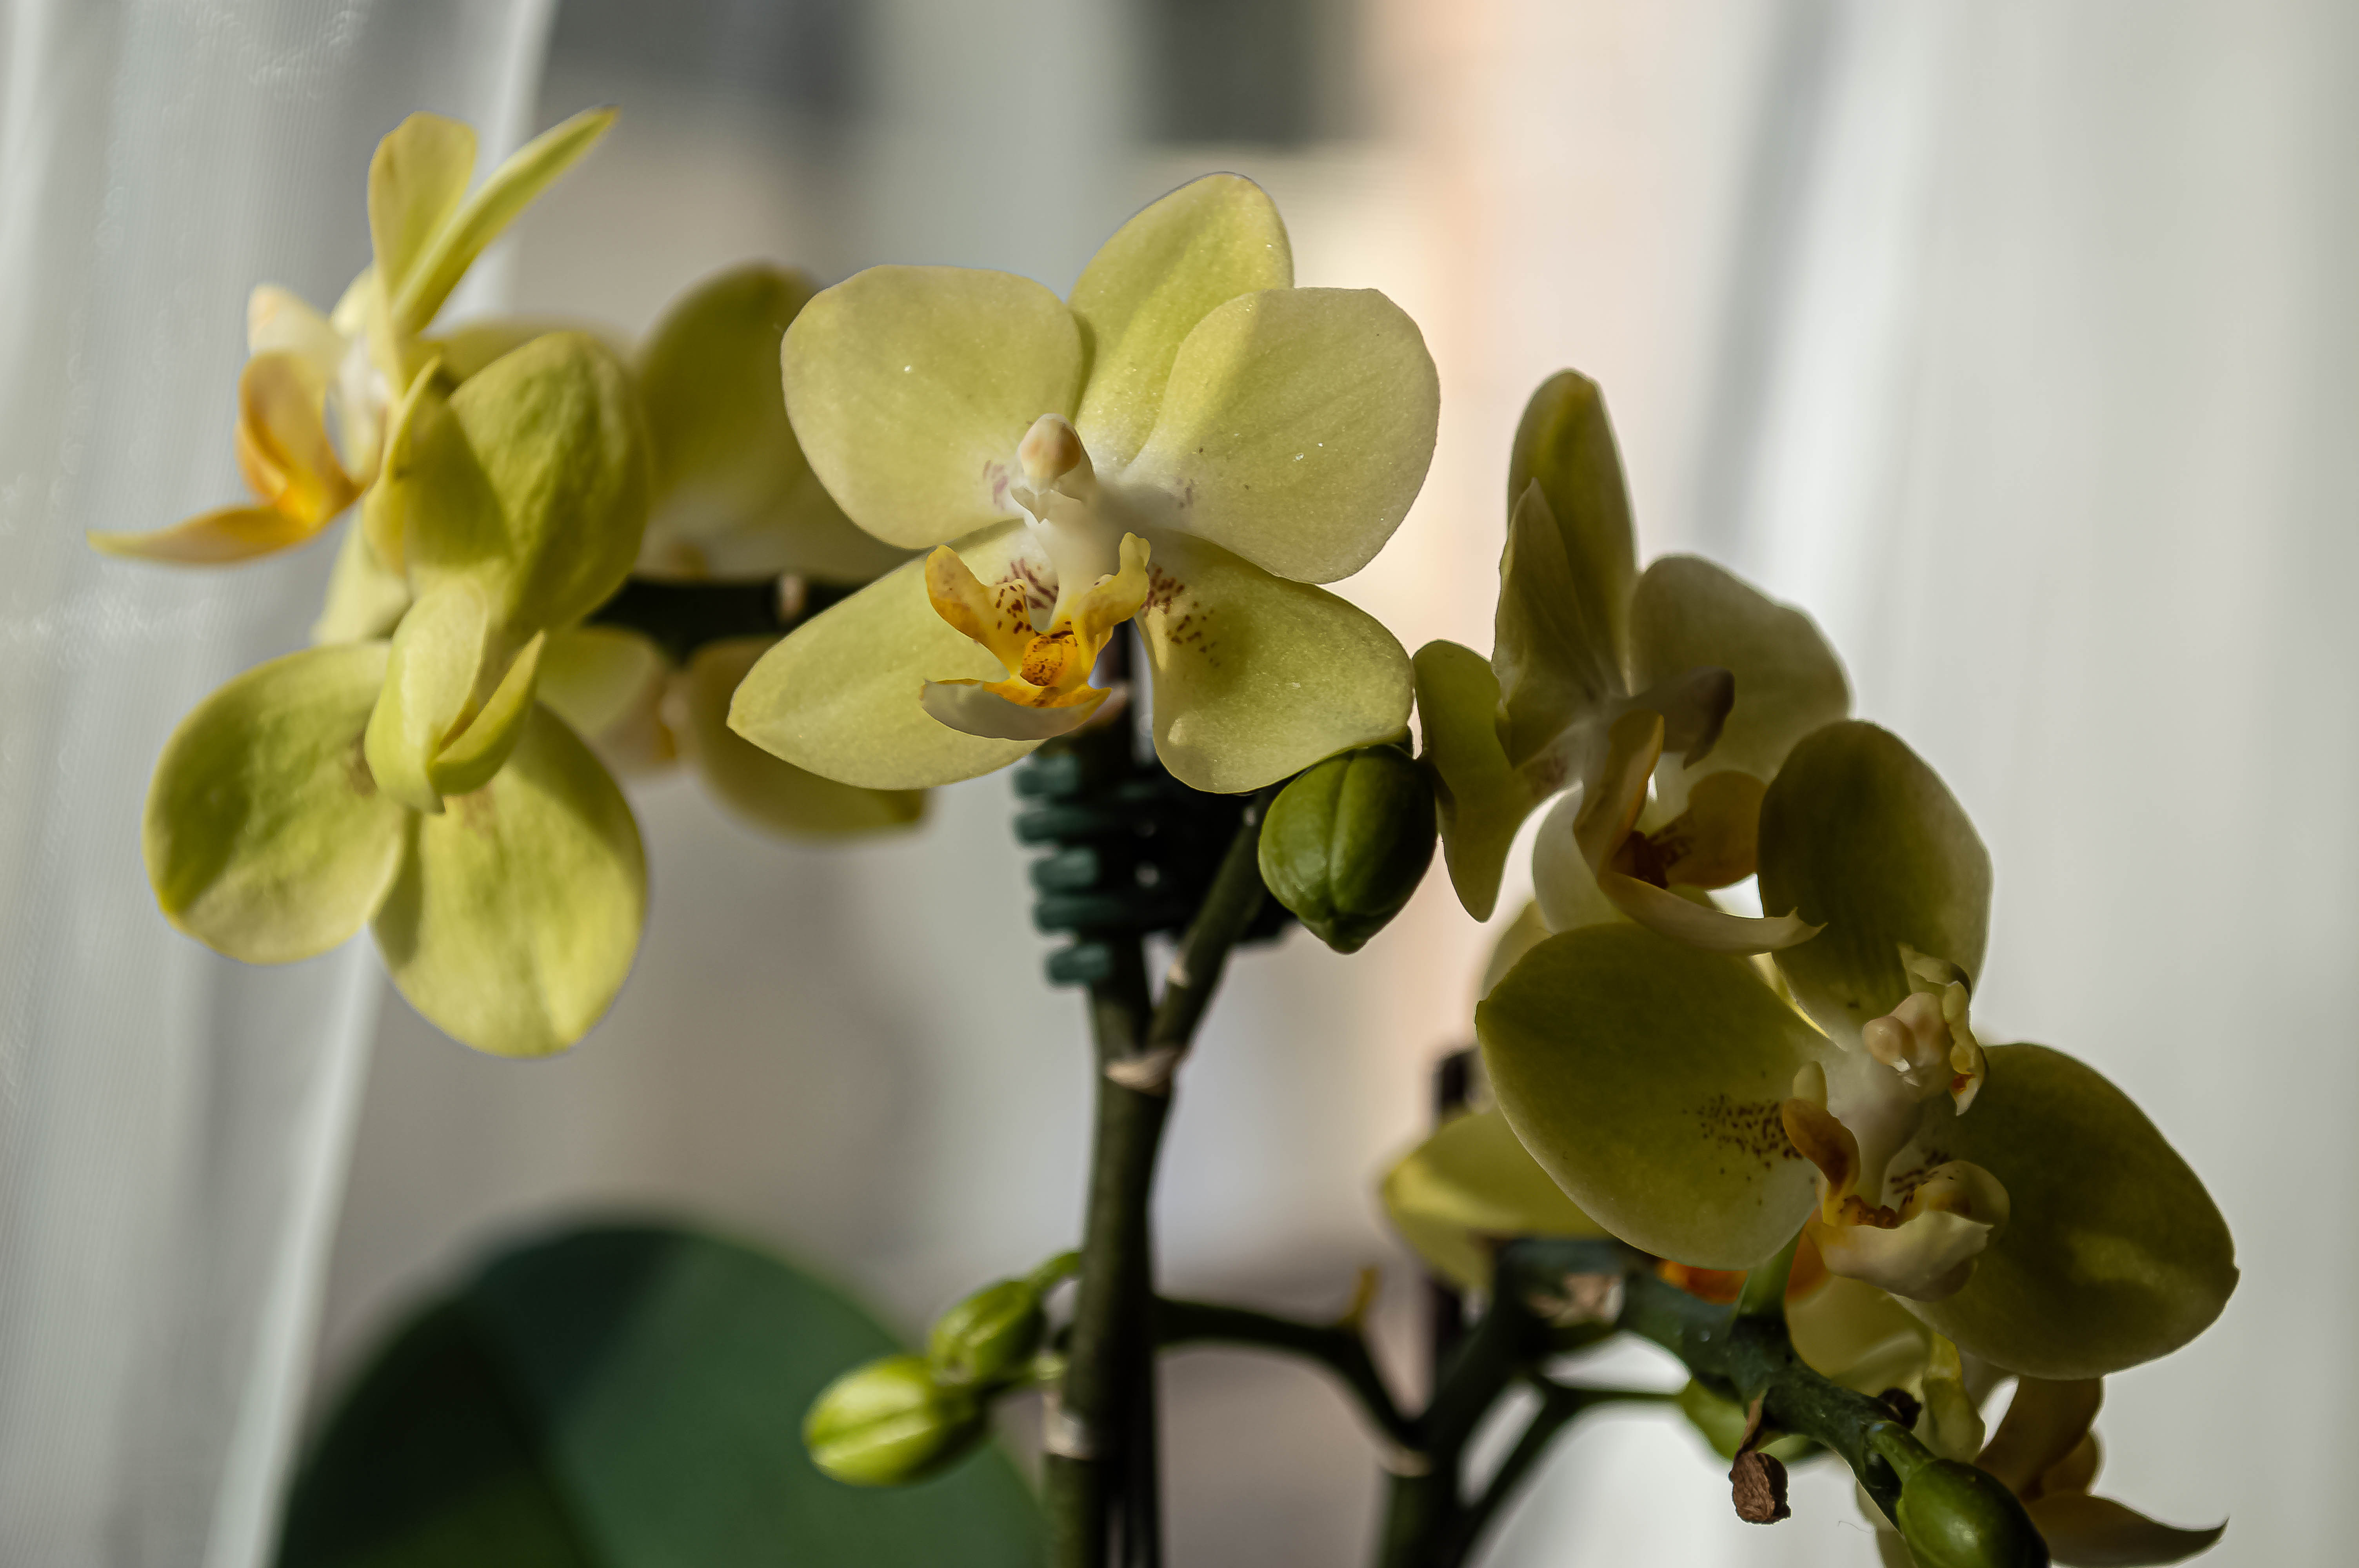
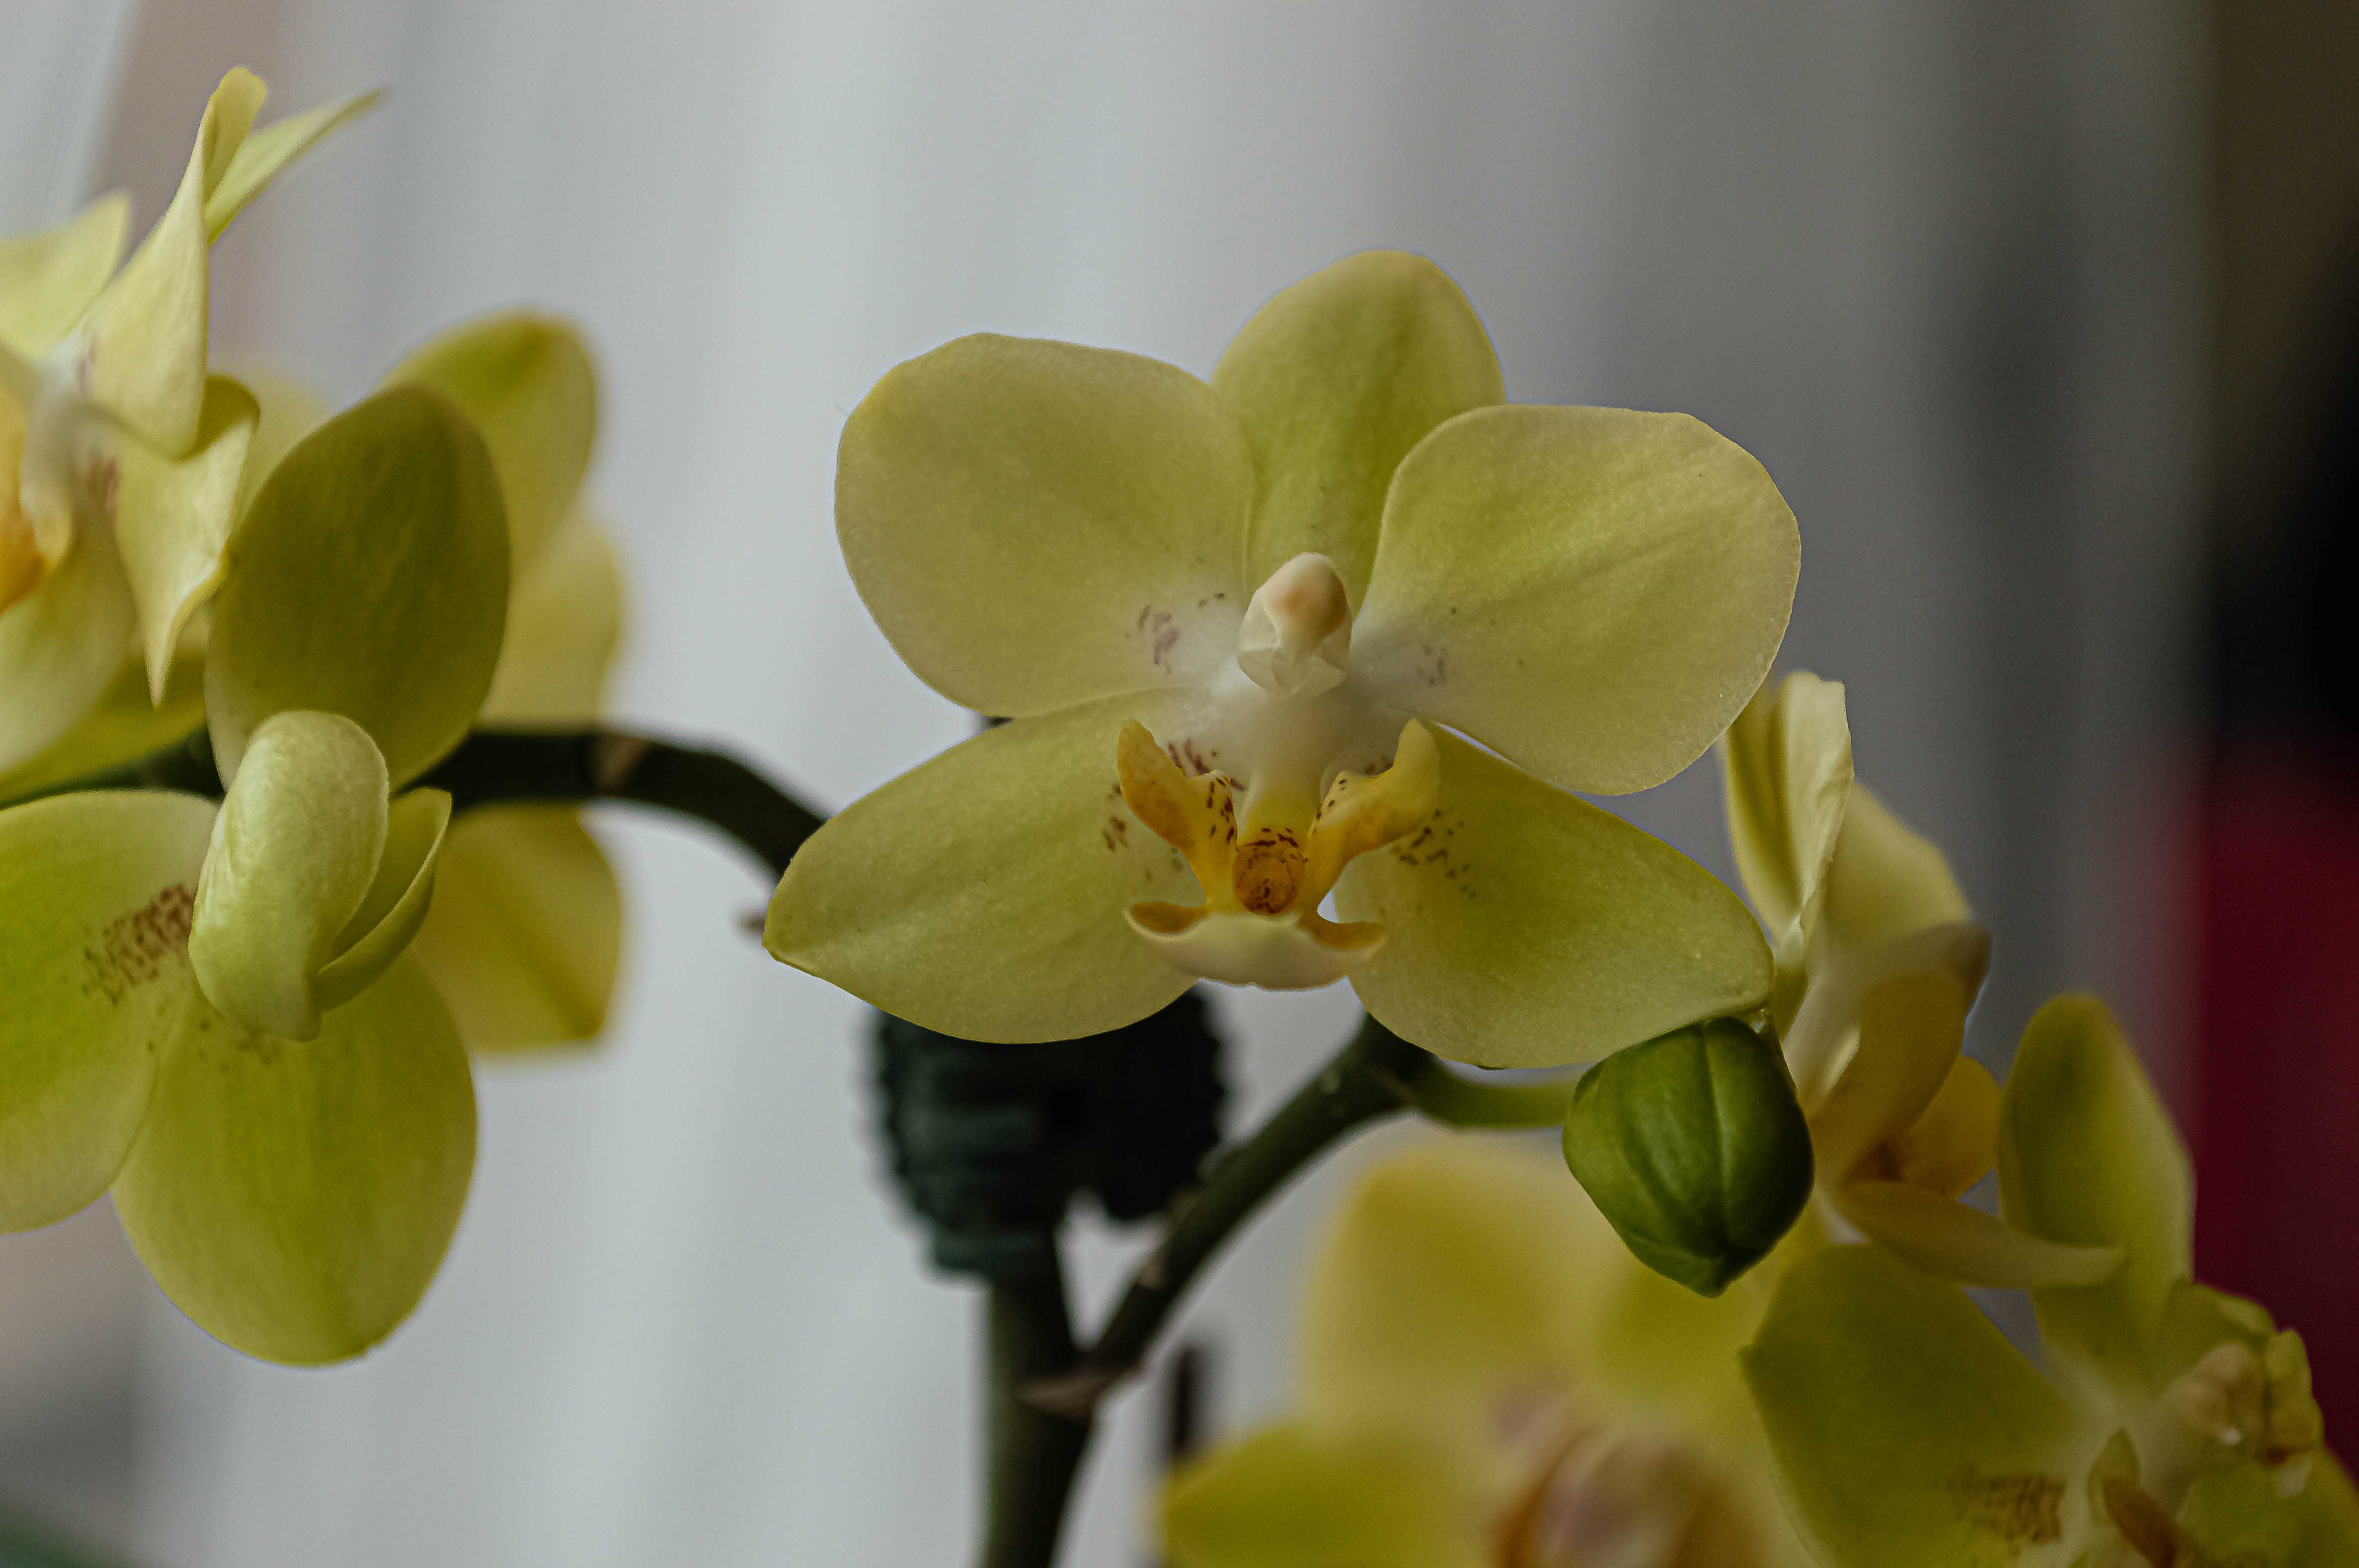
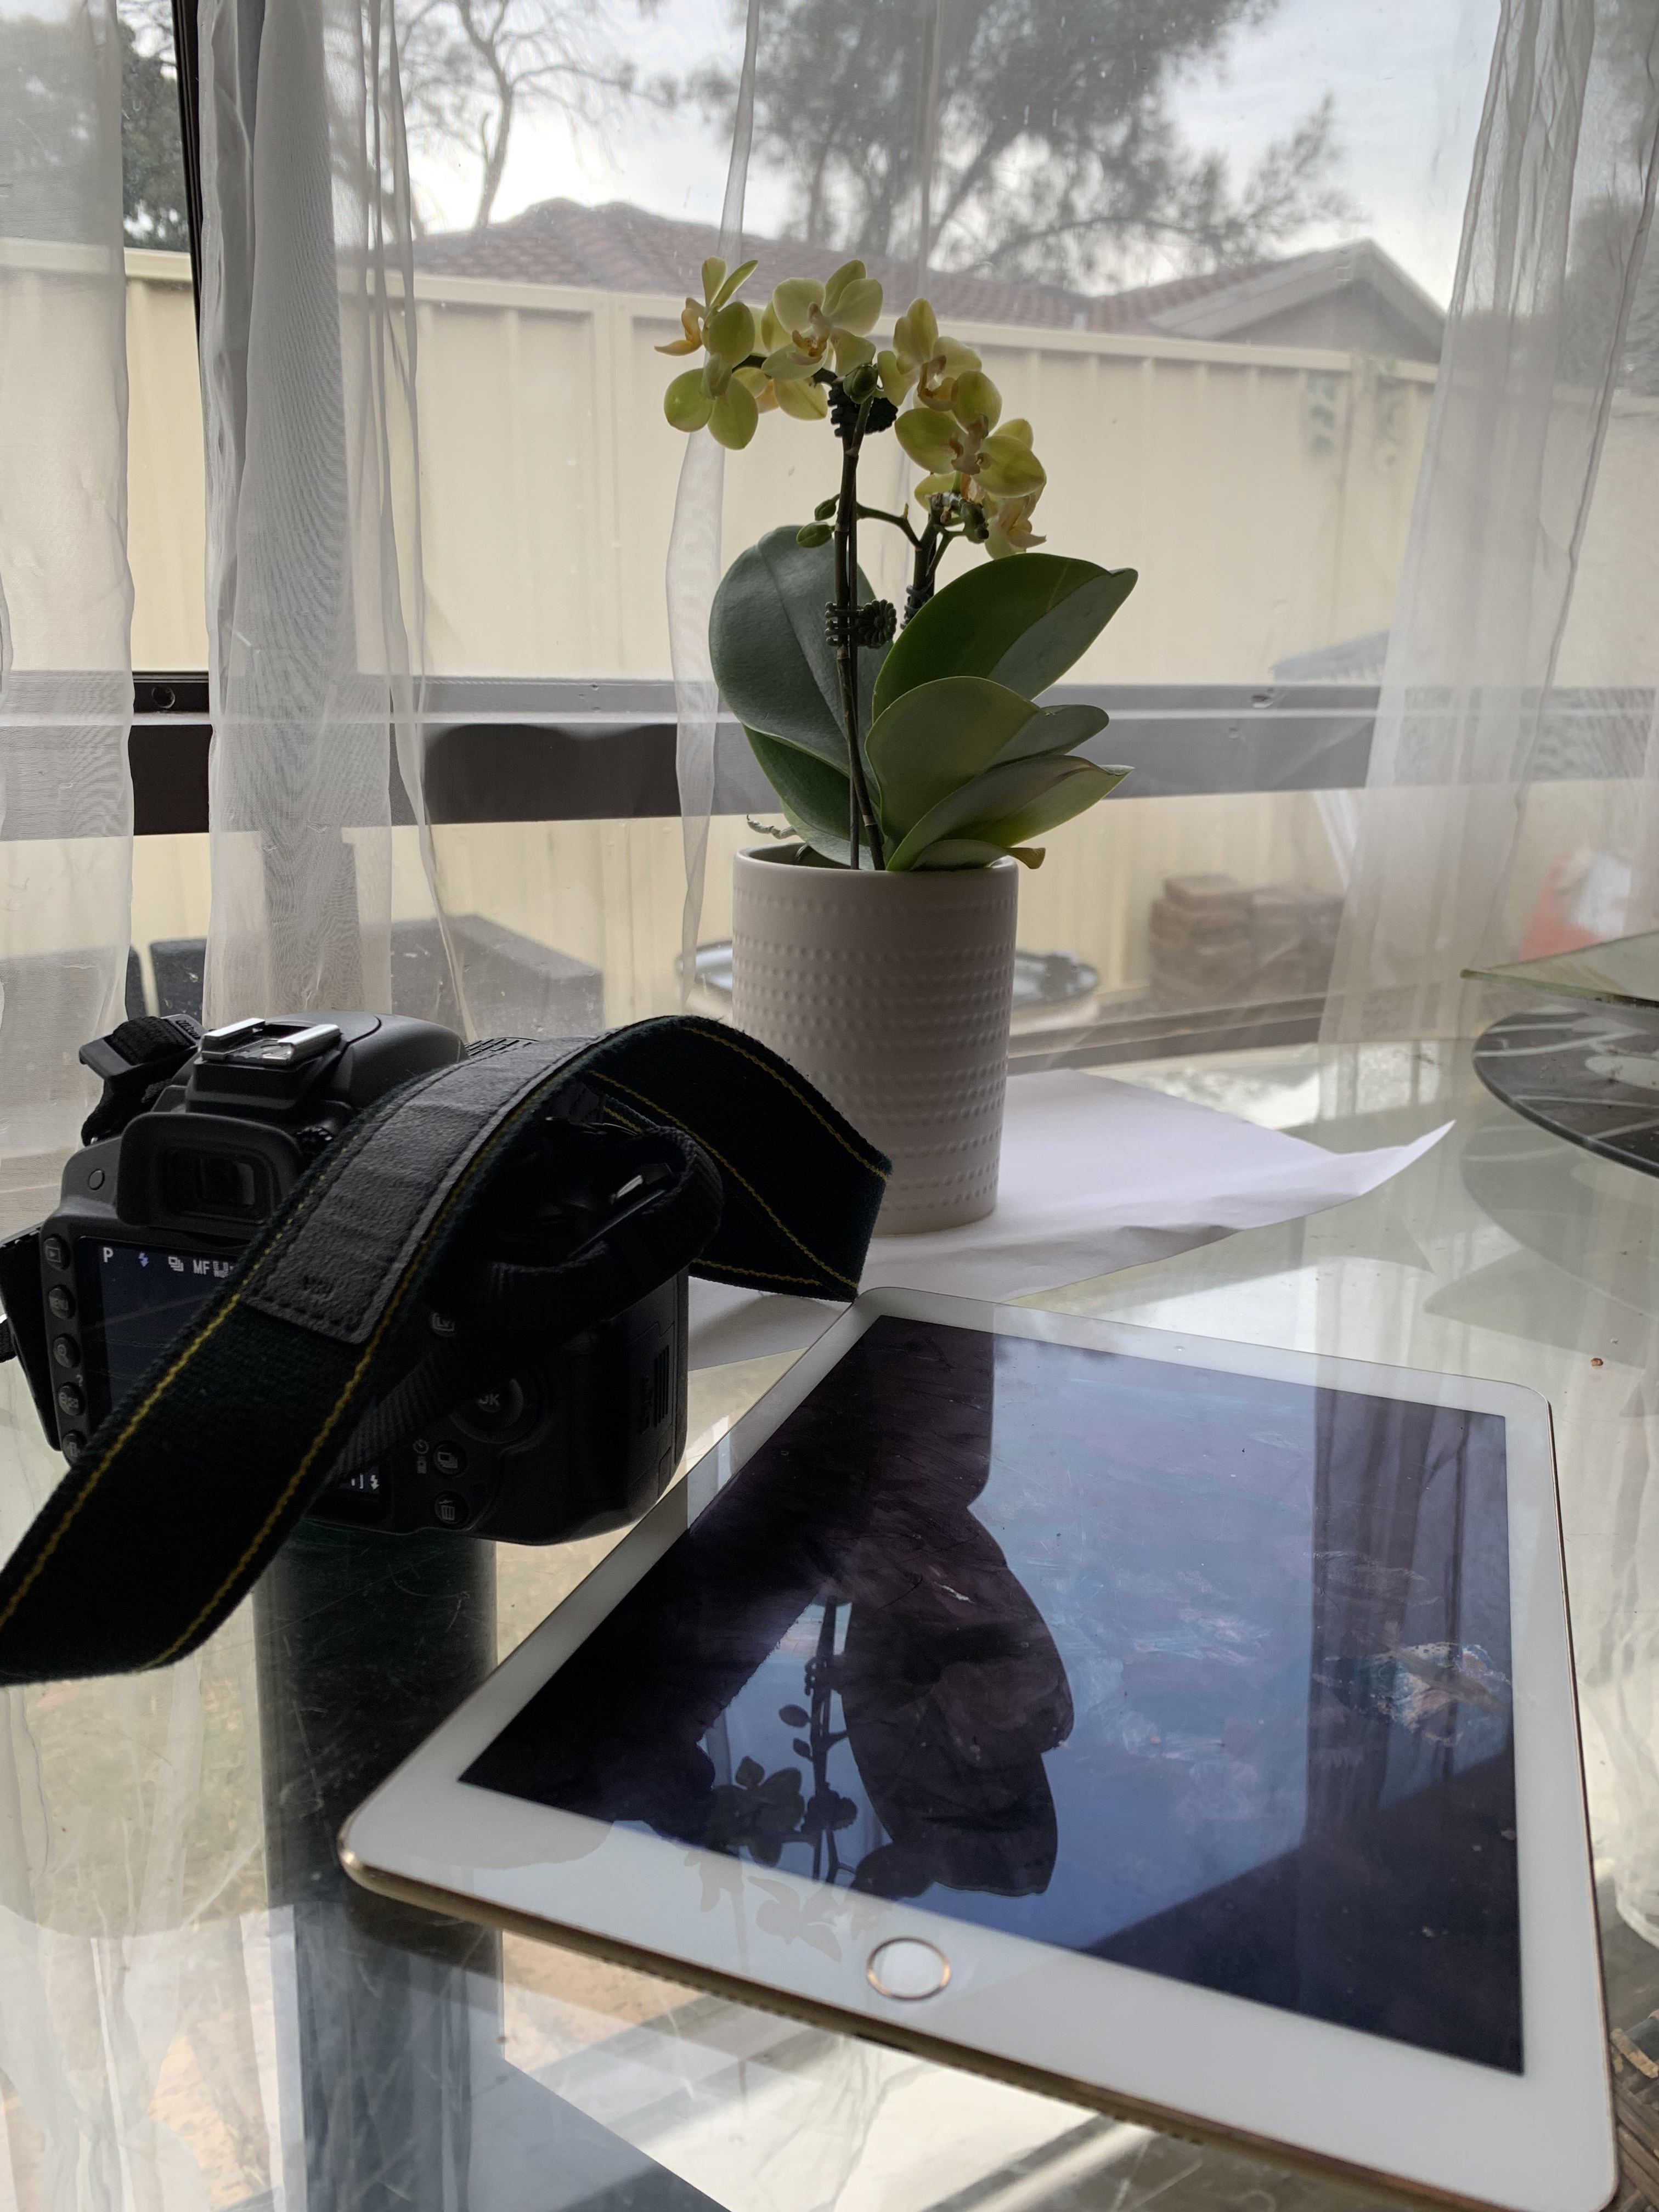
For this activity I chose my favourite plant. I was actually quite fortunate with changing light during the day as we had cloud cover and brilliant sunlight at various times ranging from 8.30am to 3.18pm. The most noticeable changes were in colour hue and intensity of light with the changes in conditions and with the strength of light coming in the window. The light cast shade and illuminated different parts of the orchids depending whether there was brilliant sunlight or more muted light with cloud cover.

Ashy loves helping me when I‘m working
The Subject and location on my kitchen table beside the window

Making Patterns in Illustrator( losing your mind in 5 simple steps)

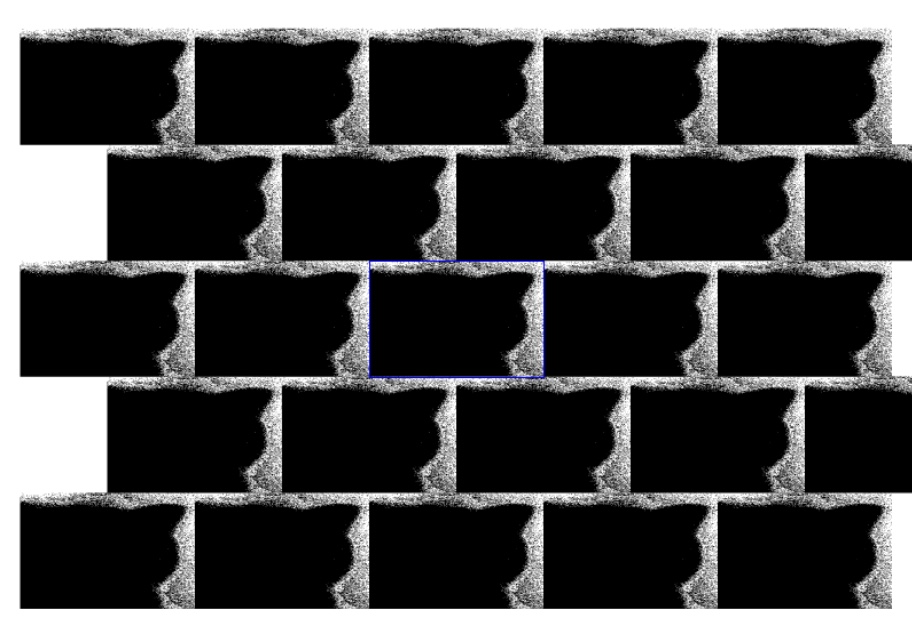
Finished Image Vector Pattern

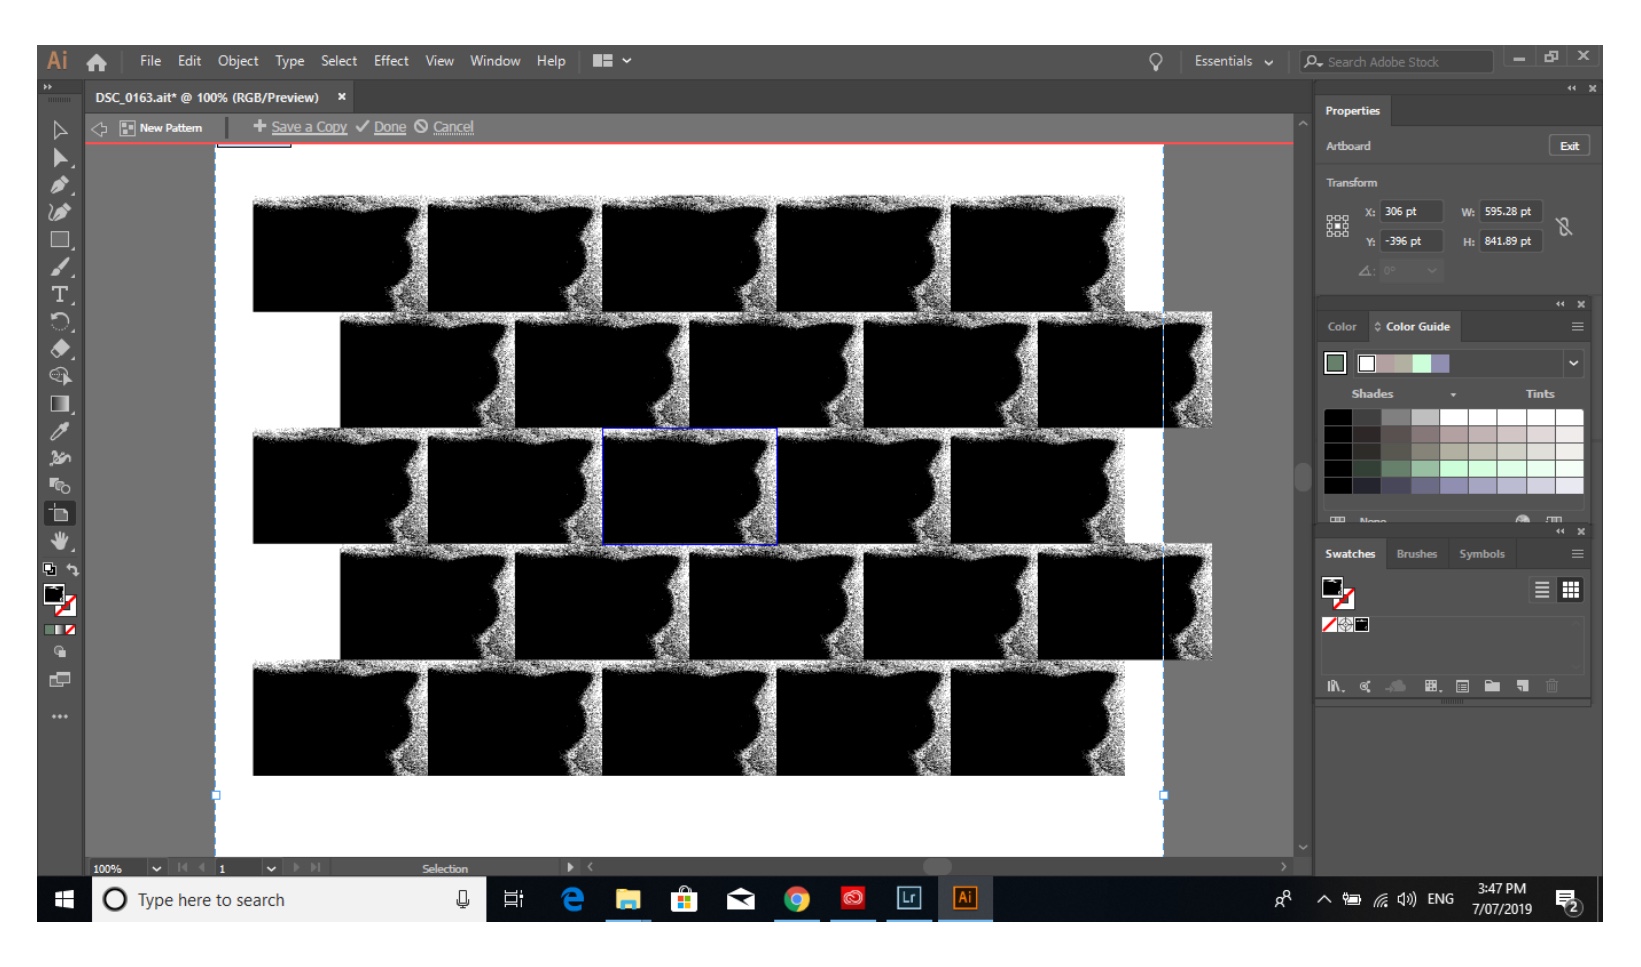
So module 4’s seemingly easy task of creating a pattern from a photo, specifically of an objects shadow that had to be recognised as an object and turned into a vector image seemed relatively simple, however I found it frustrating trying to save the art board of the pattern and exporting it as a jpg for the assessment and to post to the forum and here. By Comparison part two of the module will be a drawing of my hand without looking at the papertimed over 10 minutes which I will post shortly which I thought would be the harder of the two was so relaxing in comparison to the 3 hour ordeal in trying to save an image in Illustrator. I don’t use Illustrator often I’m a huge fan of photoshop and Lightroom but I find Illustrator cumbersome and frustrating to use.

Screen shot of my work in progress
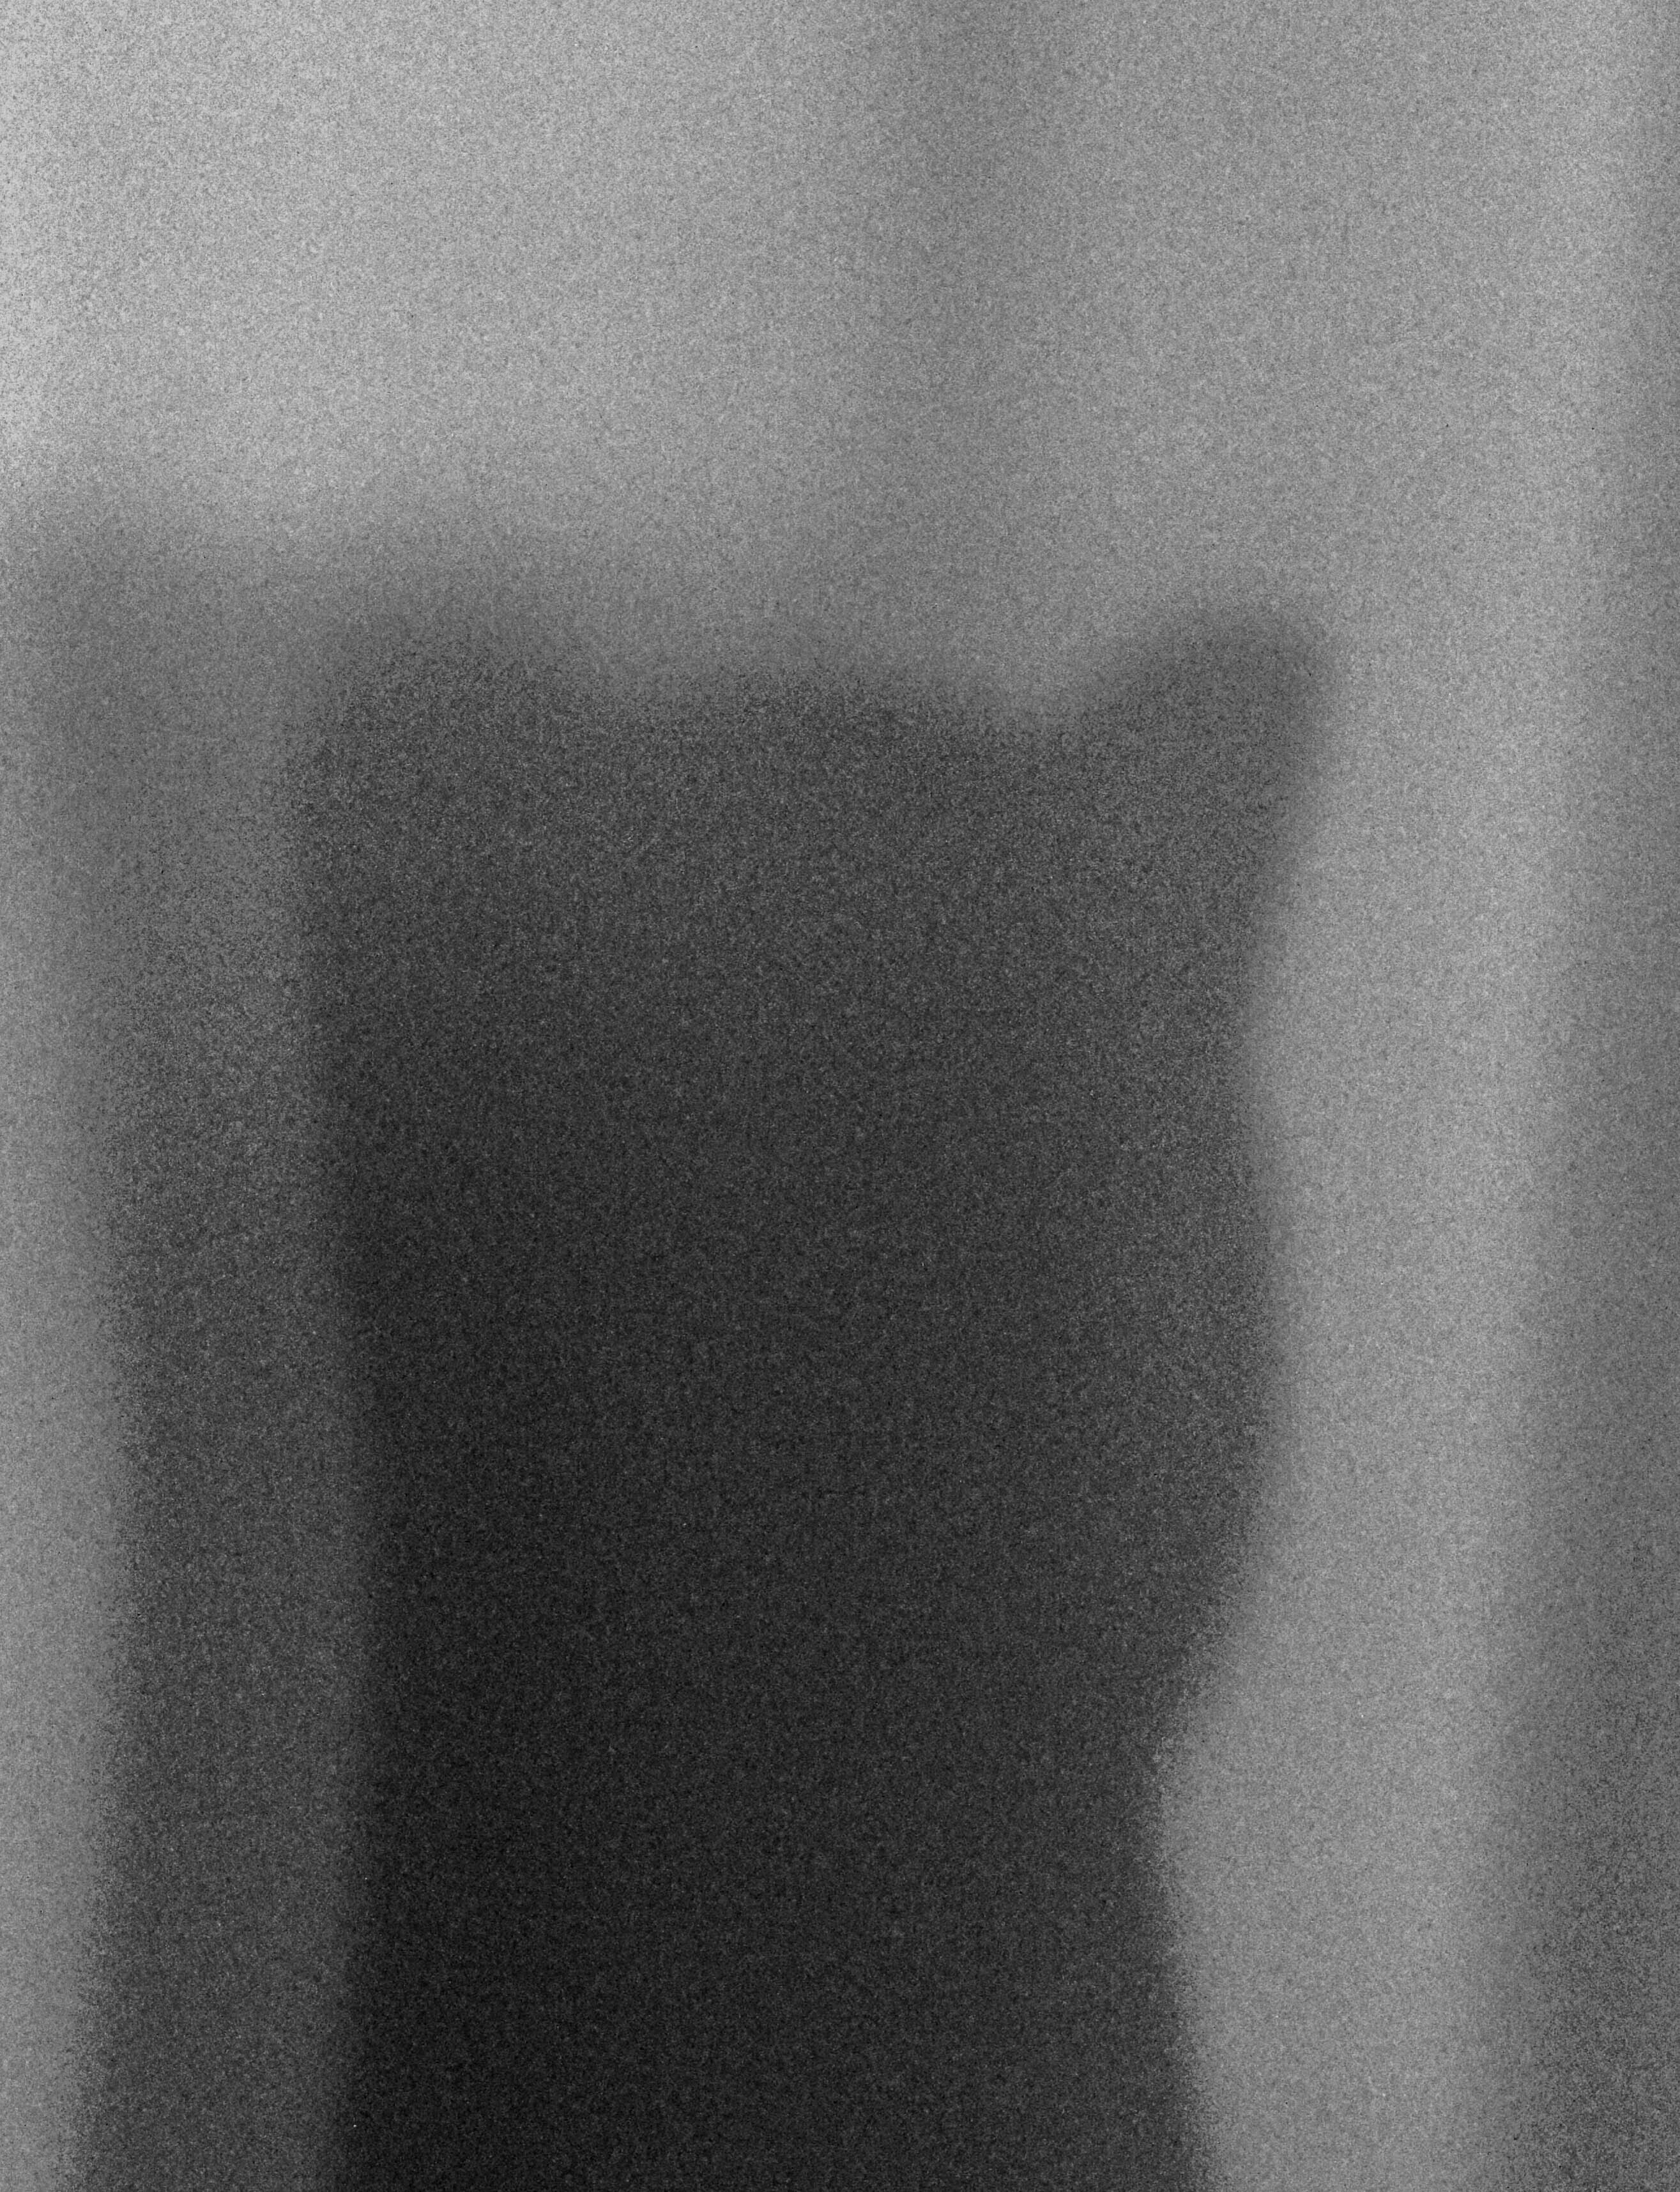
Item the shadow image came from
Shadow photo for creating vector art pattern

Focal length test.

This task called for us to capture a portrait and a landscape or cityscape using wide normal and telephoto length lenses. It’s been a while between camera and capture posts with internet issues and hospital appointments for my daughters Crohns Disease management and my autistic sons psychology and TAFE days , also with my partner having been away for almost a month I was having issues with my time management and the realisation it’s impossible to be in two places at once. So I will be posting all the exercises this week that I haven’t had a chance to blog about as well as working on my assessments for all four subjects.

Portrait

Activity 2.1

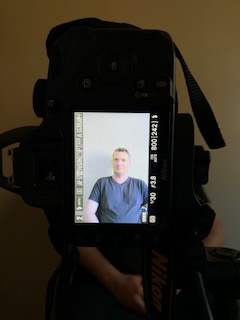
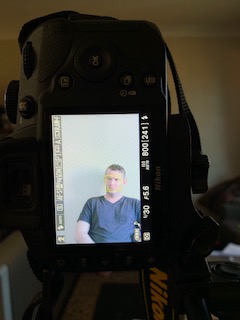
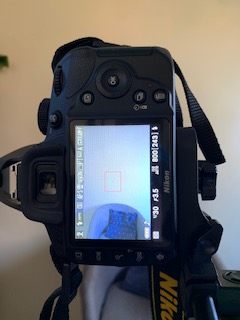
The portrait task was made more interesting by the fact that we had to keep the same framing at the three different focal lengths which meant moving around and using my reference shot changing lenses as well as using my iPhone as well to guide myself with where my camera should be for each shot. My partner kindly obliged to be the subject for this exercise. I personally prefer the telephoto length shot as my partner is 6’2” ft And I’m a lot shorter, I didn’t feel like we were cramped into a small space and it has a slightly softer quality to the image.

Activity 2.1 composing my portrait shot

Cityscape

Activity 2.1

I scouted a few locations until i found the one i wanted and decided to shoot at night. I had a few goes until i found a spot on the river i was happy with but here is one of the locations on Marsden Road that i had initially thought of then dismissed and then decided to have a go because the view over Paramatta is amazing but i just couldn’t get the shot I was after, I did get an okay light trail though.

For my cityscape focal length shots I chose a view from Ermington Boat Ramp looking across the Parramatta River to Rhodes and Olympic Park. Essentially the idea was the same as with the Portraits except that this time the camera and tripod stayed in place and the idea was to zoom in from wide to telephoto to see how the composition of the image changed.

A Visual Oxymoron

Face Palm

Face Palm

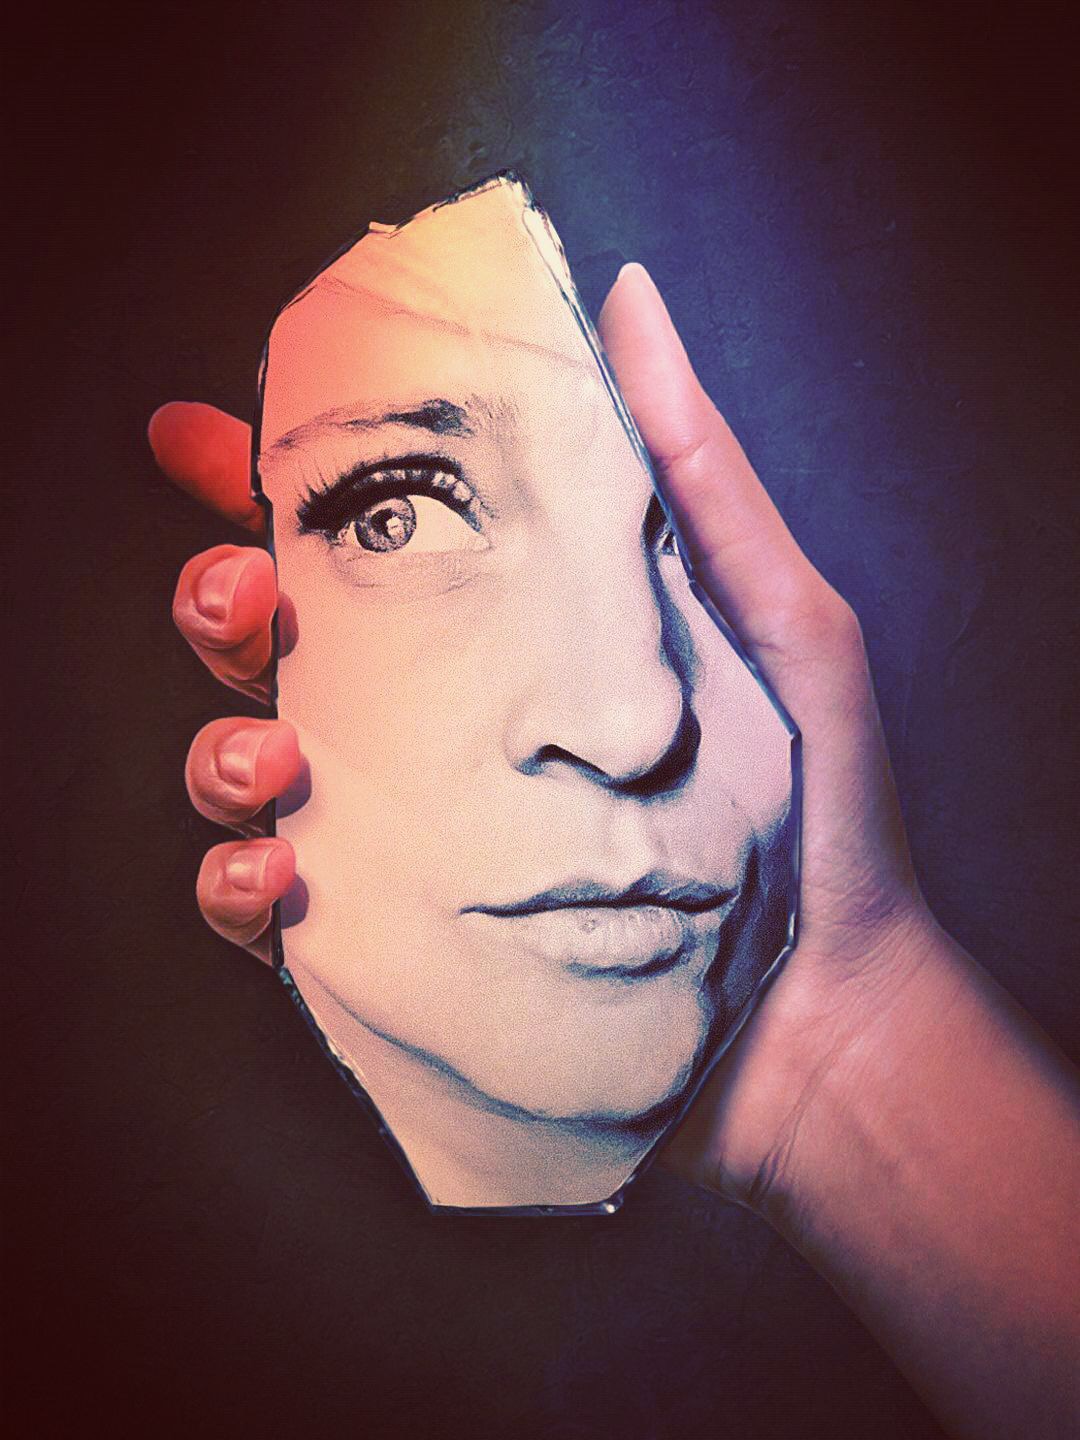
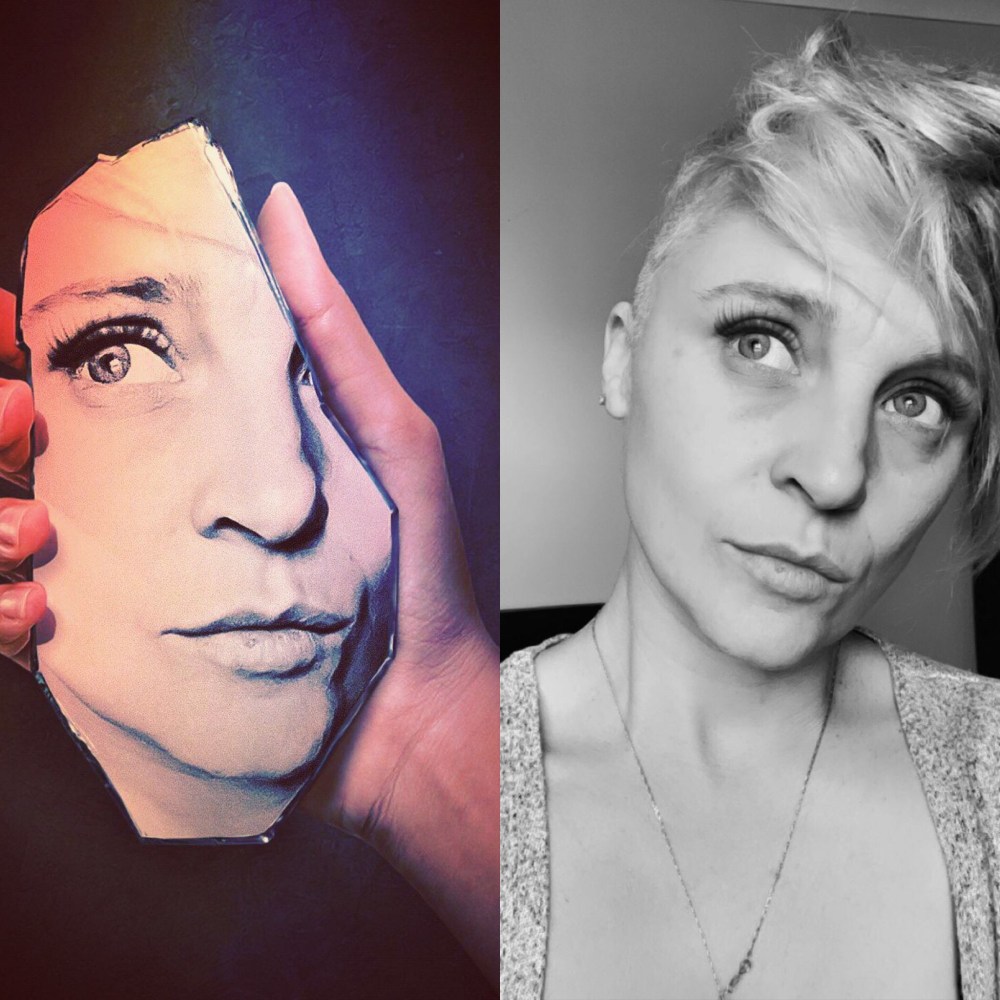
This task for part 2 of module 3 asked us to create a Visual Oxymoron, I’ll admit i  had a complete creative block and ended up playing around with photo editing programs and creating composite images with a self portrait when I struck apon an idea of a portrait being a mirror image and mirrors being reflective of our images and rested an image composite that worked, I’m not sure that I have the idea of a visual oxymoron correct but here is my take on it. It lends to face palming 🤦‍♀️ when you feel silly so I’m calling my finished image Face Palm 🤦‍♀️.

Original Image and the Final image

Module 3: Importing and Organising Images in Lightroom

Image courtesy of Adobe

This weeks task was to download Adobe Lightroom and create a catalogue of images. Already having been a long time user of Adobe Lightroom I have an excellent catalogue system already in place, and generally try to associate keywords with images such as animals, faces, locations etc so I can find images quickly if I need to. As such I didn’t have anything other than a blog post to create for this weeks digital imaging task. If you don’t use Lightroom or have never used it before for image workflow and asset management I can’t recommend a programme that’s going to make your life easier than this one.

Image courtesy of brisbanephotographic.com.au

Colour Swatches

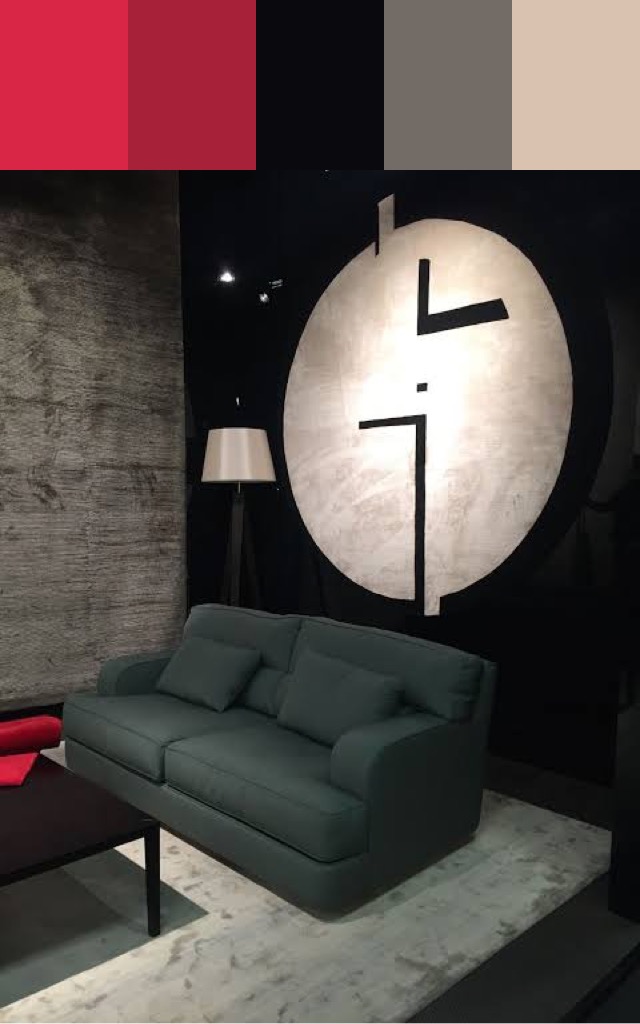
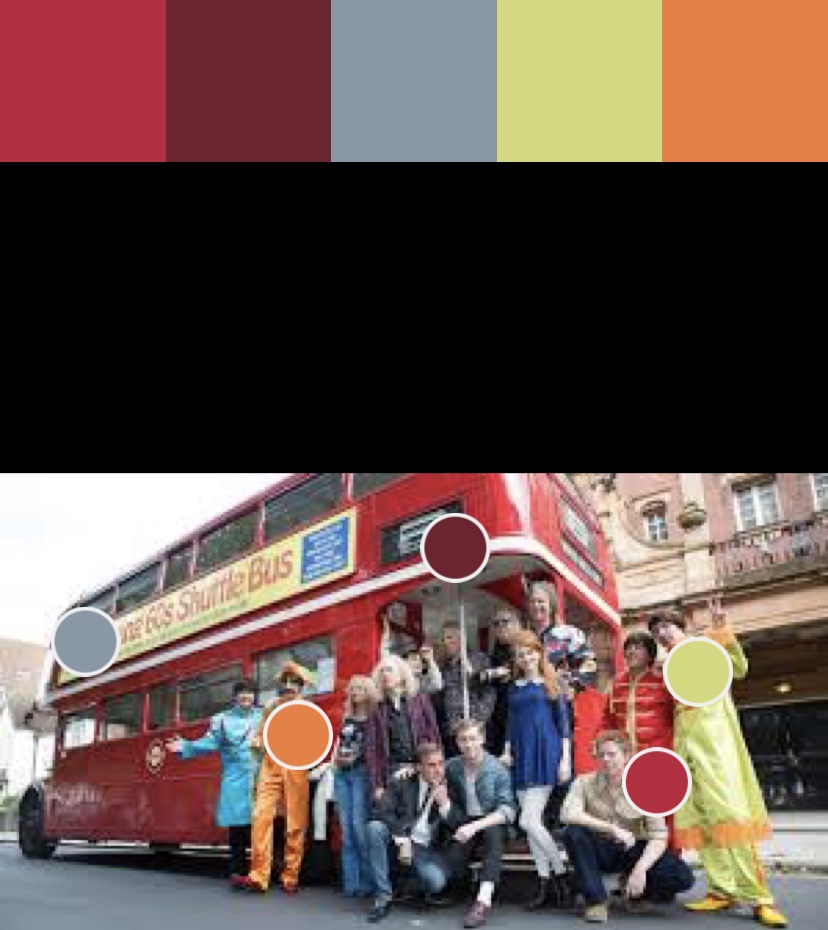
Colour Themes Collection Module 3 Part 1 

Attachment

The Task

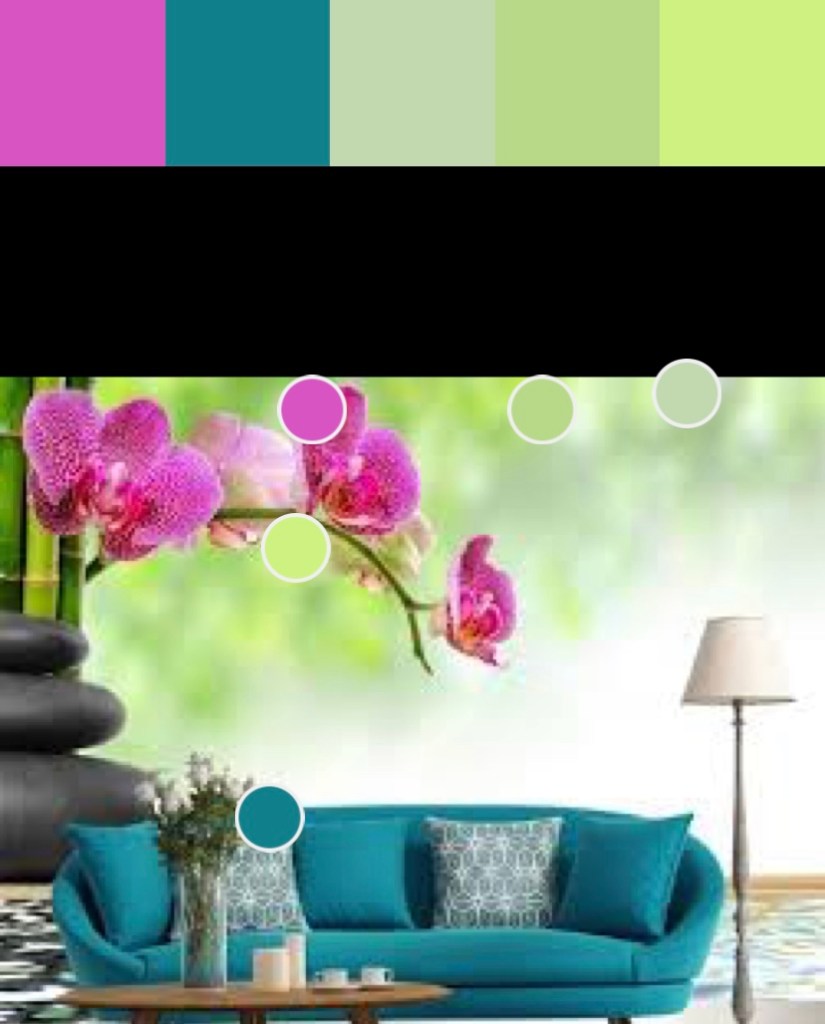
I really enjoyed this exercise, looking at images and colour pattern, palates and swatches was very relaxing and I even found an app for my iPhone called Adobe Capture that I can use out and about with my photography for colour asset management and will make colour themes easy to achieve.

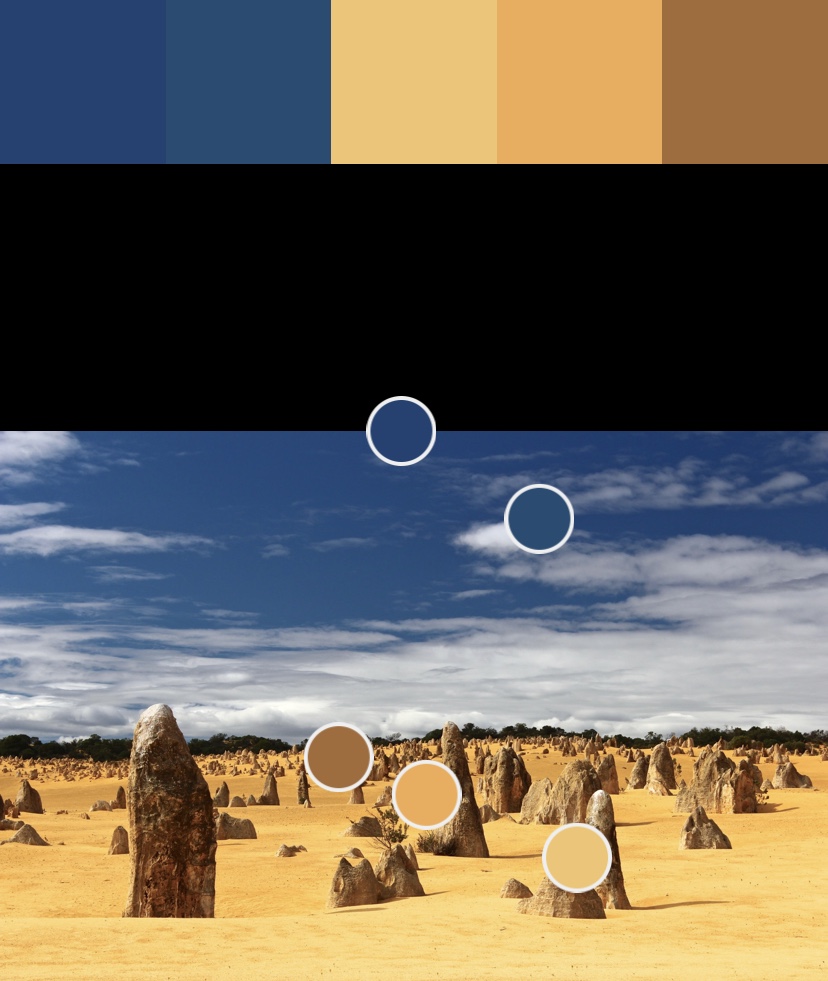
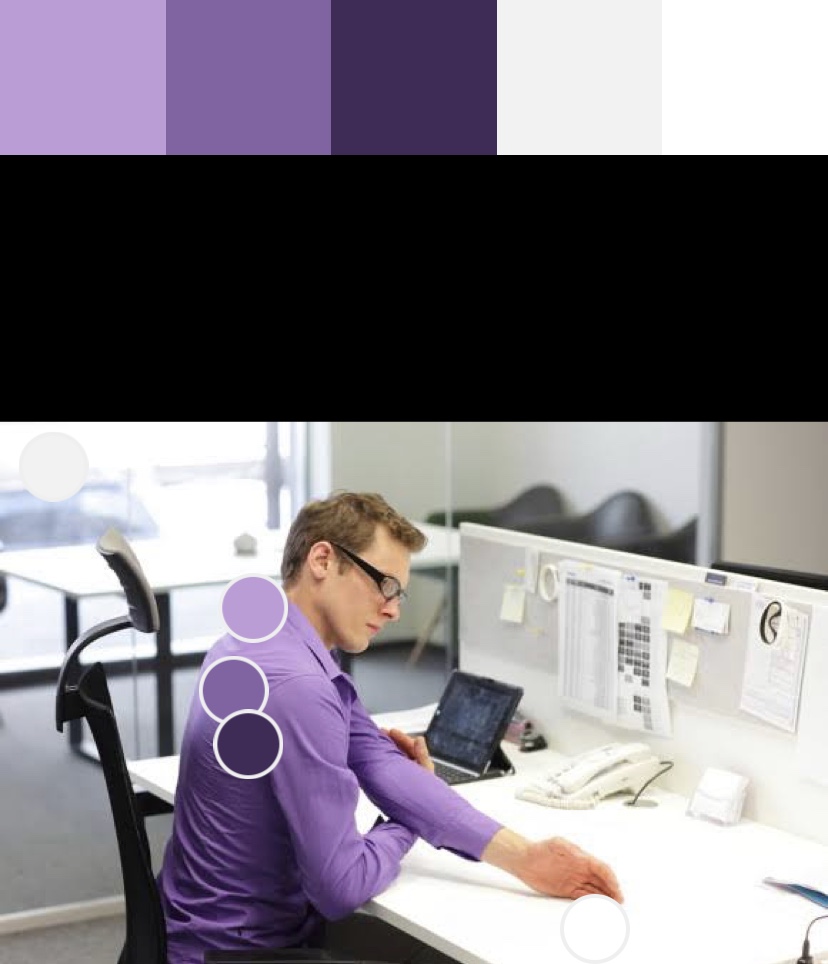
This exercise asked to chose 5 images for each category and post our favourite colour Swatches from each of the 5.

The five themes:

  1. Natural environment 
  2. Corporate culture 
  3. Relaxed 
  4. Contemporary design 
  5. 1960’s London 

Natural Environment Palate

Relaxing Palate

Contemporary Design Palate

1960’s London Palate

Corporate Culture Palate

Wire Drawing

Wire Drawing Assignment

The exercise in preparation for our first assessment task was fairly strait forward. We were given the following instructions and a few tutorials to watch on YouTube. Overall I found it frustrating trying to get the wire to comply with what I wanted to do with my quick sketch and continuous line drawing of the head phones. I wasn’t happy with the result and did not enjoy this process at all.

Assessment 1 assets’ to assist you with these below steps.  

  1. Choose an inanimate object from around your home that has potential to be ‘drawn’ with a continuous line (the wire). The more interesting its shape, the more detailed your work will be. 
  2. Following the steps given in the provided handouts, create sketches of the object – keep these loose and rough. 
  3. Once you have simplified your sketch place tracing paper over it and draw a single continuous line that captures the essence of your refined sketch.  
  4. Using some thin and easy to bend wire (like floristswire) start to express the object through this continuous line. You may use your hands or pliers, just ensure that your wire is easy for you to manipulate. Make sure that you have plenty of space to work in and that you are aware of where the ends of the wire are and that you keep them away  from your eyes. 
  5. Post a photo of the finished product on the Module 2 Discussion Forum – Part 2: Wire drawing or the line with no end’ with your reflective thoughts. How does it feel not to be able to rub the line out? What does the wire drawing express of the original object? What do you think of the end result?
Revisiting The Egg – a study in studio lighting.

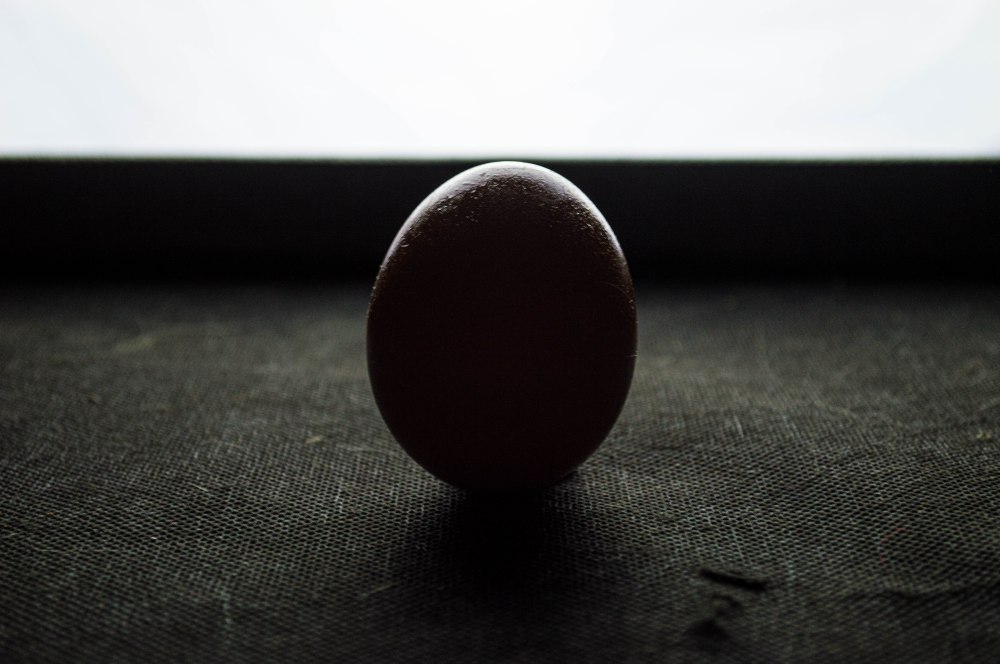
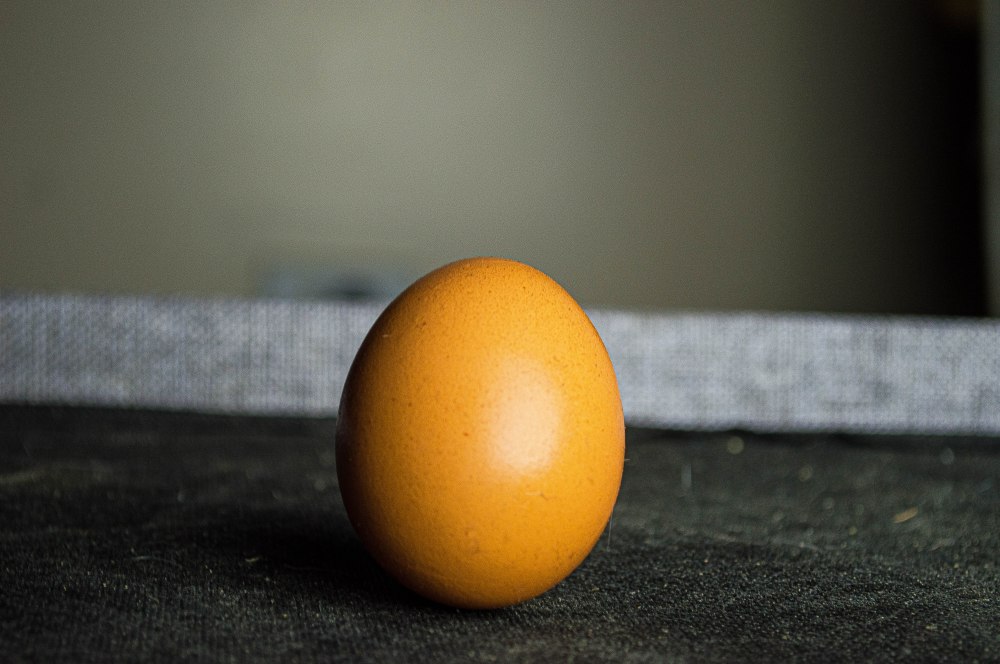
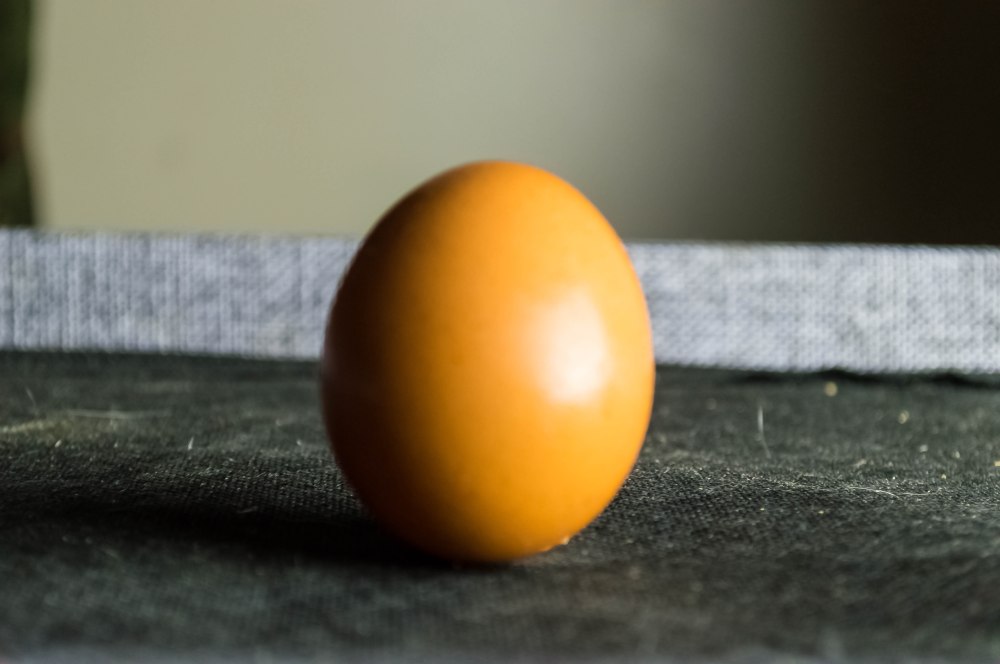
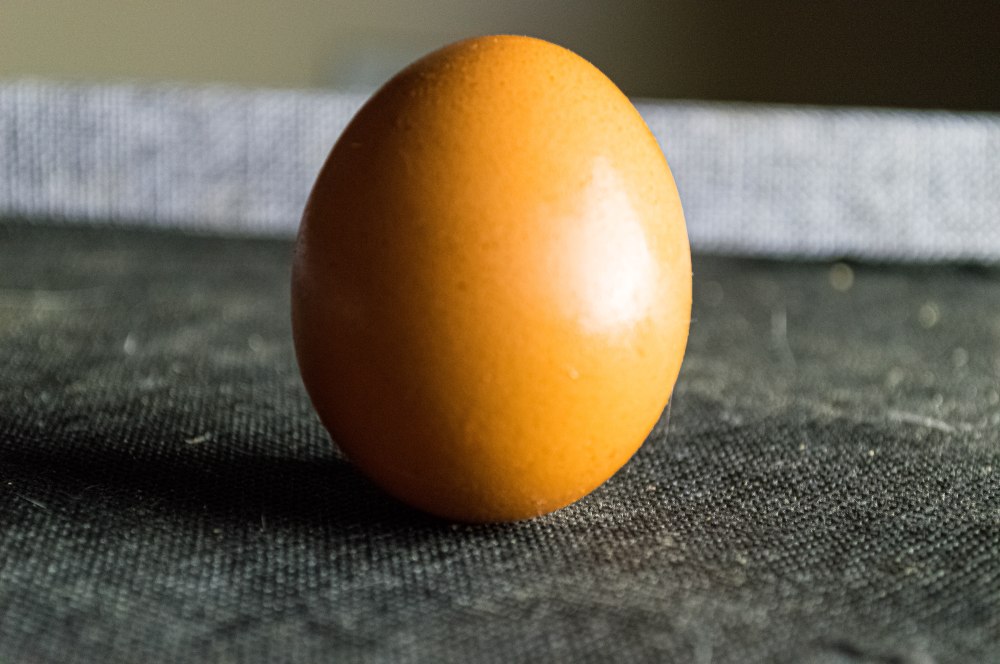
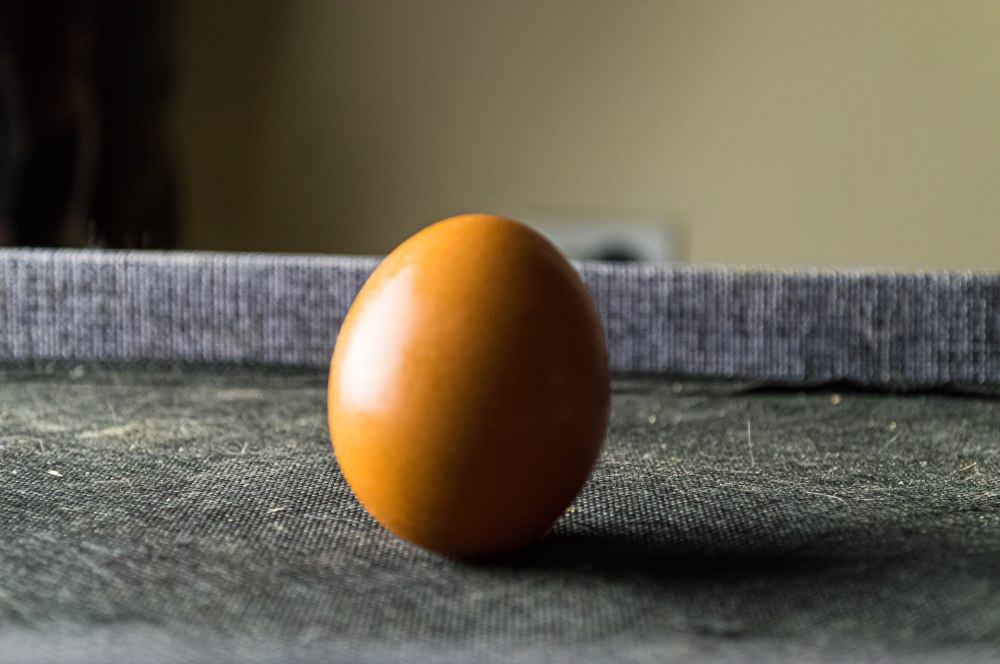
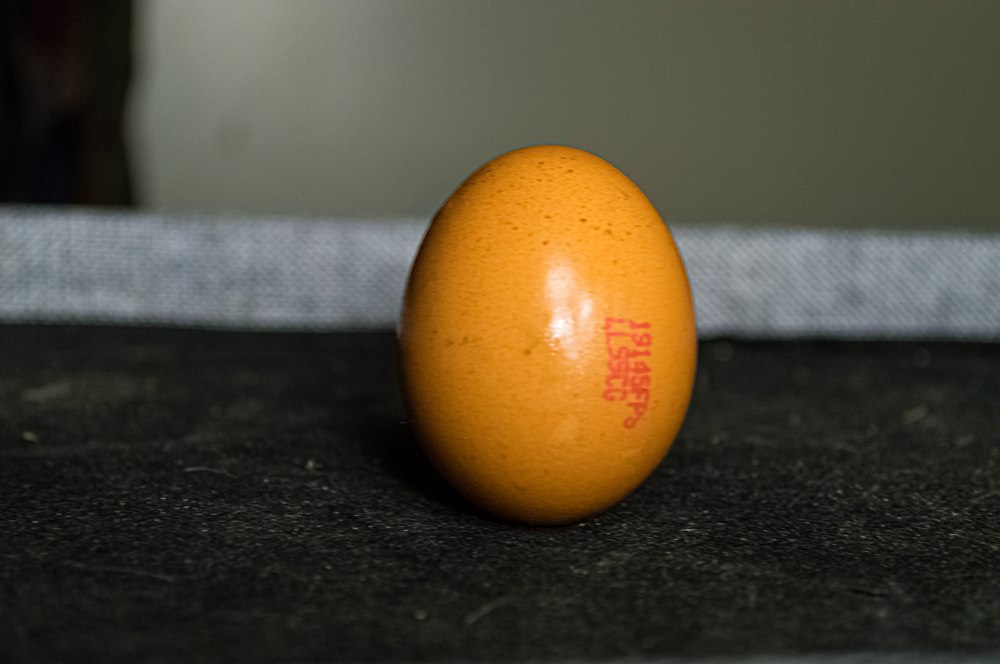
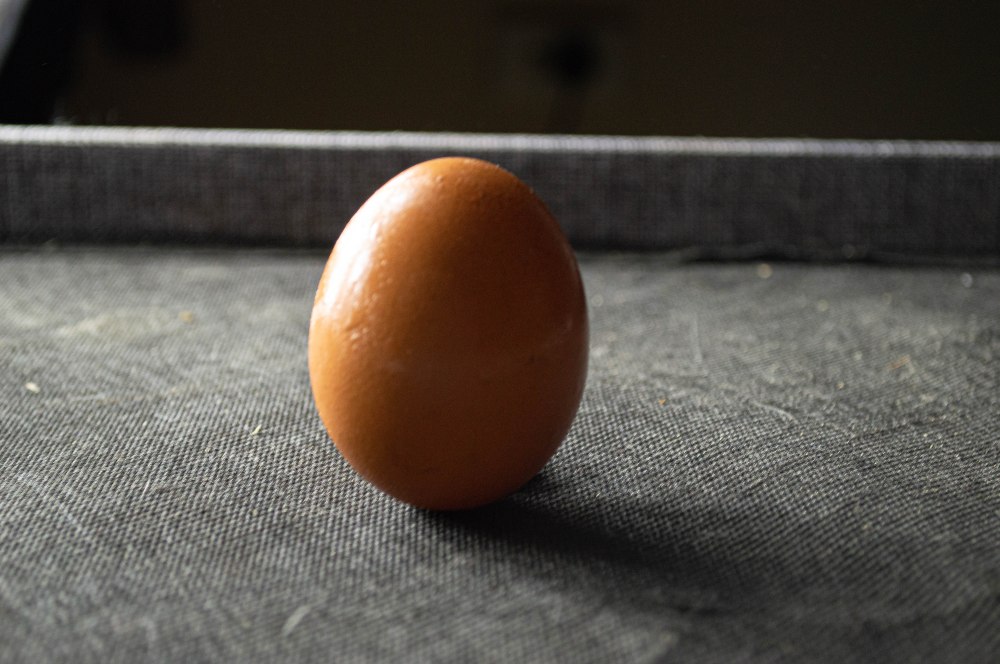
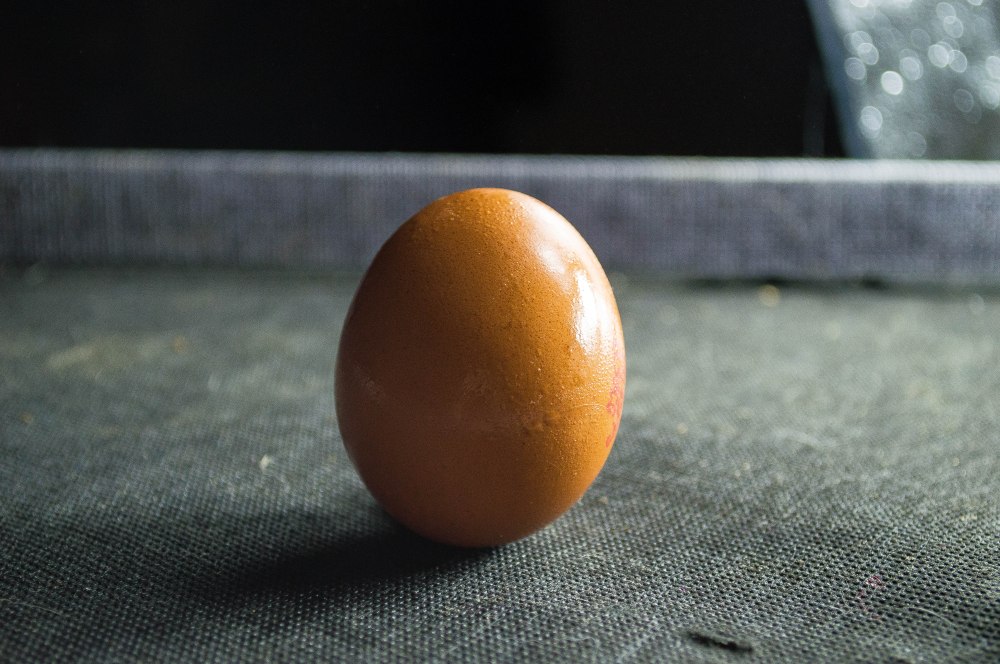
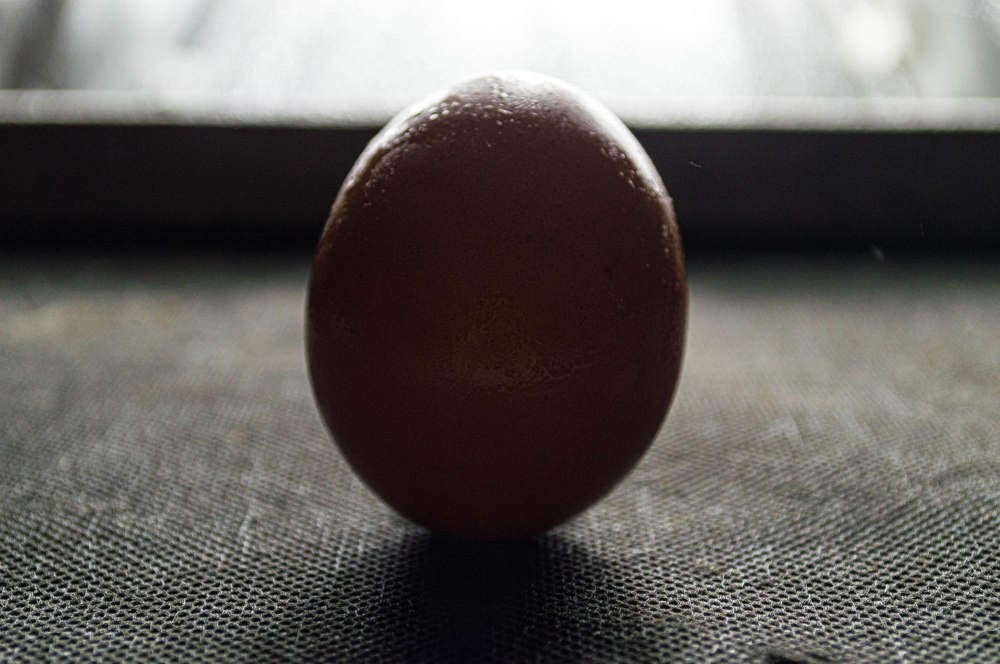
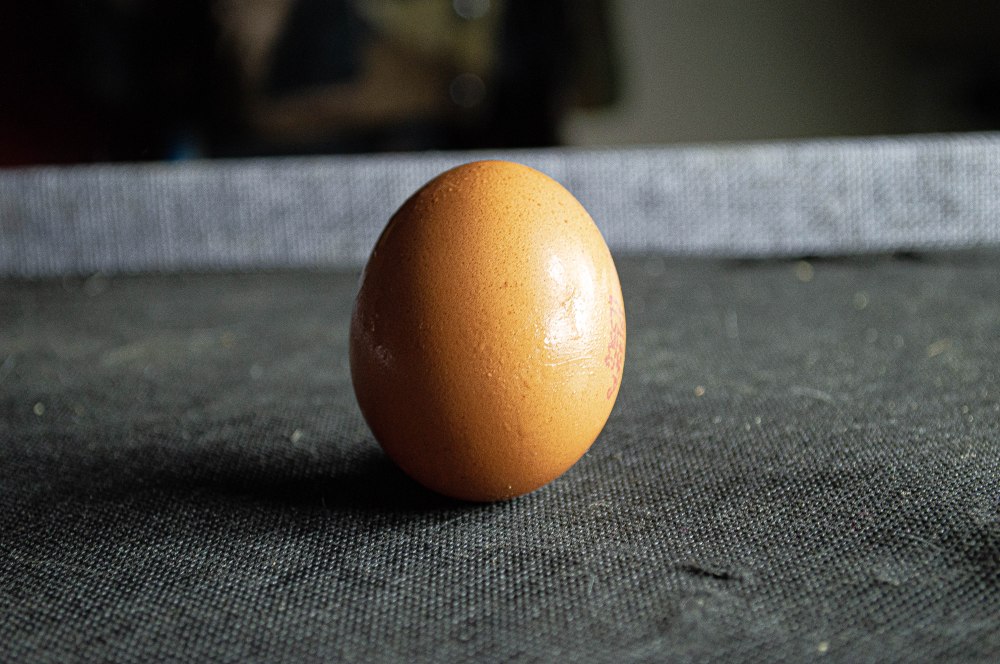
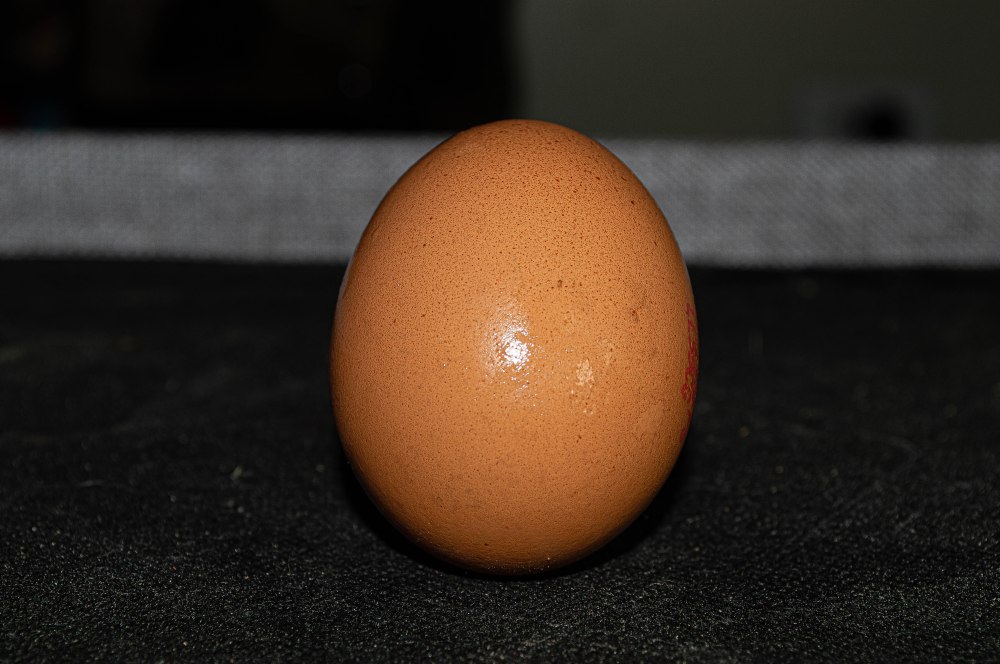
The task for module two was to view a YouTube clip of The Egg and create a series of images of an egg with different light angles. The purpose of the task is to show how light can change the feel of an image with the way it’s cast onto the subject. All in all a fun exercise that’s taken me back to the fundamentals of photography and how a subject can be lit to achieve different results and how the direction can change the feel and perspective of an image. My favourite shot was the back lit egg with the diffuser panel on the light
While i enjoyed getting behind the camera and trying to achieve a specific outcome i was outside my comfort zone as i prefer outdoor and street photography and have to be coerced into a studio environment by my lovely friend and visionary assistant Sara but the whole purpose of doing this course to get a Diploma of Photo Imaging is to become a better photographer in all aspects of photography.

The Egg

The set ofsix images above were with the use of the diffuser panel which softens the light and the amount of detail on the egg as well as the colour tones.

The second set of images were without the diffuser panel on the light, the light was stronger and the colour tone was a lot starker and more vibrant.