Adjusting Tone and Contrast in Lightroom
This weeks task is to edit a series of RAW images (sometimes refered to as Digital Negatives images strait out of the DSLR camera containing all the sensor information as well as metadata etc and a non lossy format perfect for editing)
I use a Nikon D3200 24MP camera for the majority of my work at the moment, it’s not too heavy and a great little camera, so my RAW files are in the NEF format which is Nikon’s RAW file format.
The RAW images i will be processing in this exercise were taken before i fractured my pelvis at The Chinese Gardens in Darling Harbour in Sydney early February and will form part of assignment 2 for digital imaging. (……no i didn’t fracture it in a fall at the gardens in the wet…it was an incident with an air conditioner, a cat , an iMac that now has a cracked glass screen and broken LED and a bed side storage box…..the cat suffered no injuries and continues to life a spoilt happy life and a comsol cable constant data back up to the cloud and a spare monitor from my sons room mean i can resume working…..)
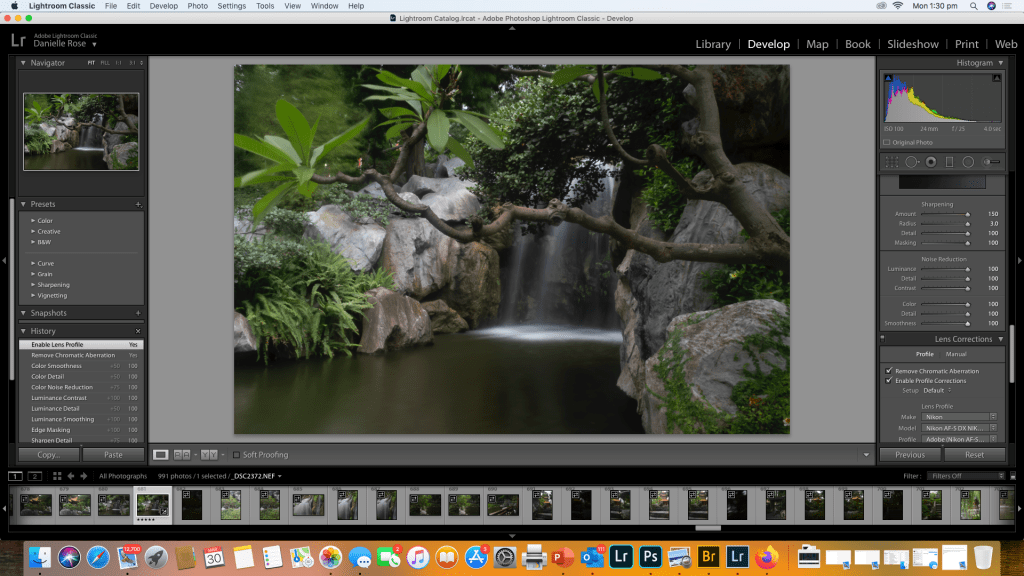
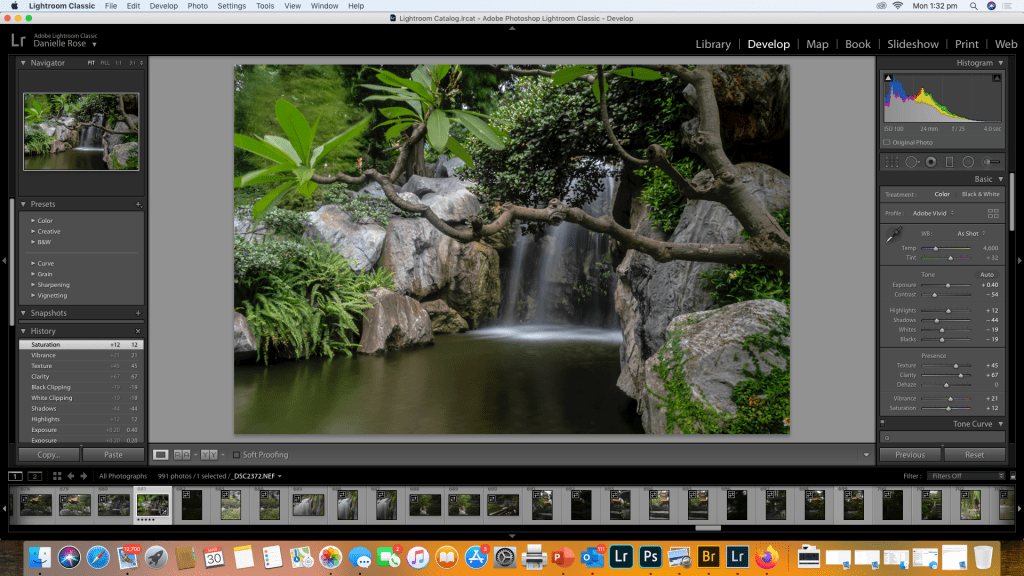
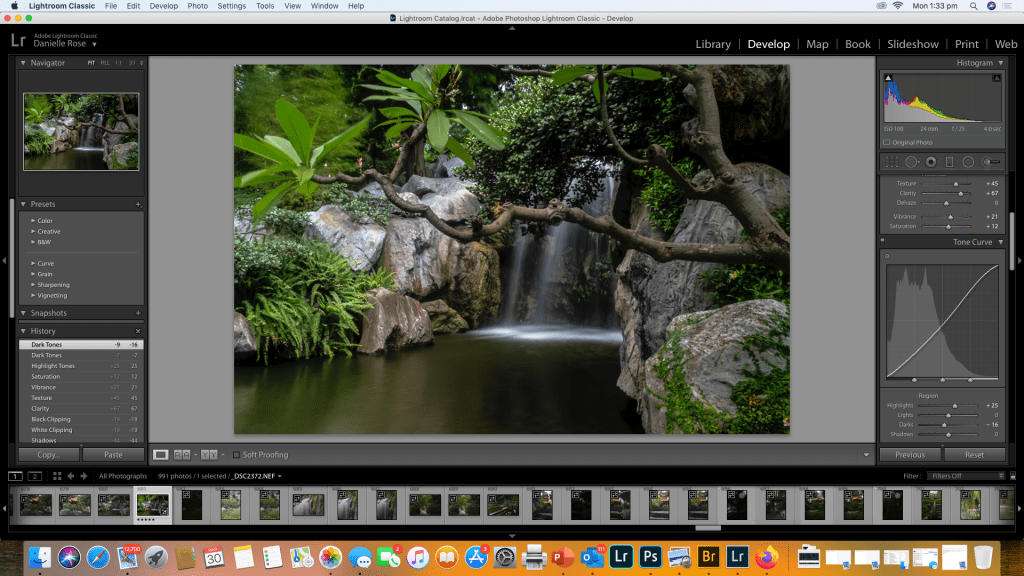
All images will be edited in Adobe Lightroom Classic and I will screen shot my process as I edit each of the 3 images I’ve chosen for this exercise.
Image 1
Waterfall – Chinese Gardens Of Happiness
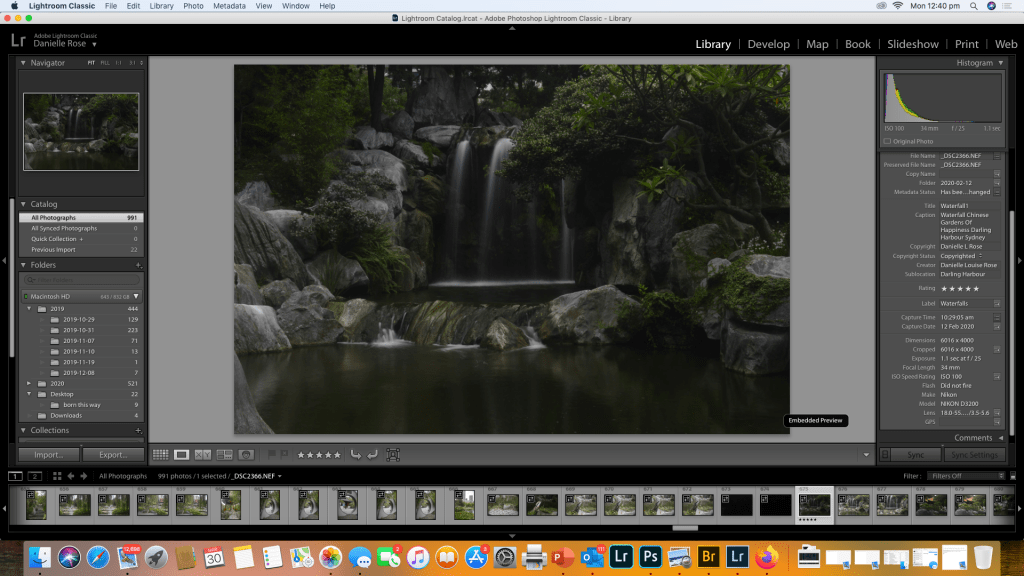
This is the raw image strait out of the camera with no editing and as you can see from the meta data it’s a long exposure of 1.1 sec focal length 34mm on an 18-55mm kit lens with an ISO of 100 i also used a ND filter as i was shooting during the day. The next series of images will demonstrate the use of the sliders in adjusting the contrast and overall tone and colour corrections in the image as well as image sharpening and any noise reduction.


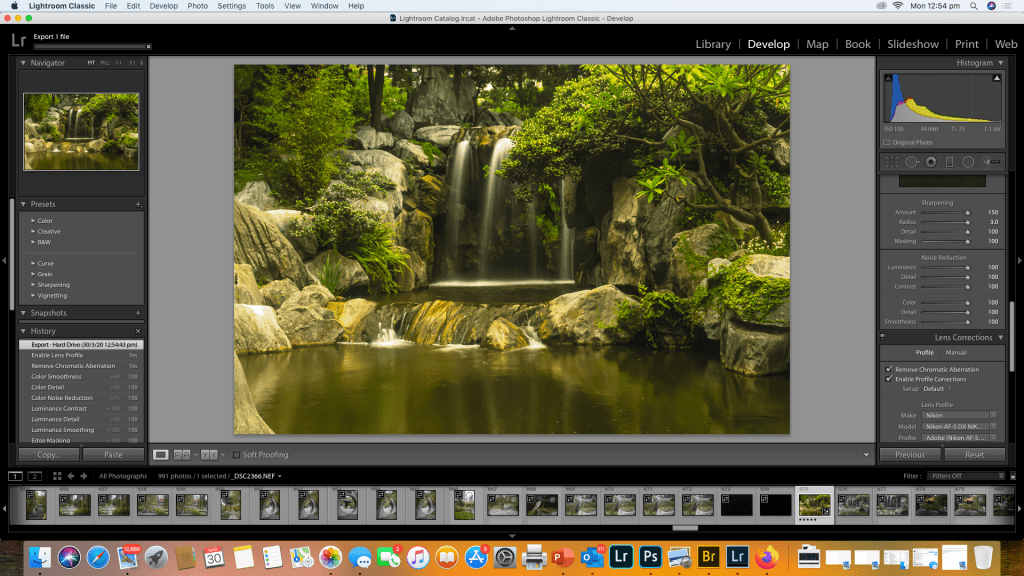
Image 2
Window – Chinese Gardens of Happiness
I’ve added my copyright details to the Metadata and i really love this shot as the shape of the window opening in the wall was just such an interesting asymmetrical shape. This was also another long exposure to try and bring a softer tome to the wall and it was quite dark as t was a cloudy rainy day. The exposure was 6.2 seconds at 55mm f25on the 18-55mm kit lens no ND filter as it was inside a corridor with an ISO of 100
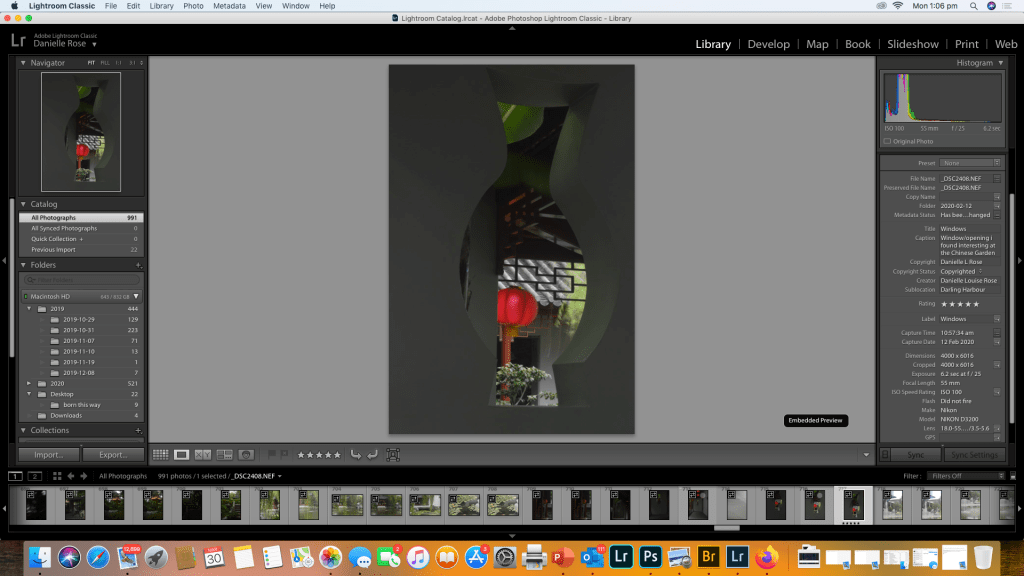
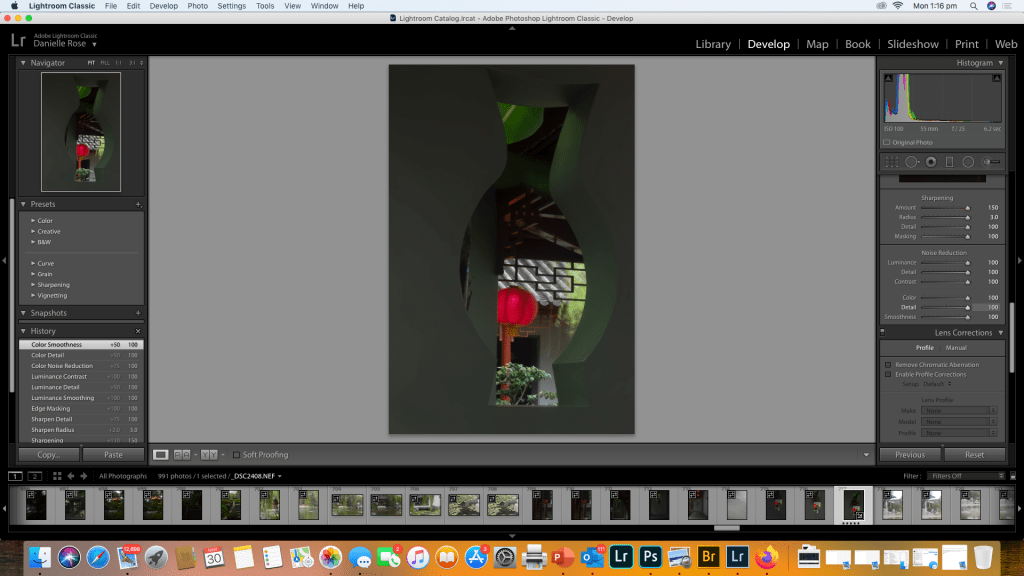
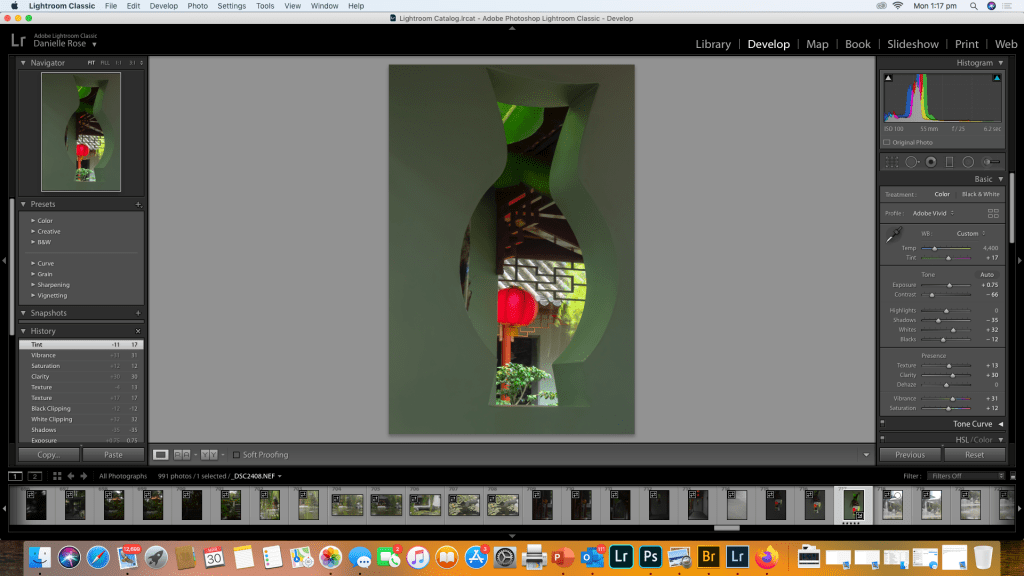
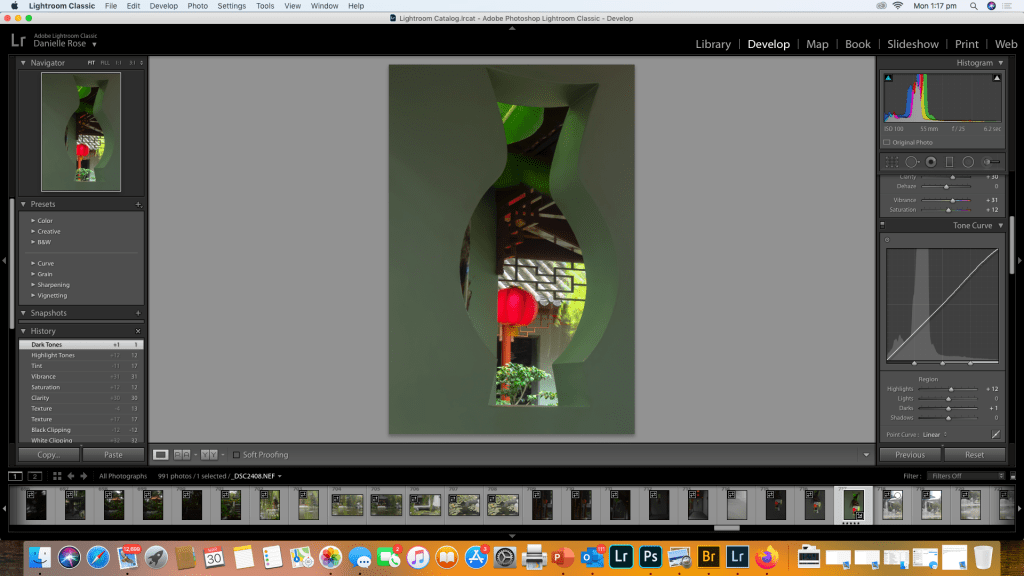
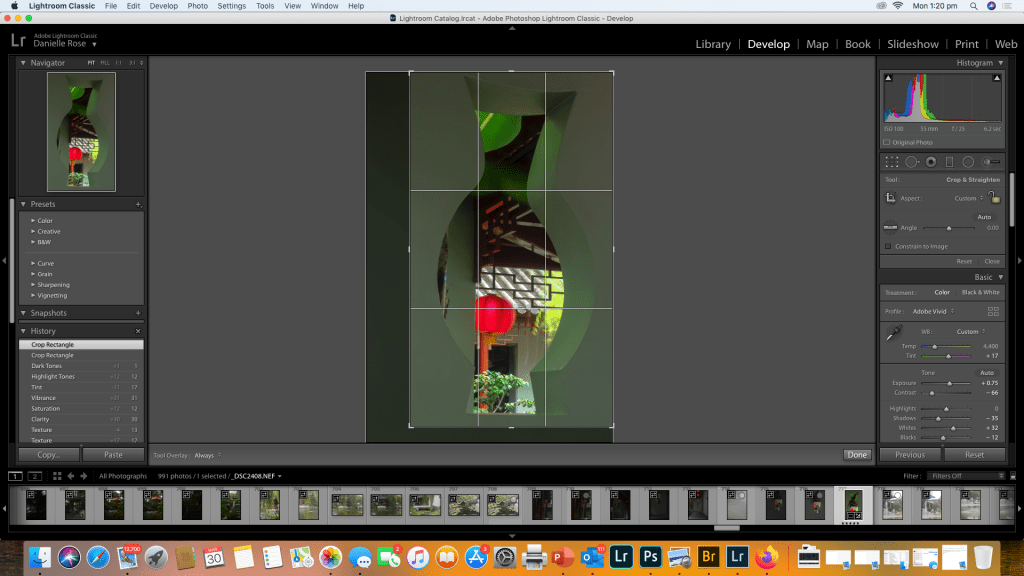
Image 3
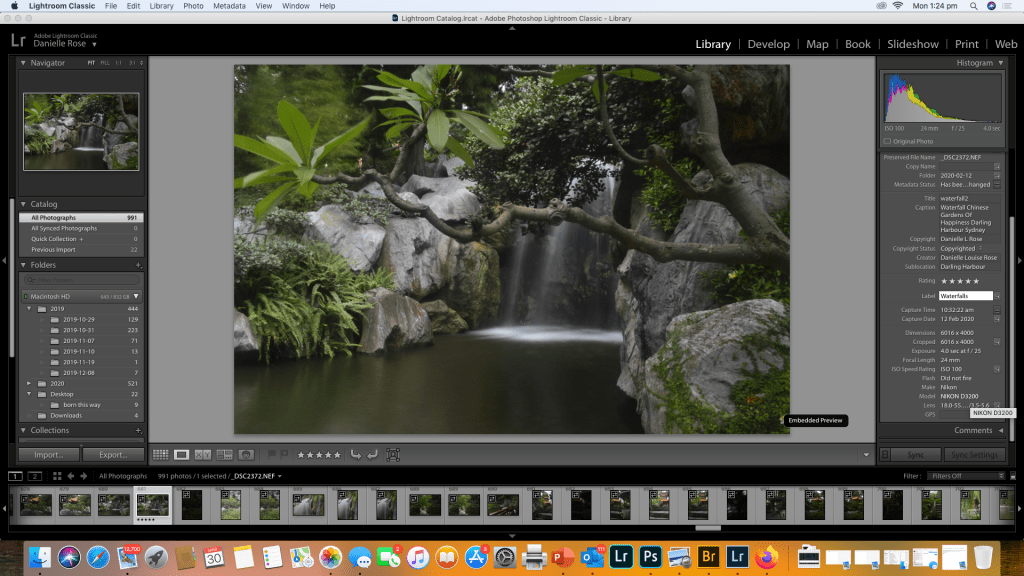
A Different Angle on the waterfall
I zoomed in to get a different angle on the waterfall in this shot. Long exposure once again 4.0 sec at f25, focal length was 24mm using 18-55mm kit lens with an ND filter and ISO 100
Reflection
I love landscape photography, so i probably have over 100 unedited waterfalls from my travels, but i took this set in February with this module and the assignment in mind.
Normally when editing landscapes or other types of photos i have presets i would use for waterfalls, night shots of cityscapes etc and i would apply that when I’m adding my copyright to the metadata in the library and then do any additional adjustments to the tone curve if needed.
I quite enjoyed the exercise in demonstrating the steps i take when editing and the subtle differences between the colours and tones is apparent from the screen shots. Editing ones work is a highly personal choice what i like in an image someone else may do differently, I like vibrant colours and soft but sharp images with lots of clarity. I love Lightroom for that reason because it’s non destructive meaning once I’ve saved this edit I can reset it to original raw data and try another preset or create a preset or even make it black and white. The endless possibilities for creating a final image in Lightroom make it an invaluable tool and an essential part of a photographer work flow.

