Activity 5.1: Create a Develop preset
In Lightroom Classic, Develop presets provide a way to save a group of settings and apply them to other photos. Once you create and add a preset to the Presets panel in the Develop module, it remains there until you delete it.
For this task, choose an edit you have applied to an image using the tools and techniques we have discussed during the last two modules, then save those edit settings as a preset.
Next, apply that preset to multiple images, and compare the results.
Creating a Develop preset
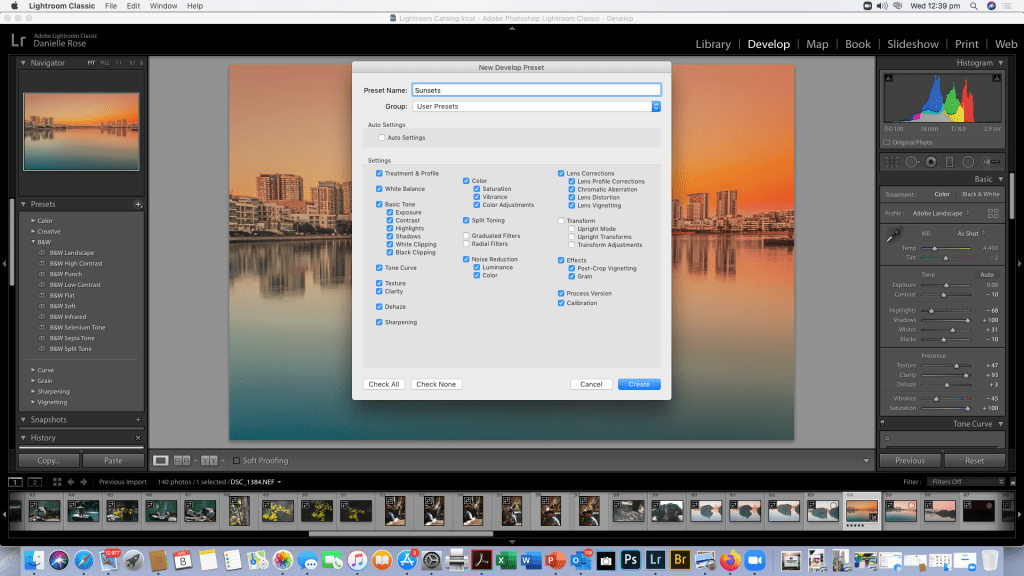
To start making your preset, go to the develop tab in Lightroom and you will find 9 options for developing your Digital Negative. Once you’re happy with your result, click on the plus sign on the left side of your screen. This will open a new window, to save your preset simply give your preset a name and select the settings that you used. You can either save your preset in a specific folder or in a general folder entitled User Presets. Once everything is how you want, click on Create.

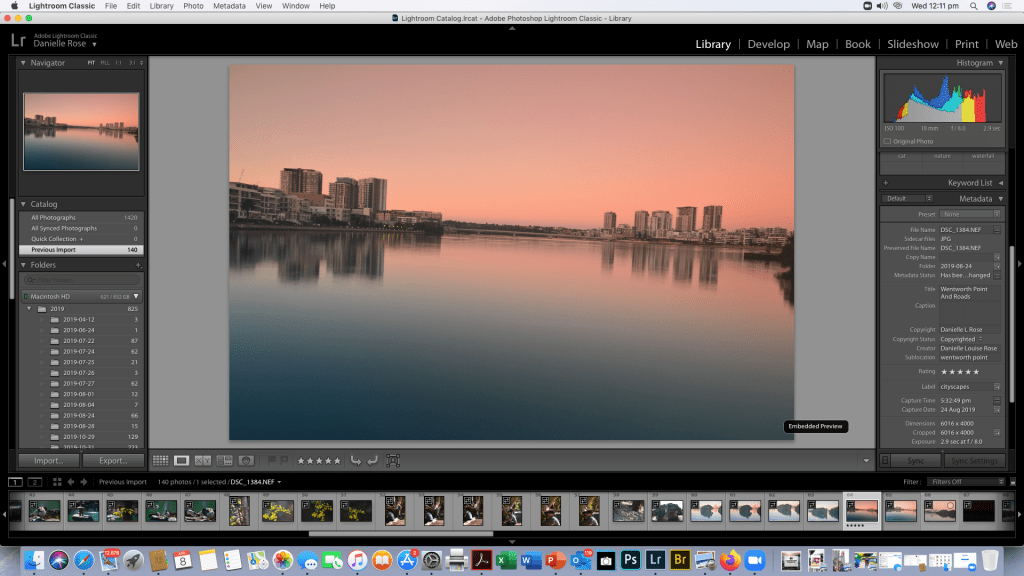
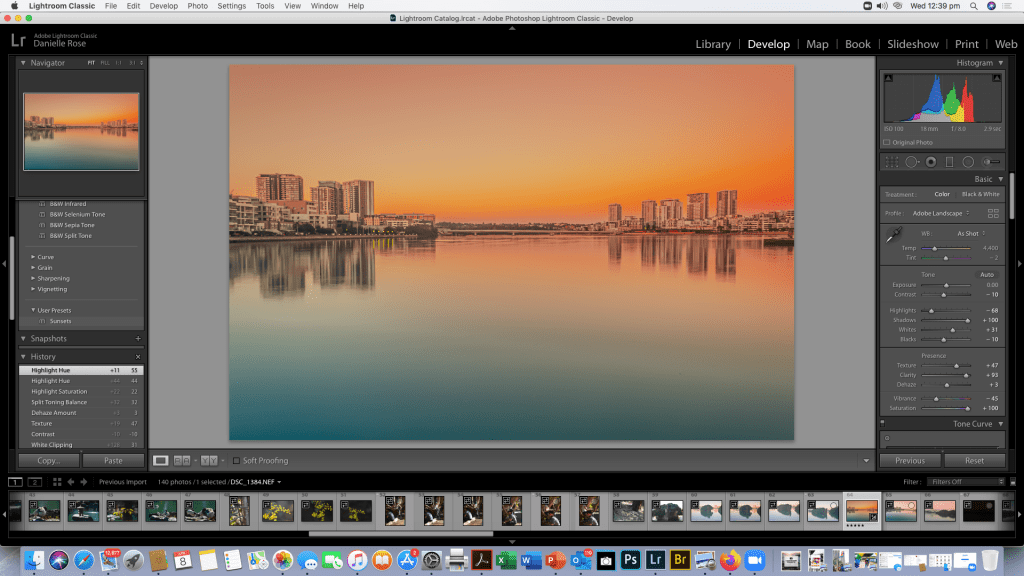
So the Photo I’ve chosen for this exercise is a Cityscape taken last year from Wentworth Point looking across to Rhodes on the Parramatta River NSW Australia.
After choosing my RAW image Ive started by calibrating my monitor (there was an incident with a cat and an air conditioner which resulted in a broken LCD on my 27inch iMac and a broken Pelvis)..(furry little bugger is fine in case you’re wondering!)

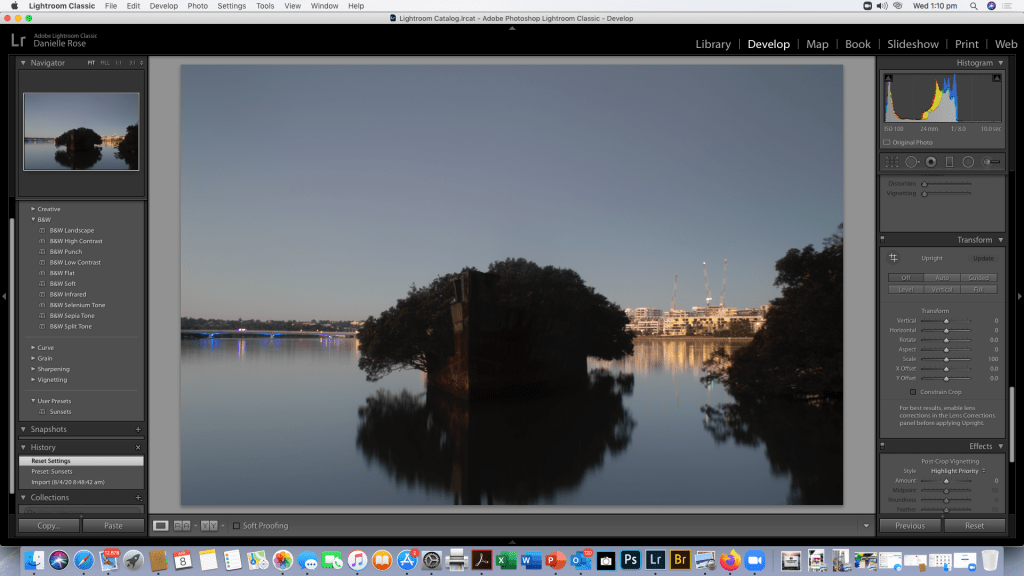
As you can see in the screen shot the horizon is a bit wonky as i knocked my tripod but the light was perfect so I took the long exposure as i knew i could correct it easily in Lightroom. So after putting my copy right details into the Library
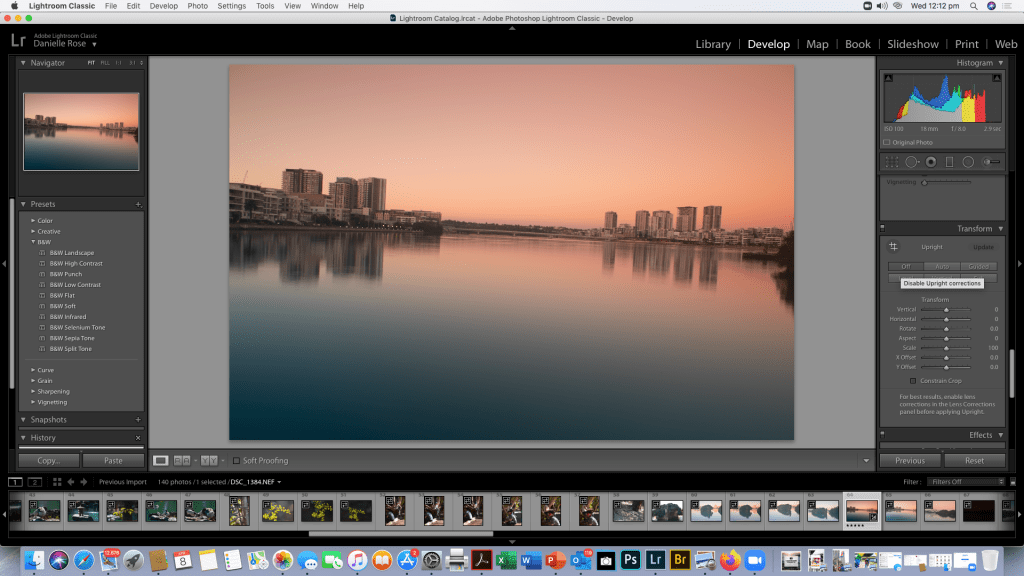
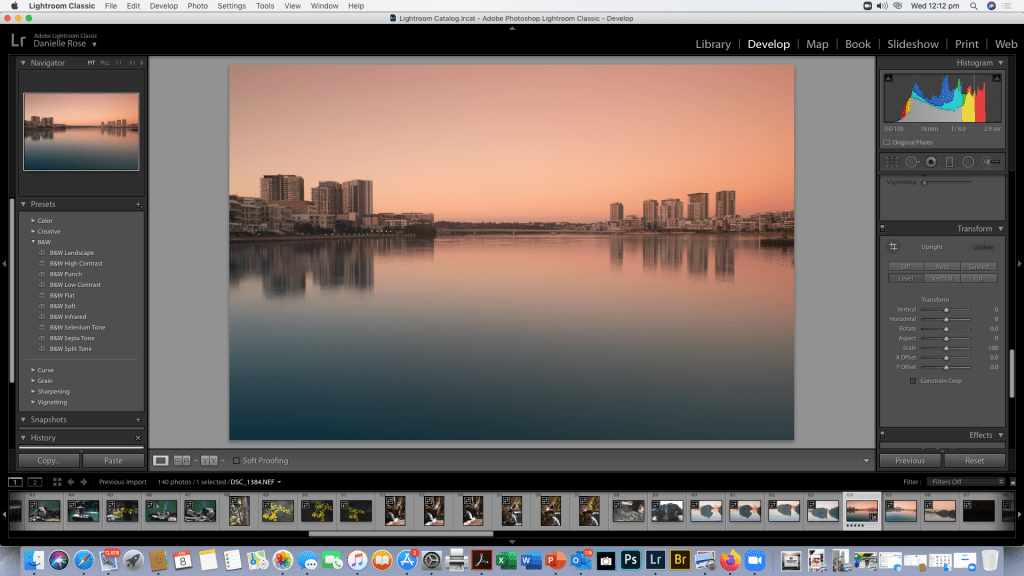
Now that the horizon is level in this shot i will go a head and adjust my image to what i think will look best and screen shot the process of developing my RAW image.


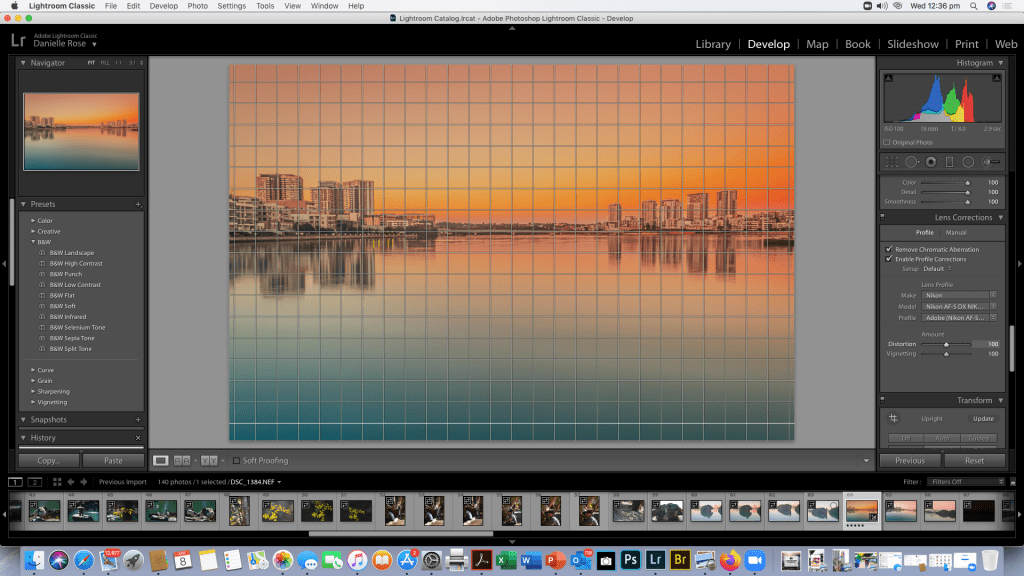

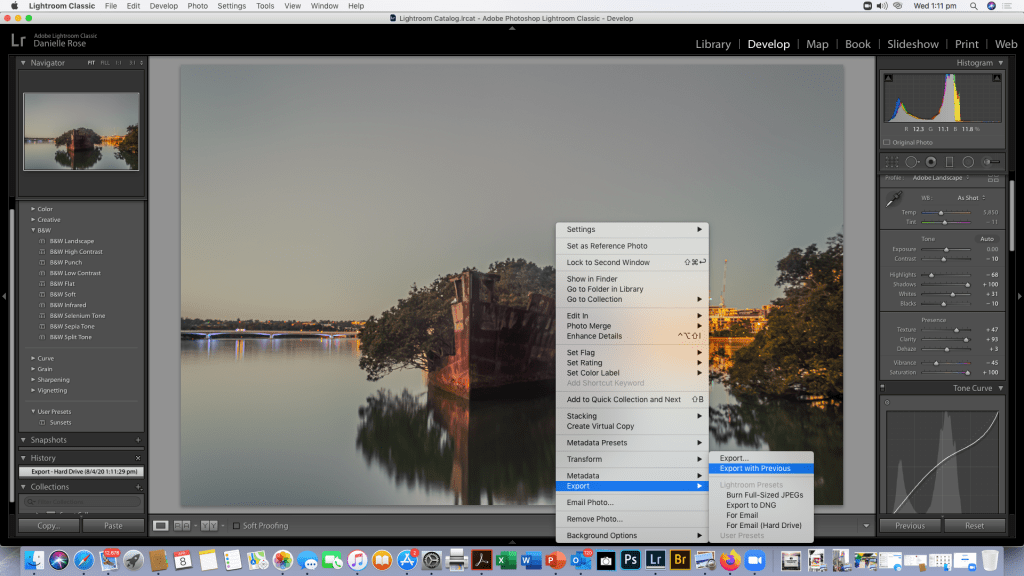
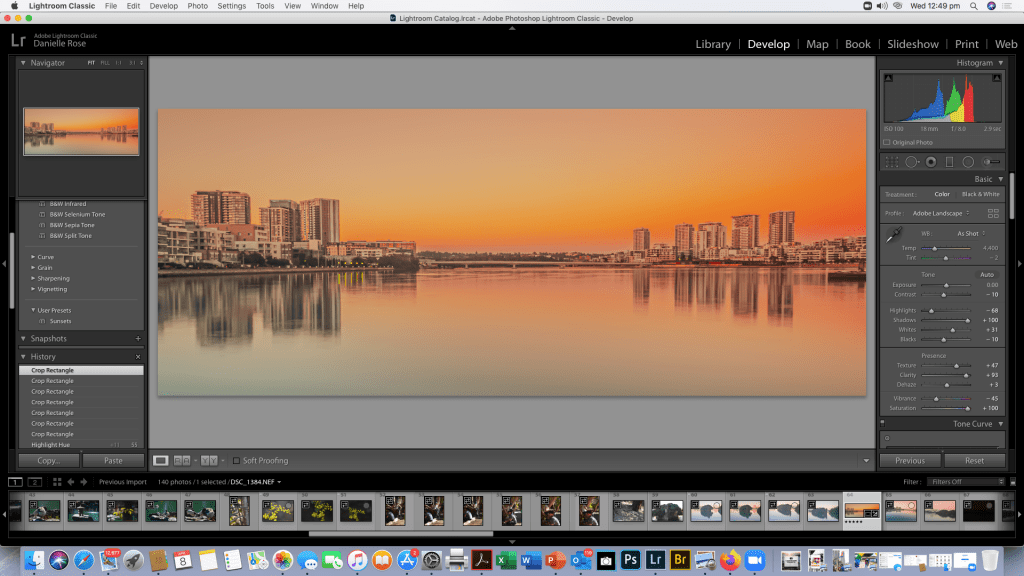
Now that the preset is saved i have decided to crop my image and then export it to the desk top for printing at a later date.

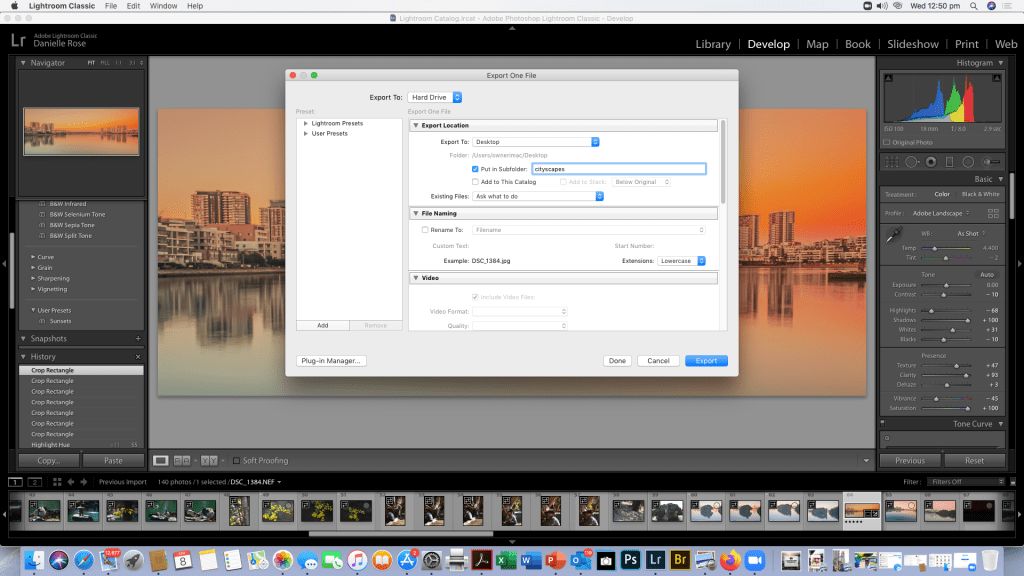
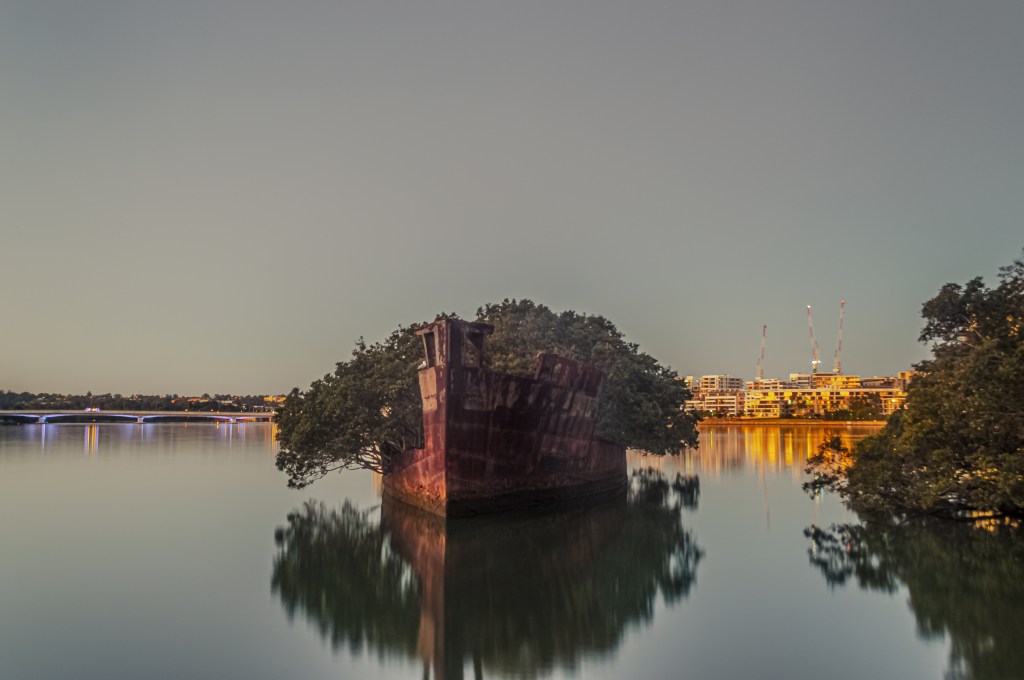
Now that’s all done, here’s the final saved Image saved in it’s file


Normally i probably wouldn’t saturate the colours so much i generally prefer a pinky twilight colour rather than an orange glow but the great thing about Lightroom is that now i can go back and reset the image to the original raw data and edit it in a completely different way as this version is saved on the hard drive or i could us this preset again for another image as per below:-