Retouching DNG or Digital negative files / RAW files is easier in Lightroom than retouching JPEGs/JPG files.
The activity is as follows
Activity 6.1: Retouch or remove distractions from an image using Lightroom
Click on the above link and choose from the images with which you have been provided for this activity. Alternatively, you can select some your own photographs, and use Lightroom’s Spot Removal tool, in combination with the local adjustment tools explored in this module, to remove distractions, retouch blemishes and enhance the image(s).
Be sure to try various techniques on multiple photos.
When you have completed the process, analyse and reflect on the results. What were the strengths and limitations of each tool and technique? Was there anything that you were not able to achieve? If so, why?
Activity 1a

Last time I chose to edit the JPEG portrait and converted it to black and white because that’s my style and I felt it looked better and had less distractions in the image.
This Time I’m going to edit another portrait and a landscape image from the files provided for the class to use.
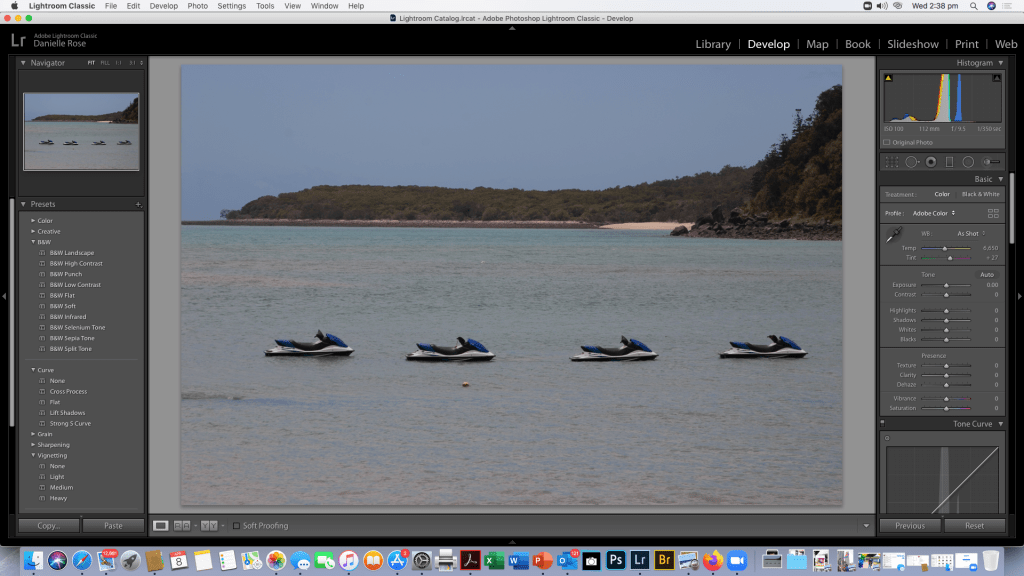
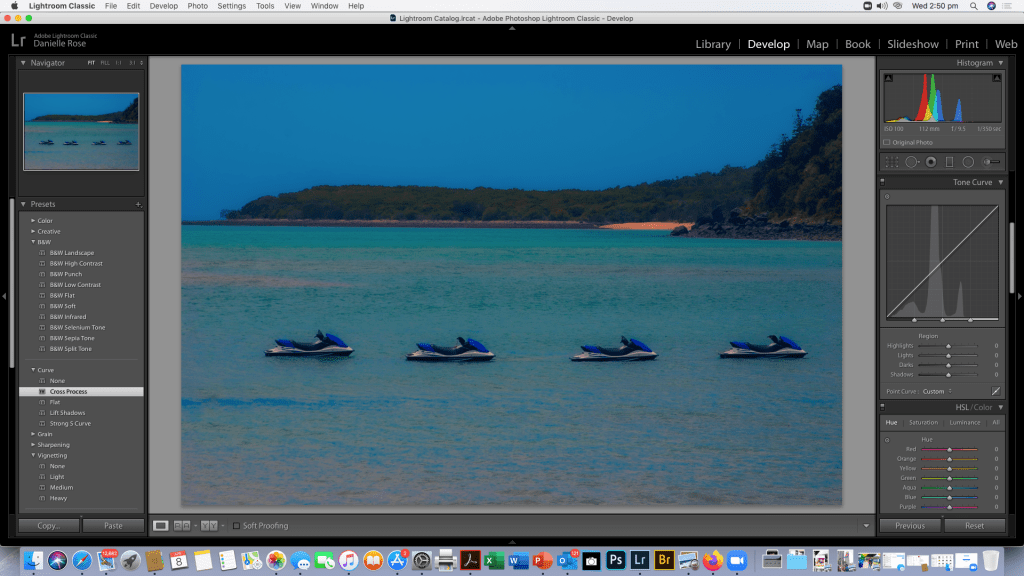
The first image I’m editing is the Landscape with the jet ski’s there a few things in the image I find distracting so I’m going to use the spot removal tool to get rid of the things that are annoying me in the image.

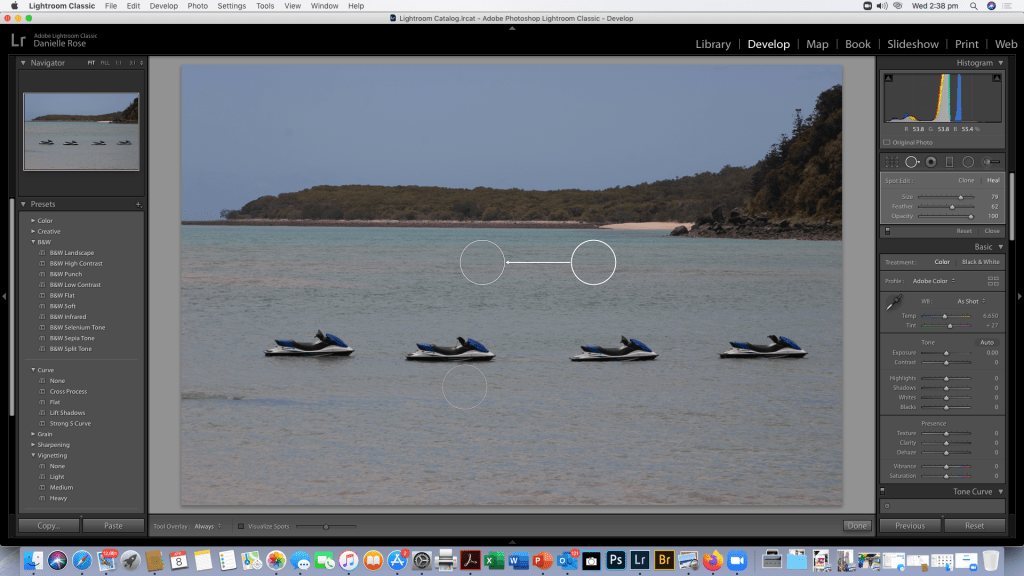
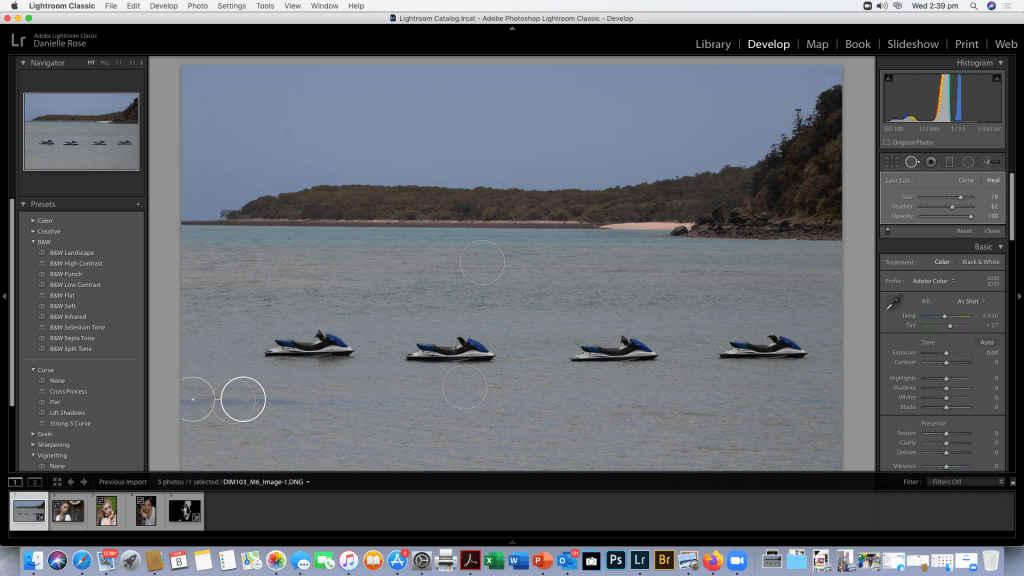
After removing the floating bits and aspects of the waves i didn’t like, i will now have a play with slider and presets to enhance the image to my preferences and make the image pop.

As you can see I’ve had a play with the Colour and Tone settings as well as the Presence to make the colours more vibrant.
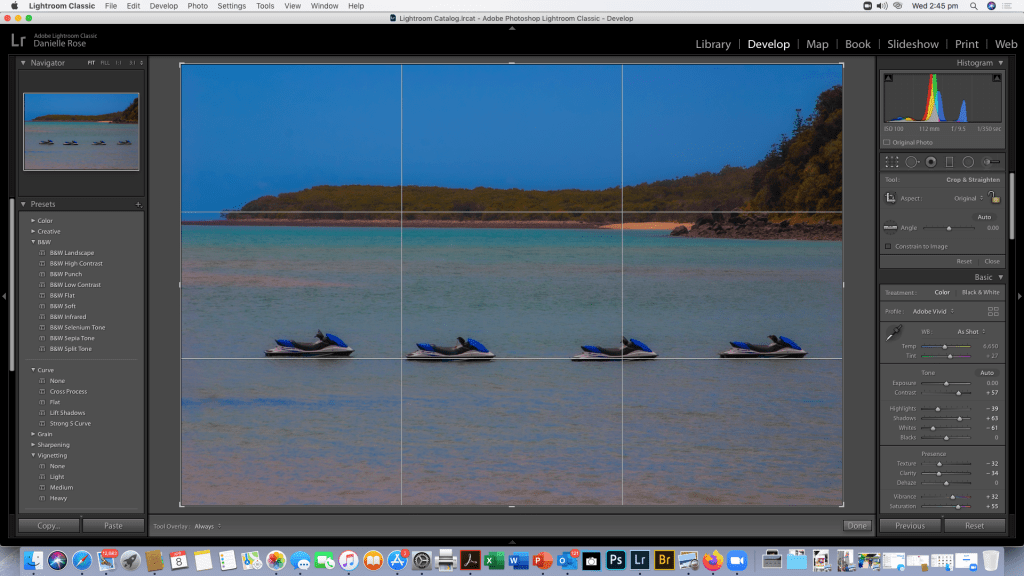
I’ve also brought up the grid to see if i want to crop the image and to see if my horizons are strait. At this point I’m also thinking about presets for the Tone Curve or if I’ll manually adjust it and what kind of impact I want the final image to have. I’m thinking I’ll go with a cross process tone curve as per the image below.
Activity 1b
For part two I’m going to chose one of the other portraits.

This is the image I’ll start with and I’ll see what adjustments with skin tone and spot removal/healing I need to do.
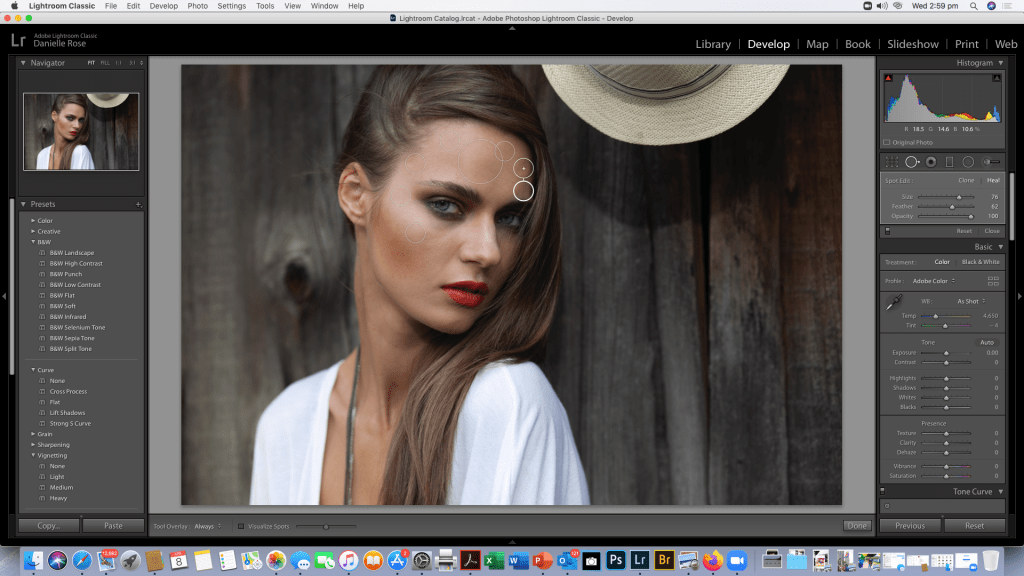
As you can see i have identified a few areas that needed some spot removal but her skin had a lot less acne than the JPEG image model in PART A
https://danielle.photo.blog/2020/04/08/retouching-and-local-adjustments-in-lightroom-part-1/

After finishing healing the image I’ve played with the sliders a little to see how much i want to adjust the exposure and contrast and the highlights on this image. Again I’m thinking of converting the image to black and white because that’s my signature style with portraits. So i’ll screen shot a few different edits before i upload my final edit of this image. I find the hat a little distracting and purposeless in colour and if this was a photo shop exercise I’d probably create a mask and remove it if I couldn’t find a preset I liked or created in Lightroom.
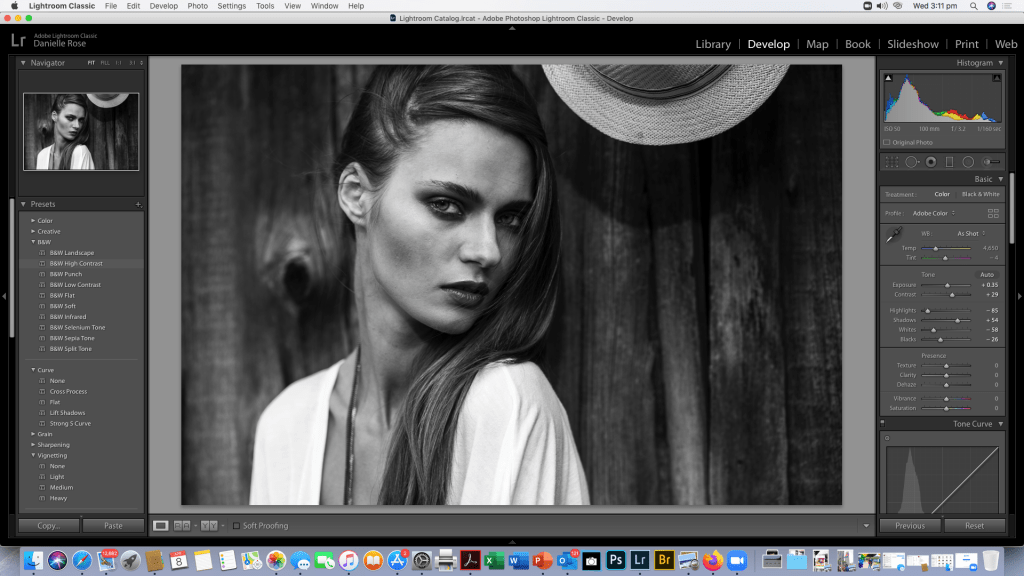
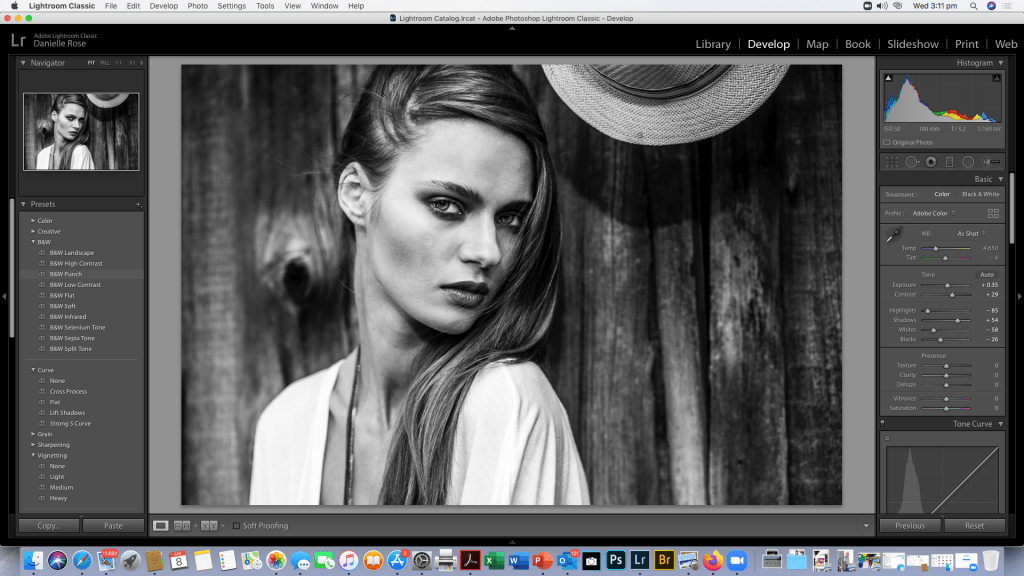

As you can see different preset filters give the portrait a slightly different feel and brig out different tones in the image.
The Final Image ……

All of a sudden i like the Hat !
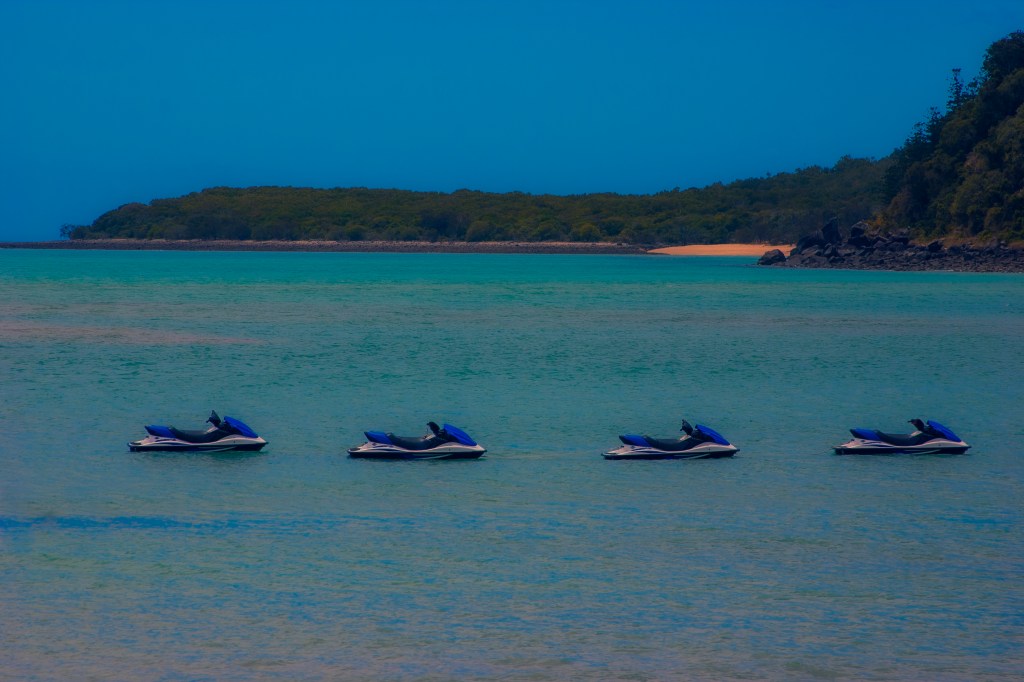
The difference in editing a DNG and a JPG is huge and you can compare the quality of the images side by side. JPEG editing is very limited which is why you should always shoot in RAW.


