Wire Drawing

Wire Drawing Assignment

The exercise in preparation for our first assessment task was fairly strait forward. We were given the following instructions and a few tutorials to watch on YouTube. Overall I found it frustrating trying to get the wire to comply with what I wanted to do with my quick sketch and continuous line drawing of the head phones. I wasn’t happy with the result and did not enjoy this process at all.

Assessment 1 assets’ to assist you with these below steps.  

  1. Choose an inanimate object from around your home that has potential to be ‘drawn’ with a continuous line (the wire). The more interesting its shape, the more detailed your work will be. 
  2. Following the steps given in the provided handouts, create sketches of the object – keep these loose and rough. 
  3. Once you have simplified your sketch place tracing paper over it and draw a single continuous line that captures the essence of your refined sketch.  
  4. Using some thin and easy to bend wire (like floristswire) start to express the object through this continuous line. You may use your hands or pliers, just ensure that your wire is easy for you to manipulate. Make sure that you have plenty of space to work in and that you are aware of where the ends of the wire are and that you keep them away  from your eyes. 
  5. Post a photo of the finished product on the Module 2 Discussion Forum – Part 2: Wire drawing or the line with no end’ with your reflective thoughts. How does it feel not to be able to rub the line out? What does the wire drawing express of the original object? What do you think of the end result?
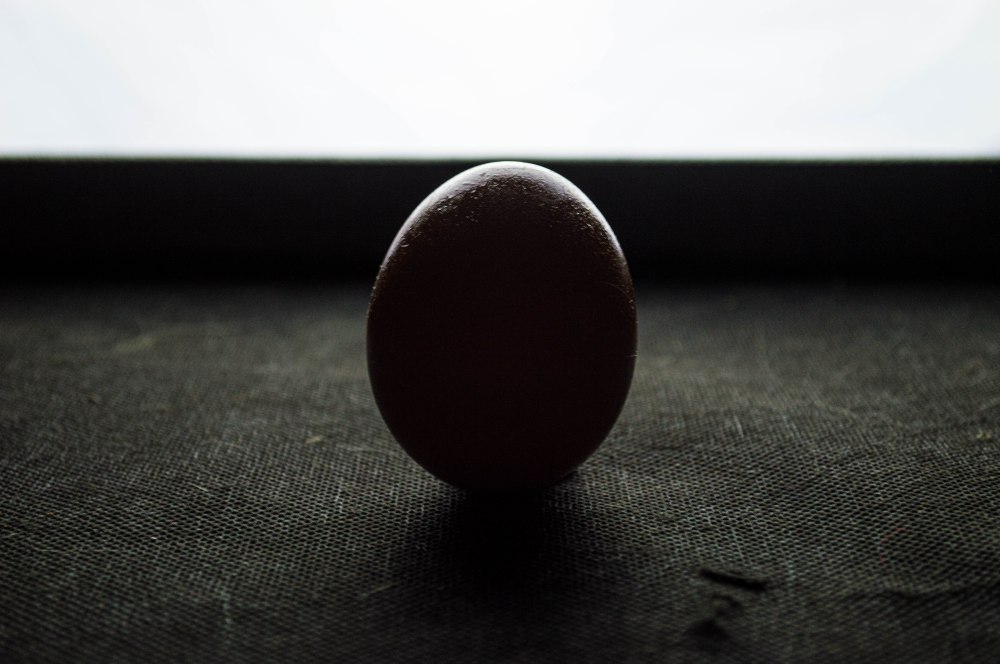
Revisiting The Egg – a study in studio lighting.

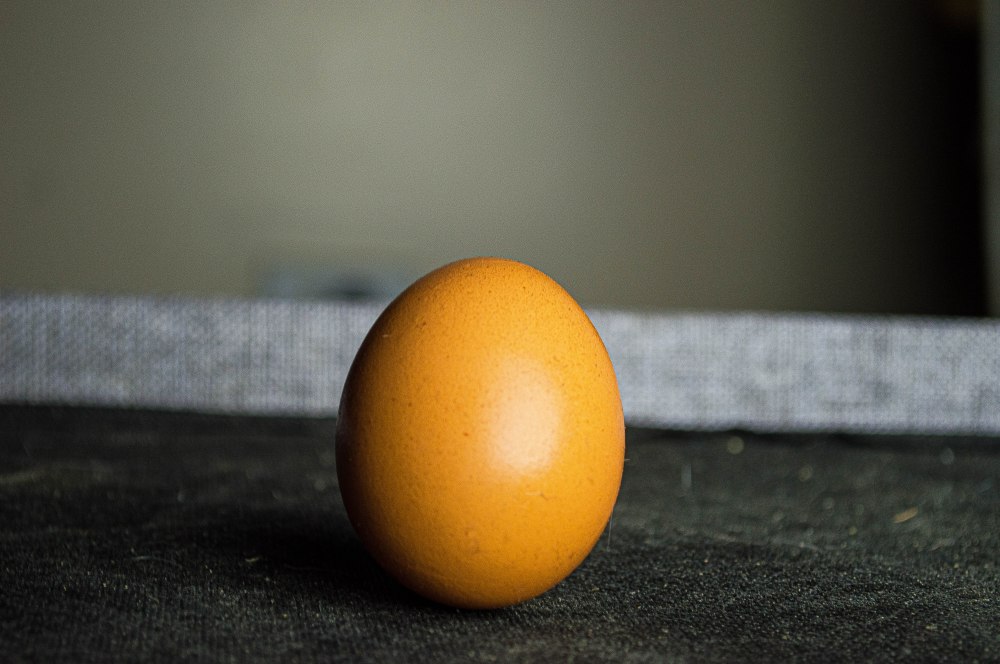
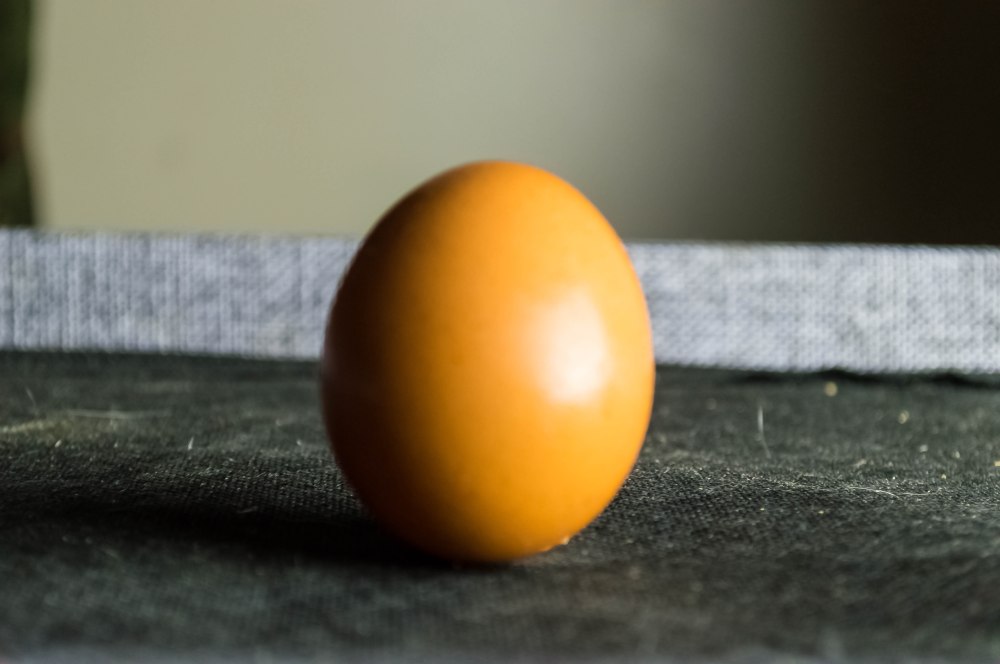
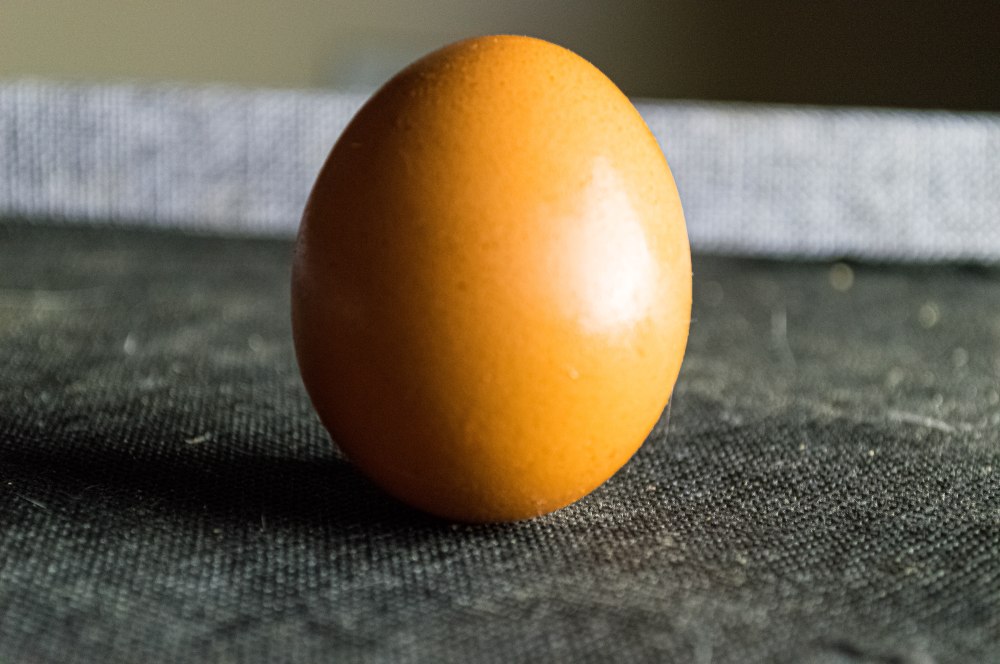
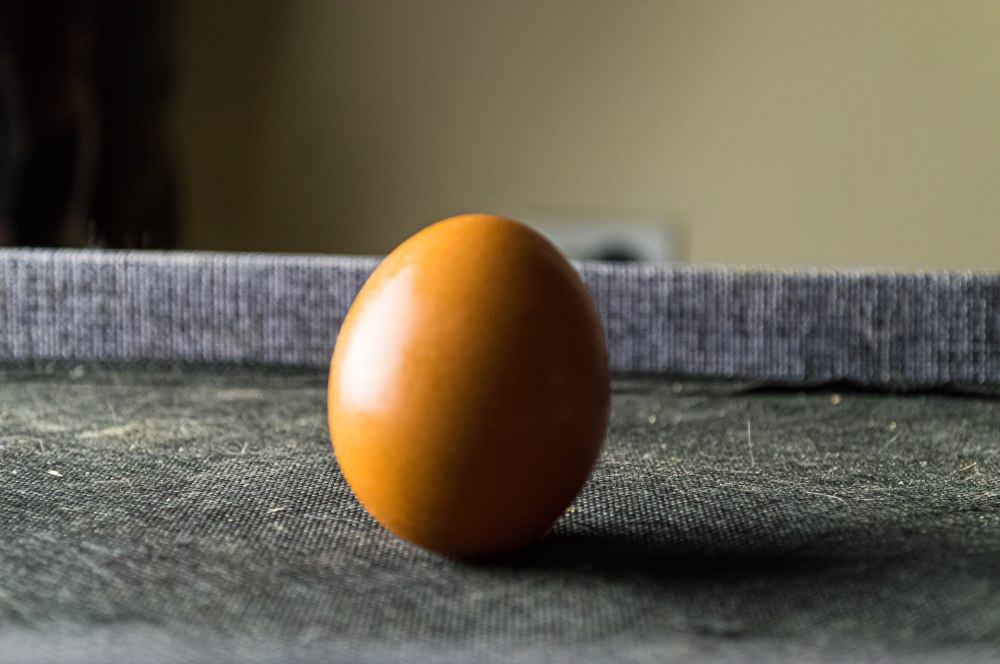
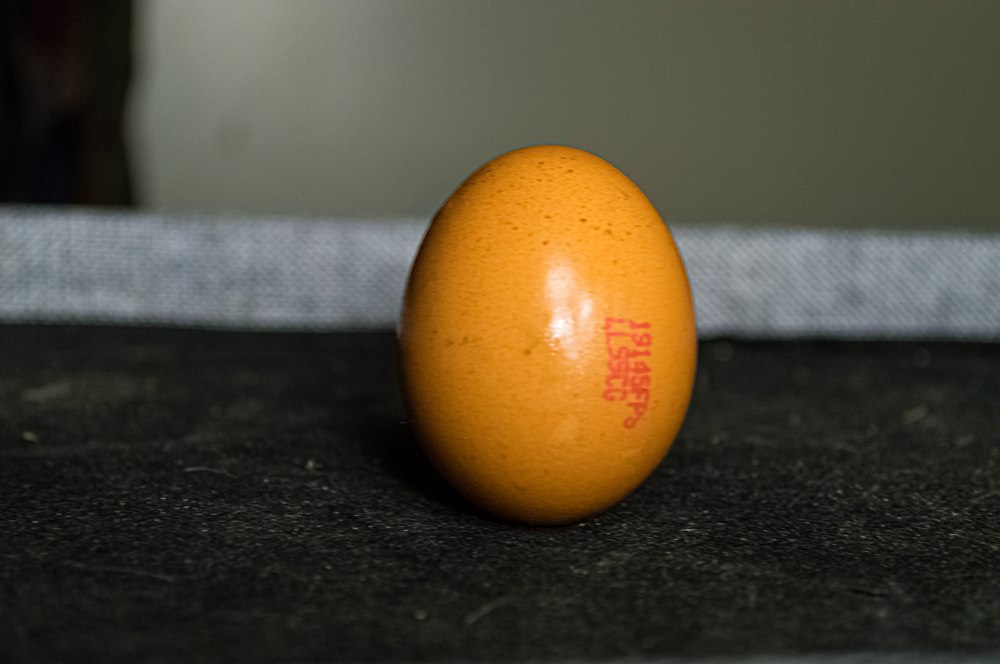
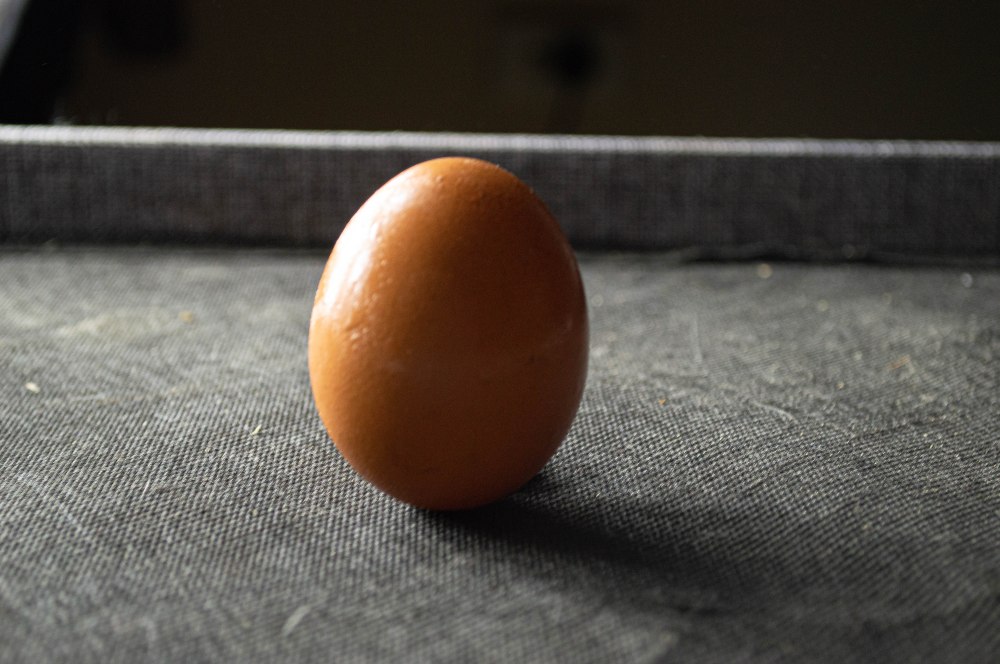
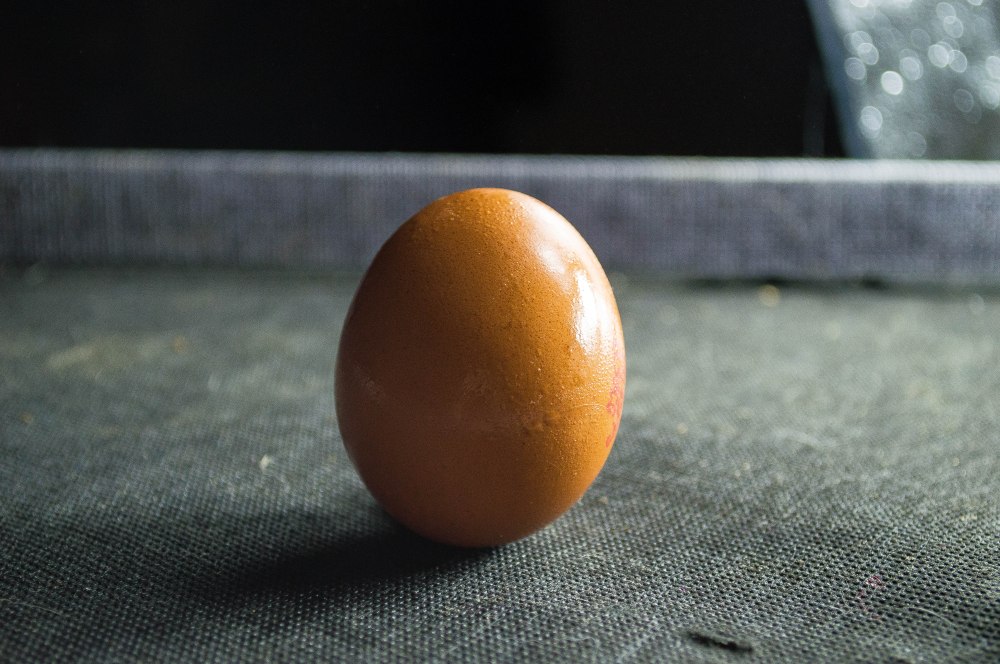
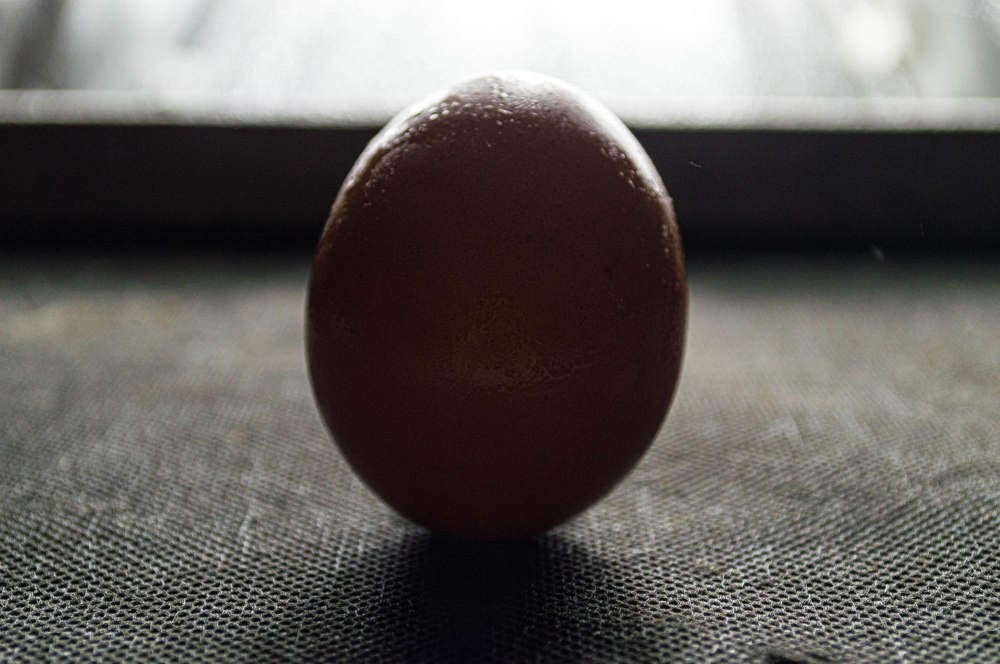
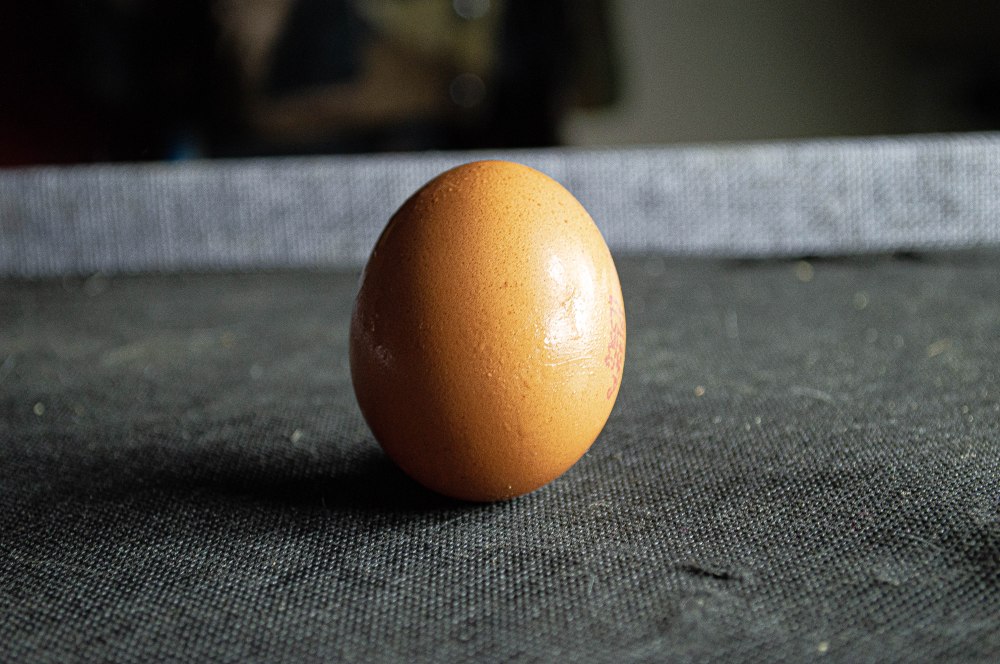
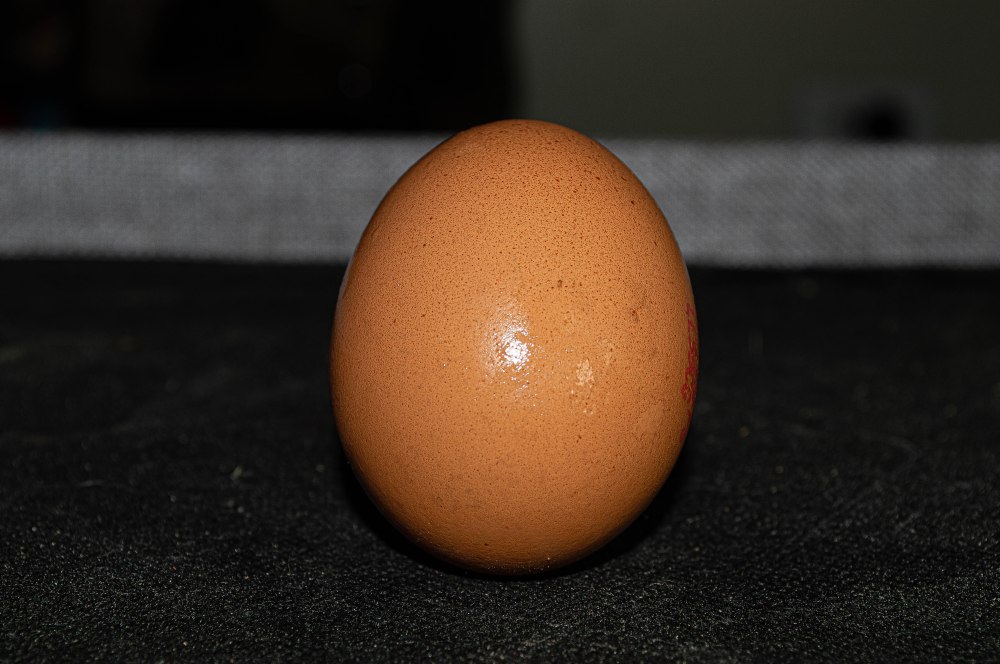
The task for module two was to view a YouTube clip of The Egg and create a series of images of an egg with different light angles. The purpose of the task is to show how light can change the feel of an image with the way it’s cast onto the subject. All in all a fun exercise that’s taken me back to the fundamentals of photography and how a subject can be lit to achieve different results and how the direction can change the feel and perspective of an image. My favourite shot was the back lit egg with the diffuser panel on the light

While i enjoyed getting behind the camera and trying to achieve a specific outcome i was outside my comfort zone as i prefer outdoor and street photography and have to be coerced into a studio environment by my lovely friend and visionary assistant Sara but the whole purpose of doing this course to get a Diploma of Photo Imaging is to become a better photographer in all aspects of photography.

The Egg

The set ofsix images above were with the use of the diffuser panel which softens the light and the amount of detail on the egg as well as the colour tones.

The second set of images were without the diffuser panel on the light, the light was stronger and the colour tone was a lot starker and more vibrant.

Digital Asset Management

Module 2 asked us to research and implement digital asset management with 3 tiered storage.

I already have a system in place for my digital image asset management. I use two laptops currently for working on mainly as one is better suited to graphic work than the other and the other is my main image storage onsite but i use adobe creative cloud so i can work between devices and my iPad or iPhone if I’ve shot on those rather than my DLSR.

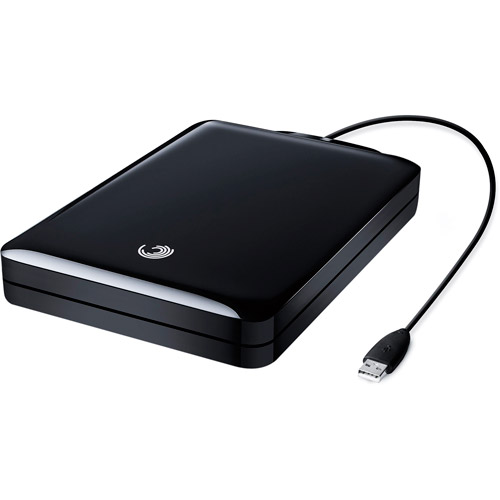
At this point in time I’m currently utilising 20gb of storage i have on Adobe Creative Cloud and 50gb at the moment on my iCloud, as well as archives dating back to 2009 stored on my terabyte Seagate drive in case of catastrophic failure of any other devices and storage methods.

Digital Imaging-Module One

Ergonomics and Workflow practices

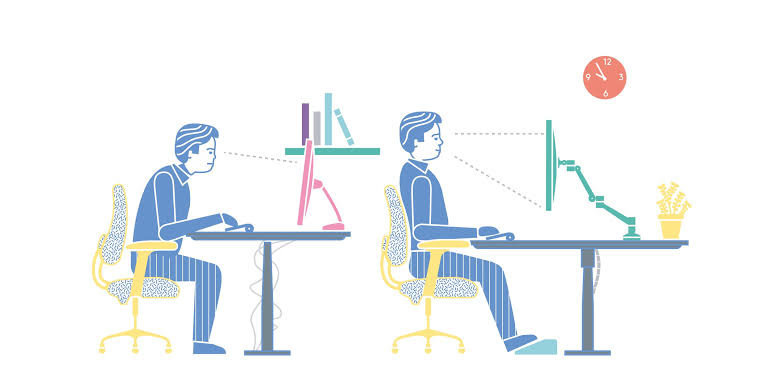
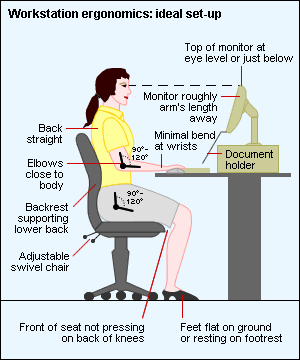
As per the instructions below module one of Digital Imaging reminds us that part of imaging includes WHS practices and management of your work flow.

Activity 1.1: Set up your workspace

Set up your own workspace according to ergonomically sustainable guidelines as outlined in the learning resources. Take both before and after photos.

I began my study Journey with a less than ideal work space and have updated to my current work space, it’s a big difference not having room for an office and studio at home anymore, we moved from a house with an office and a lot of space after my daughter became ill a number of years ago and live in housing commission accommodation. I dropped this subject last trimester after a family crisis and am picking it up again now i’ve reduced my work load and have more time to focus on assets management and studies in general

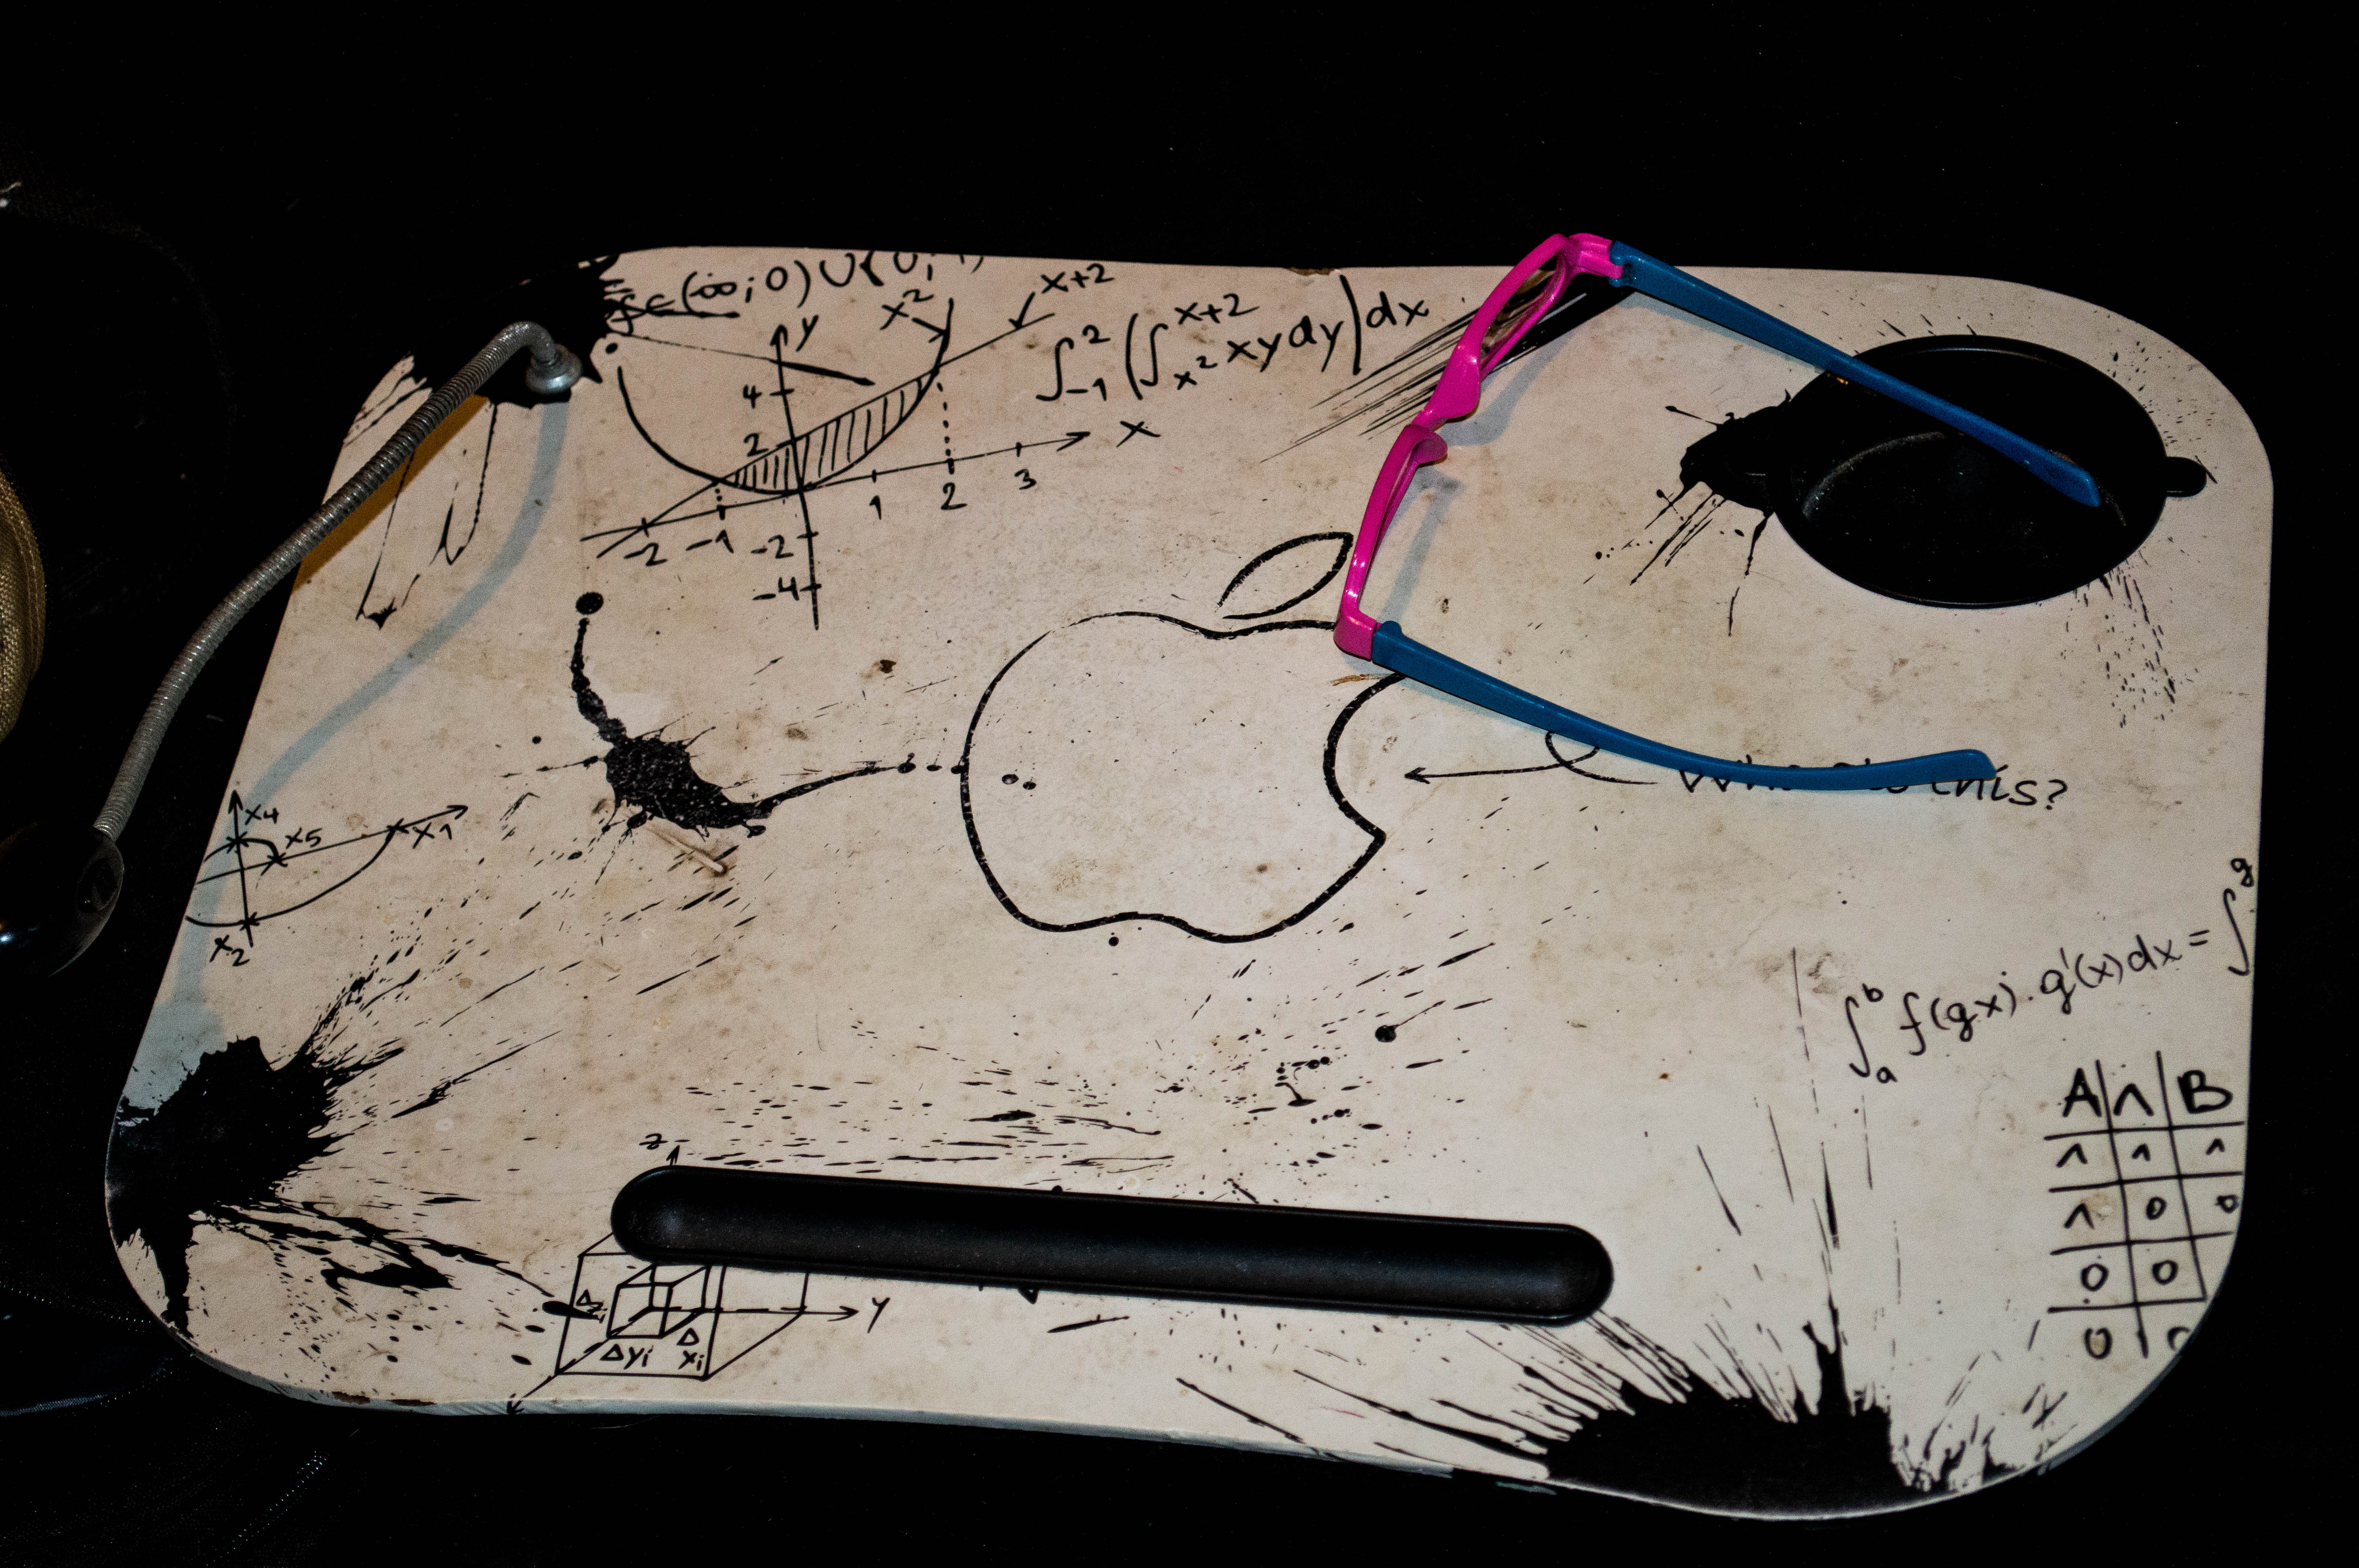
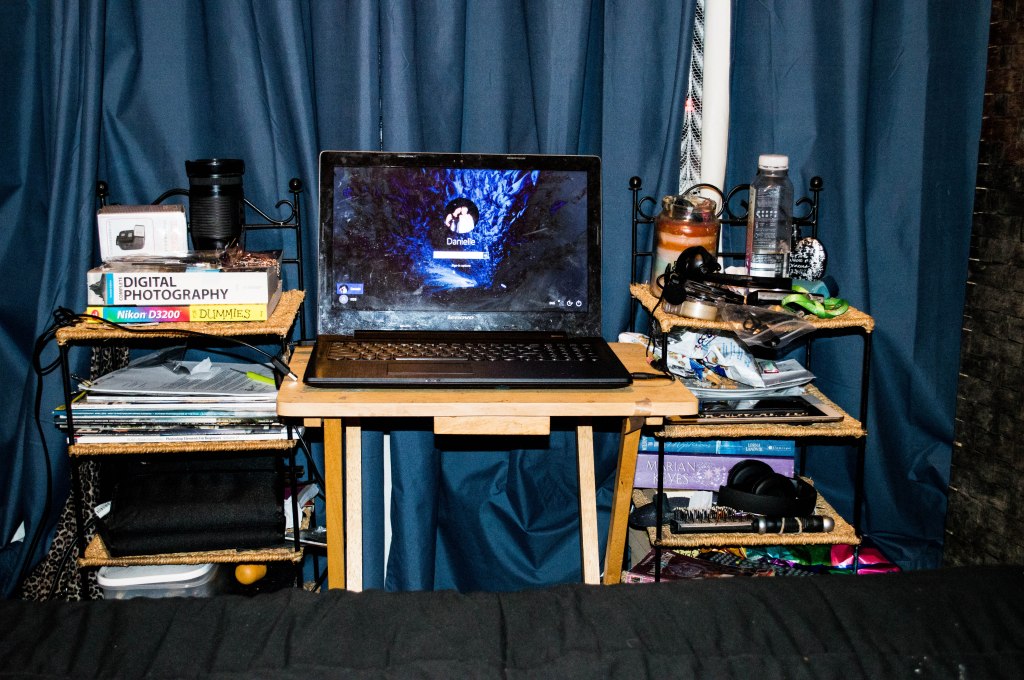
The biggest thing has been changing my work space as I really noticed the effect it was having on my back, wrists and posture. The next two photos are what i was working with from June until the beginning of September.

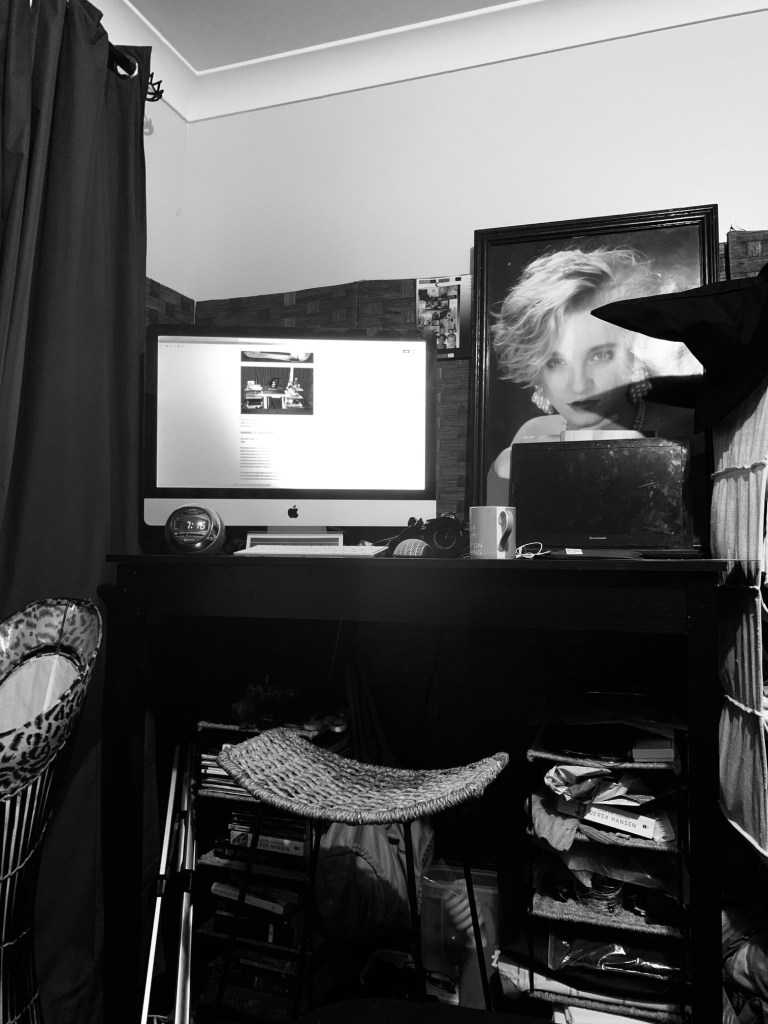
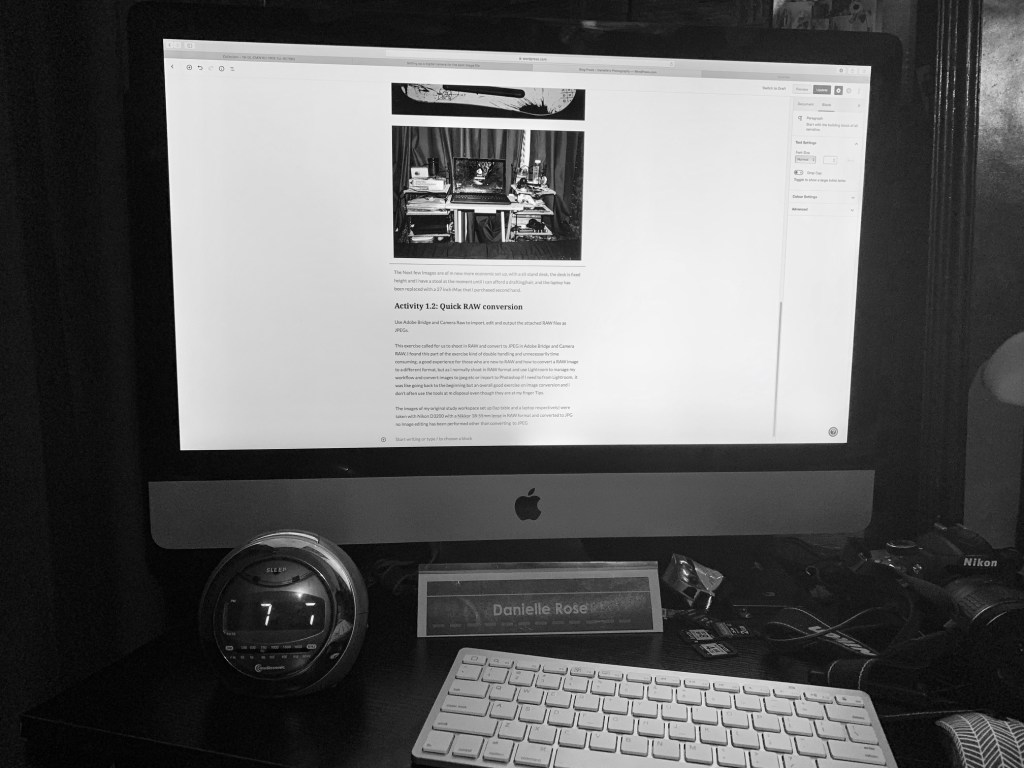
The Next few Images are of my newer, more ergonomic set up, with a sit stand desk, the desk is fixed height and i have a stool at the moment until i can afford a matrix drafting chair from Officeworks, and the laptop has been replaced with a 27 inch iMac that i purchased second hand. The larger screen size makes it easier to view what i’m reading and editing and the colour calibration and management is a lot better than my old dying laptop which sadly no longer connects to the internet and the track pad works sometimes.

new work space
The Mac and editing the blog.

Activity 1.2: Quick RAW conversion

Use Adobe Bridge and Camera Raw to import, edit and output the attached RAW files as JPEGs.

This exercise called for us to shoot in RAW and convert to JPEG in Adobe Bridge and Camera RAW, I found this part of the exercise kind of double handling and unnecessarily time consuming, a good experience for those who are new to RAW and how to convert a RAW image to a different format, but as I normally shoot in RAW format and use Lightroom to manage my workflow and convert images to jpeg etc or import to Photoshop if I need to from Lightroom, it was like going back to the beginning but an overall good exercise on image conversion and i don’t often use the tools at m disposal even though they are at my finger Tips.

The images of my original study workspace set up (lap table and a laptop respectively) were taken with Nikon D3200 with a Nikkor 18-55mm lense in RAW format and converted to JPG no Image editing has been performed other than converting to JPEG

Thinking Visually- What’s in this Picture?
Attachment

This task asked us to choose four images from decaptioned photos and to assess what is happening in each. The four I chose really spoke to me about what was happening in each and As a self confessed Candid and Street Photography nut I spend a lot of my time behind the lense in the street watching people and wondering what they’re thinking what they’re doing and where they’re going in such a rush and also the things the eye overlooks and doesn’t like to see such as abandoned alleys underpasses and the homeless, so this task was a fun one for me. 

Deportment Class

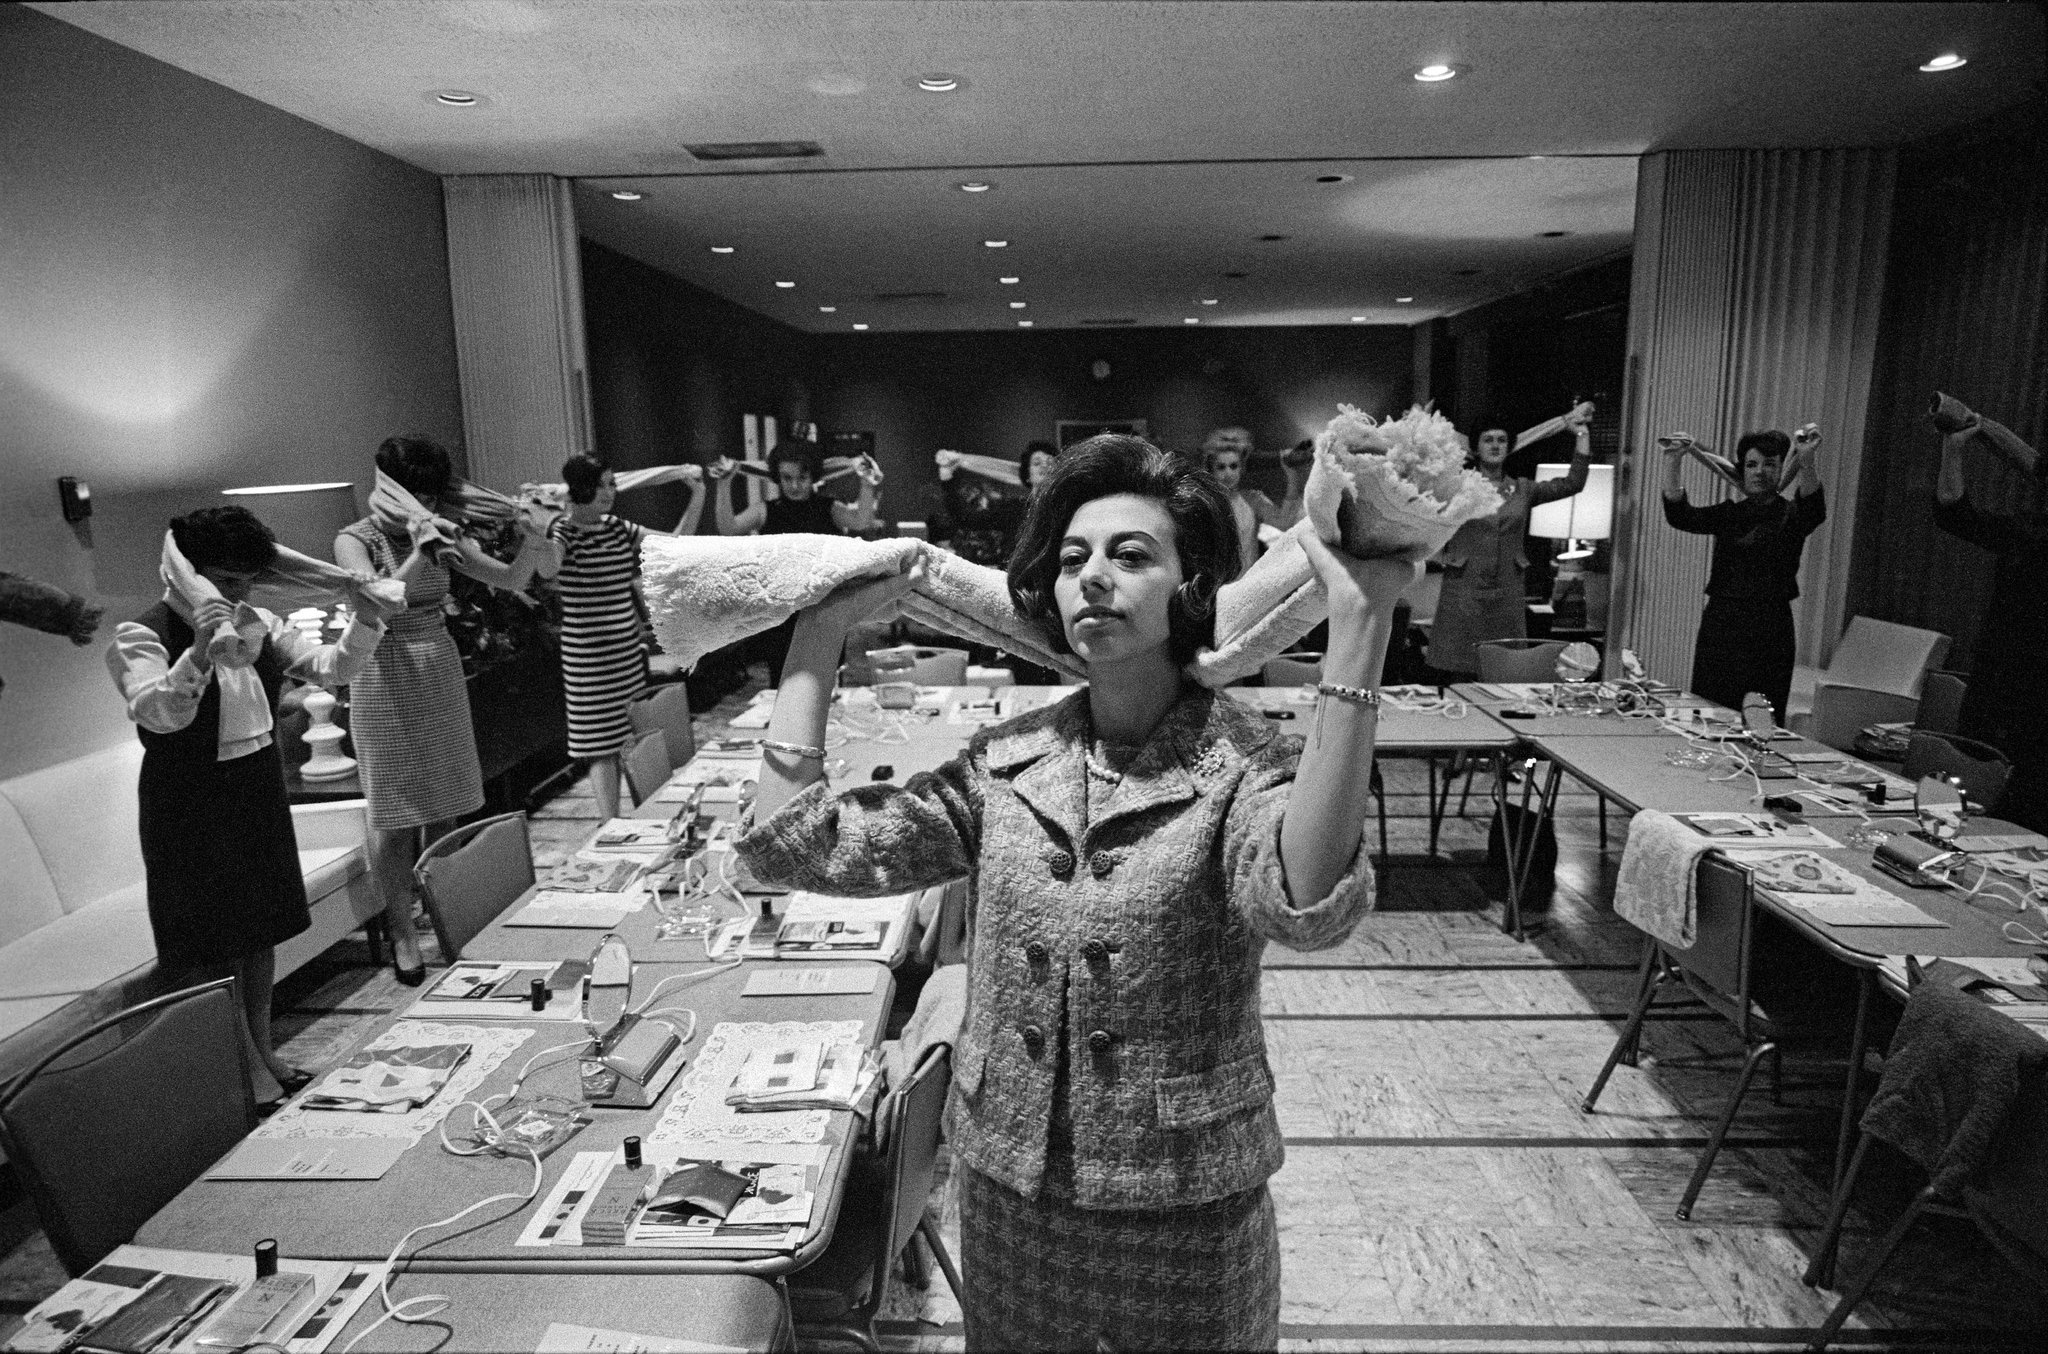
When I was a teenager in the late 80’s and early 90‘s deportment classes were still a thing for young ladies to do as we’re debutant balls….I did neither of these things mind you but had many friends that went to The June Dally-Watkins Finishing School and fussed over elaborate white dresses. At this time of life I was heavily into sneaking into clubs underage to drink and mosh with like minded grunge and metal heads or suffering alcoholic poisoning in a field away from a bonfire party, however I digress and the image suggests using rolled up towels or small rugs to improve posture and the items set out in front of each woman are classic beauty items like mirrors and cosmetic, and possibly notes on etiquette.

Environmental Disaster

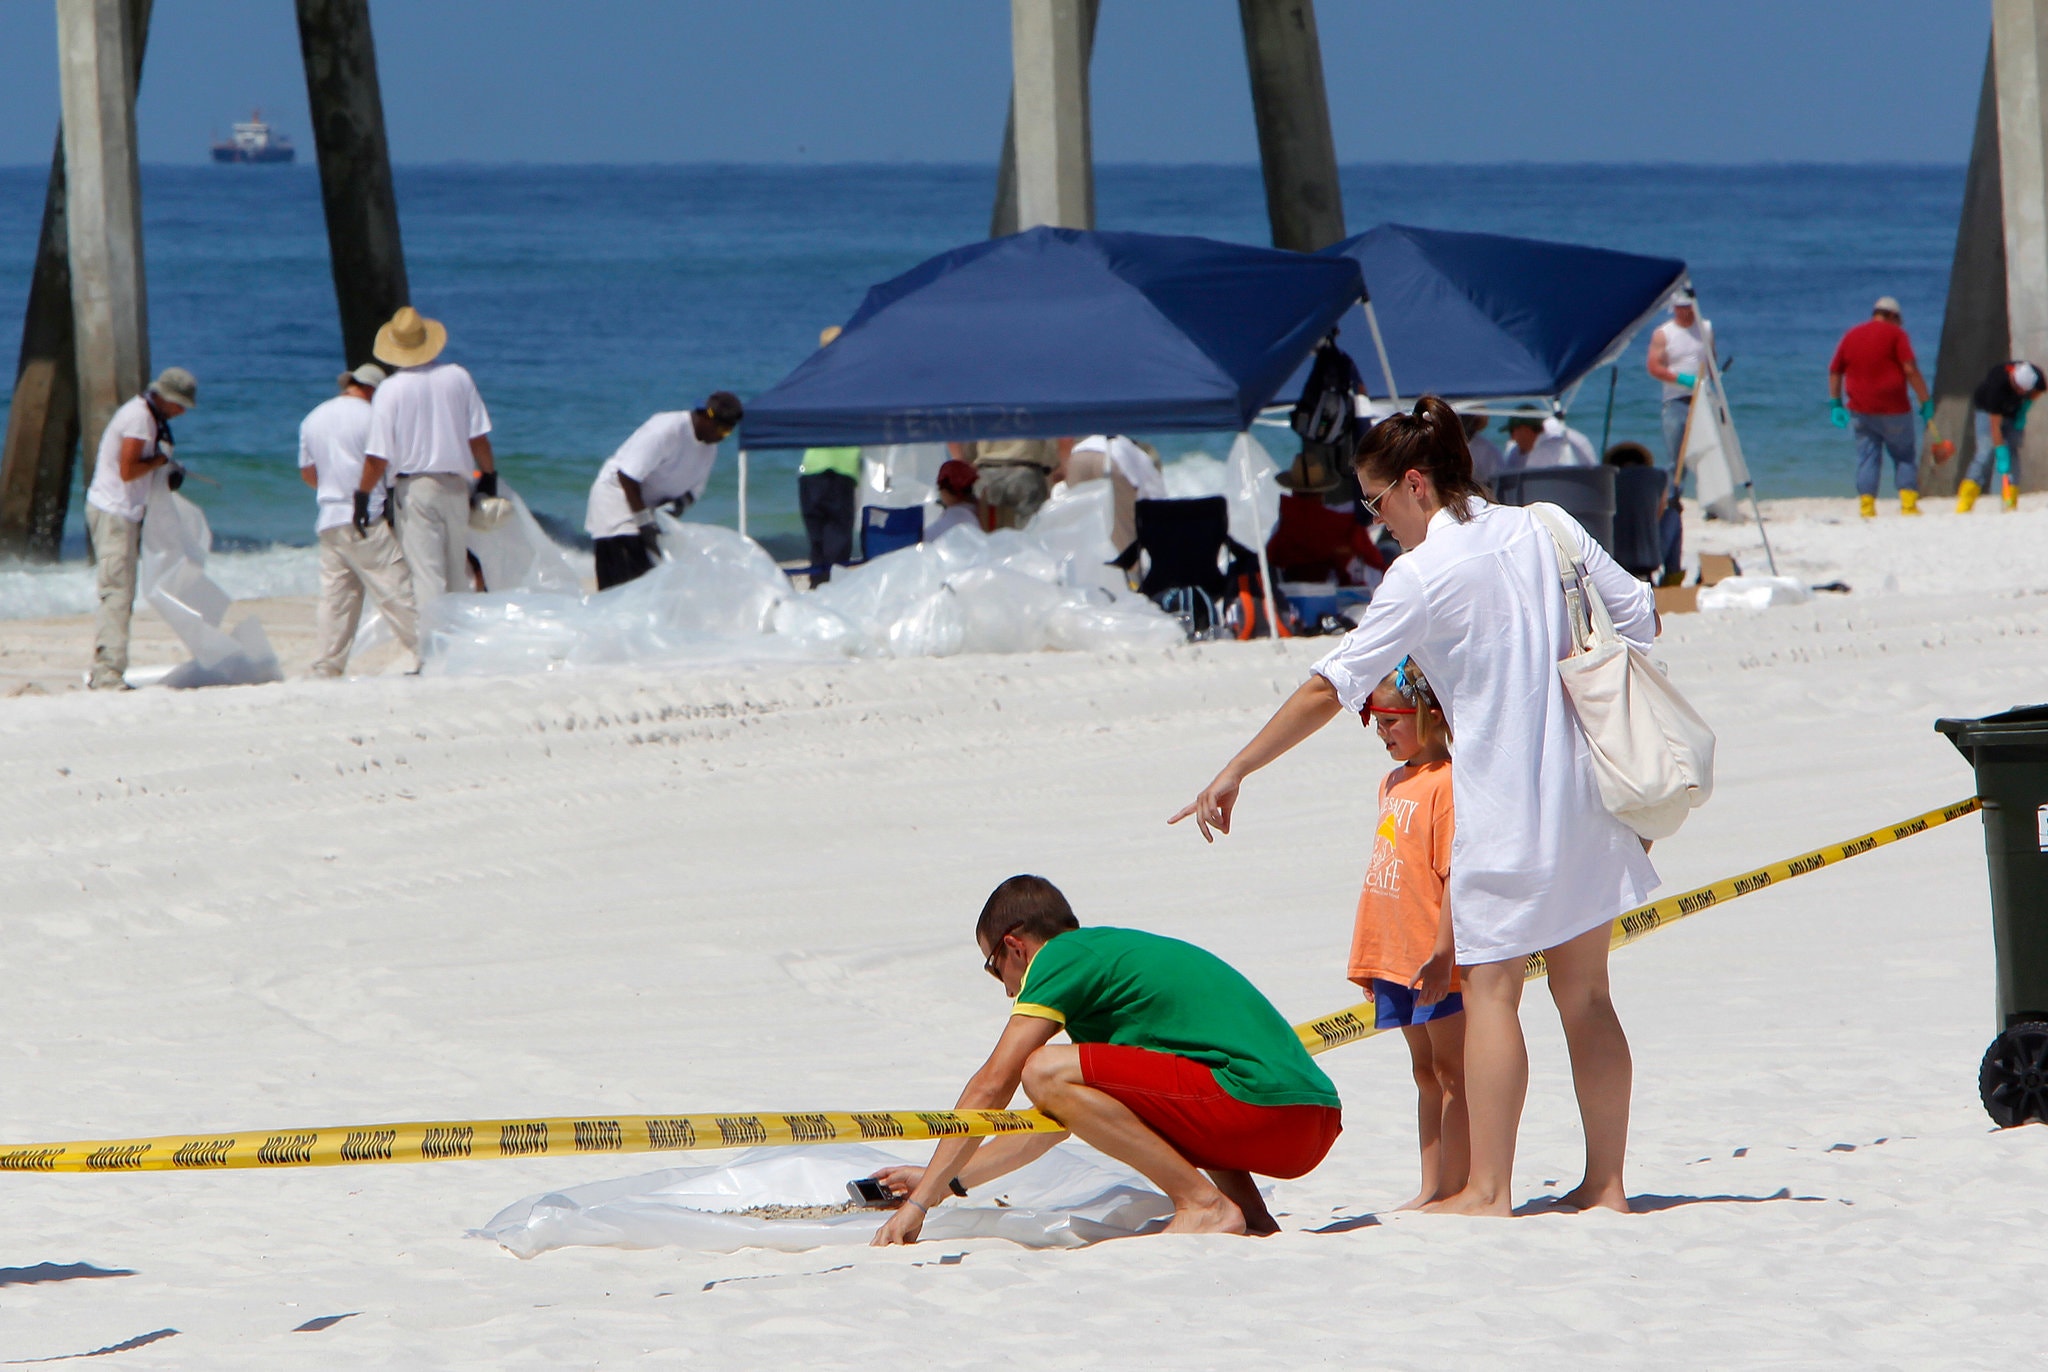
Initially this image made me think of a crime scene ,but as I took a closer look at The tented area I could see there were a lot of plastic bags and the man in the foreground of the shot is taking a photo of sand which makes me feel it has more to do with an environmental disaster of some kind. 

Doomsday

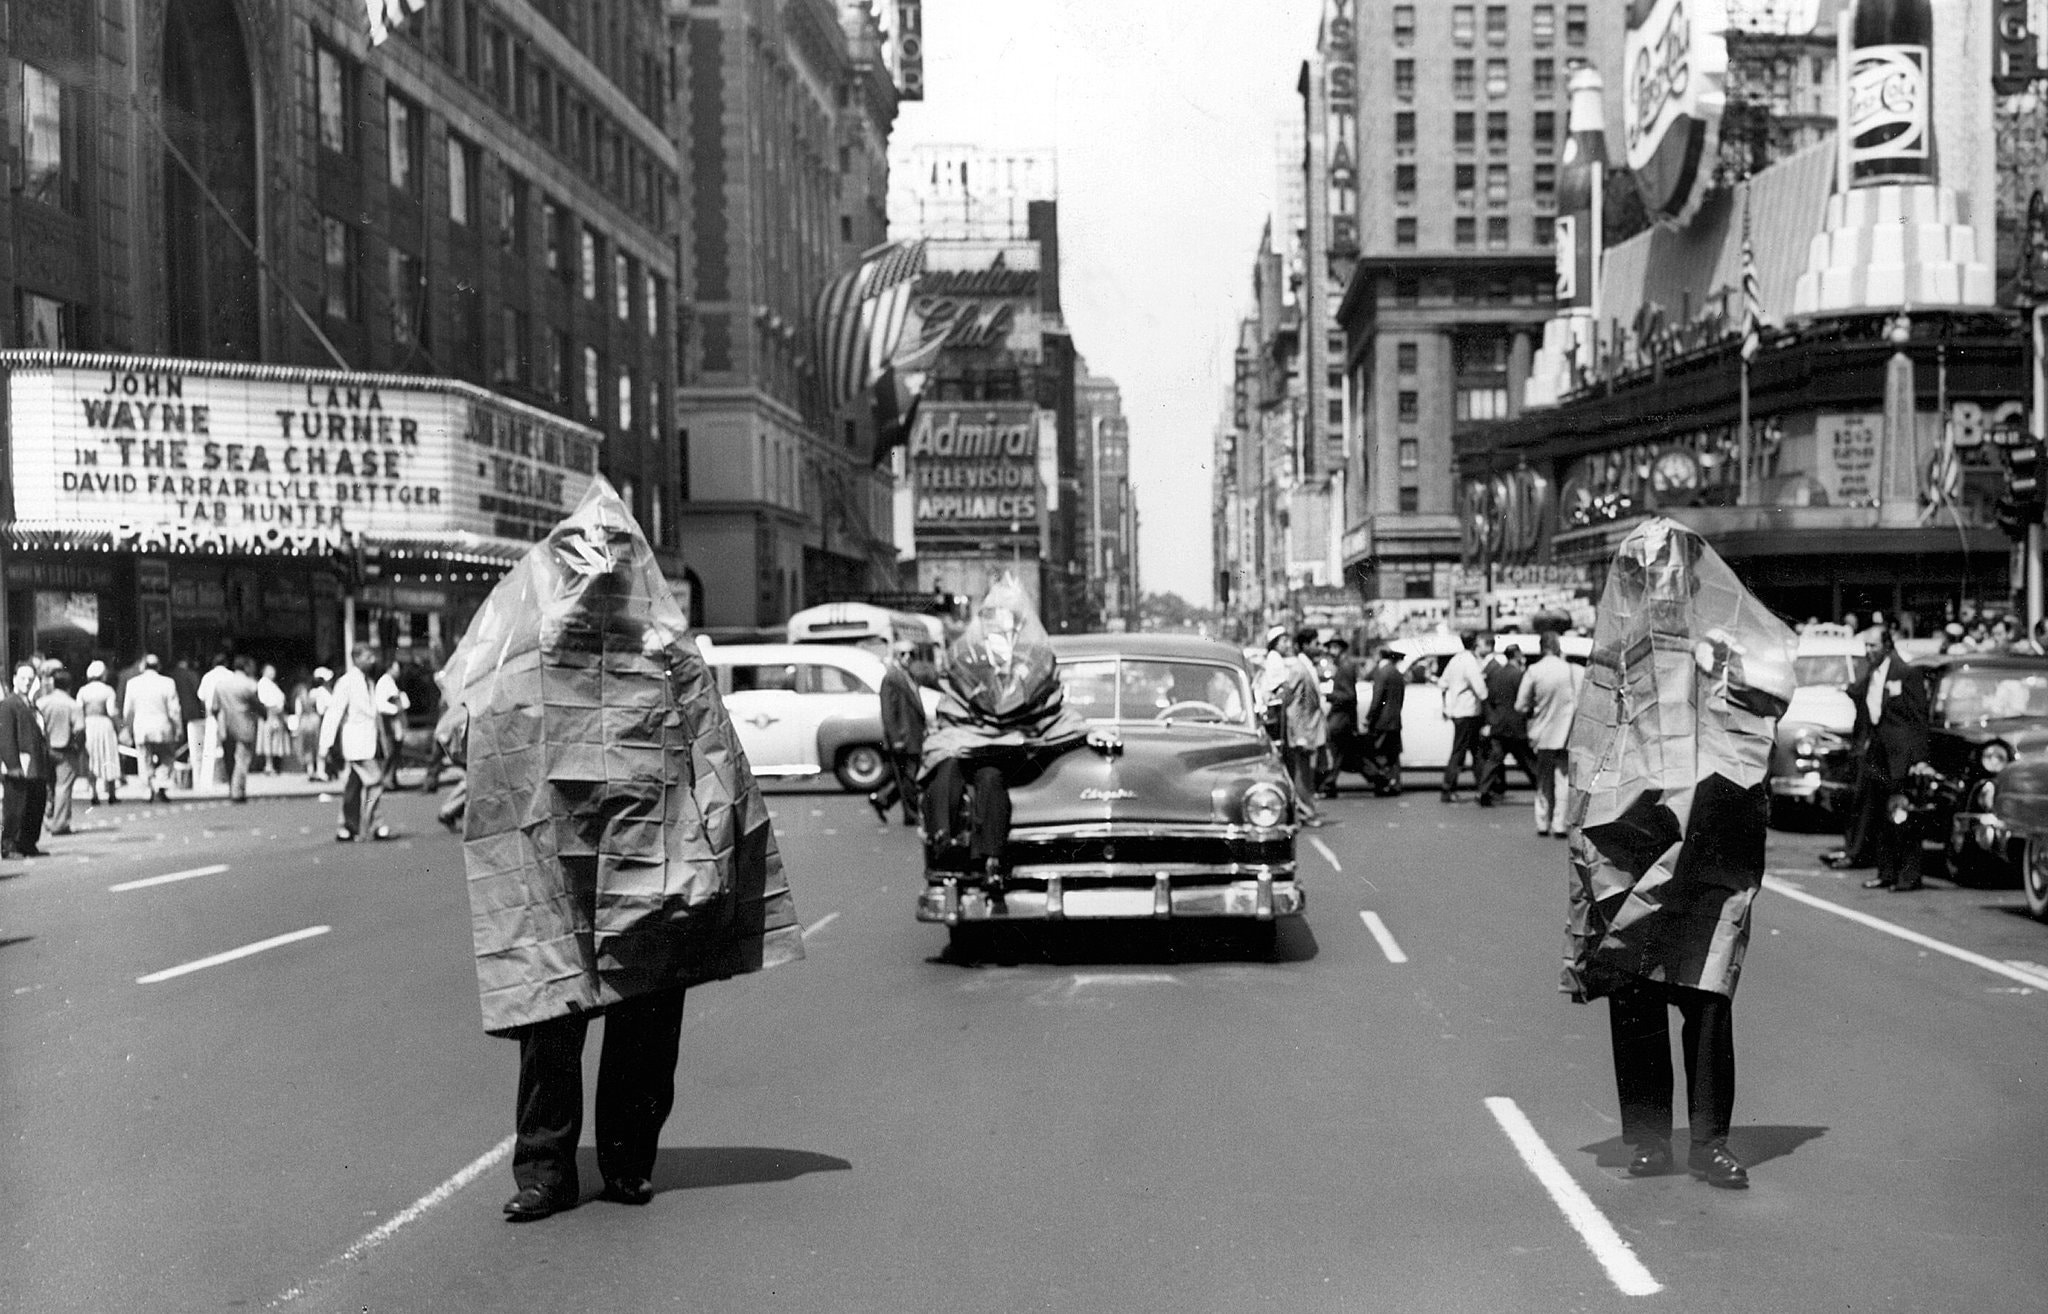
This image immediately gave me a sense of preparedness for doomsday, as I looked at the image more closely, I noticed the box office movie and the vehicles and deduced it must have something to do with the 1950’s Cuban Missile Crisis in the United States of America and that they were wearing radiation covers to protect them from supposed nuclear rain fallout.  As it happens it did not  come to pass but the terror must have been very real and the image conveys the mood of the time.

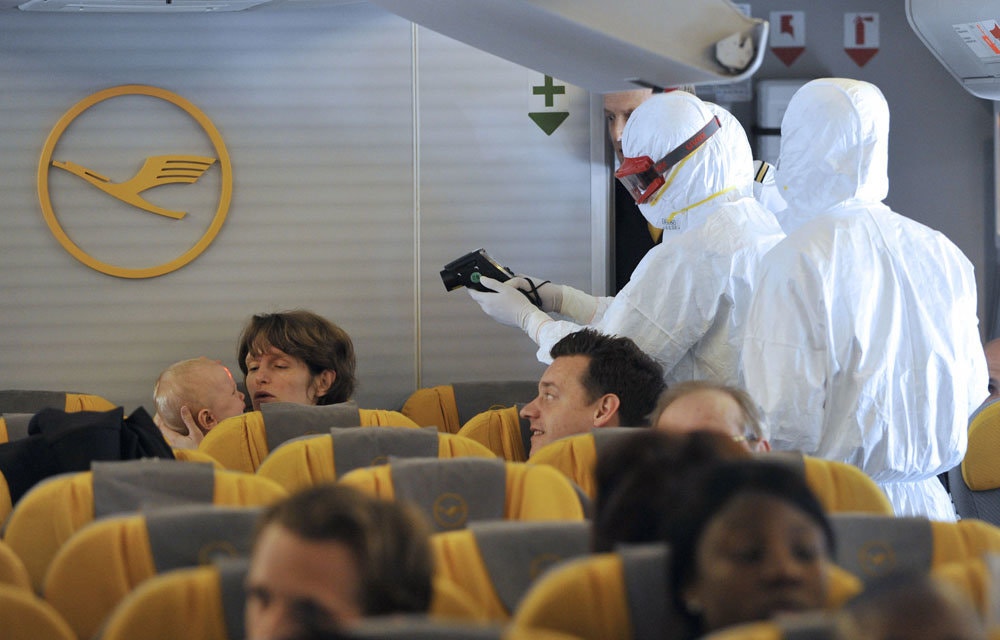
Quarrentine

This image struck me as airline passengers either boarded on a flight or about to board being checked by quarantine officers due to the hazmat /biohazard  outfits and the infrared thermometer being focused on the child in the woman’s arms in the rear of the shot. As a Street Photographer I spend a lot of time watching people and as a mother of a child with a chronic illness and no immunity due to medications we spend a lot of time monitoring disease outbreaks as to whether or not she should be excluded from school or time in hospital for her illness. It gives me a kind of invaded and clinical feel

Module one – part two.

As in part one we were asked to look at four pictures and describe them, this time however they were Images of our own choosing. I chose strong black and white images and I guess that monochromatic is my preference when looking at photos I admire most and the way their lit and what they convey to me. The photographers featured in this task are Man Ray , Saul Leiter , Annie Leibovitz and Rebecca Lepkopf

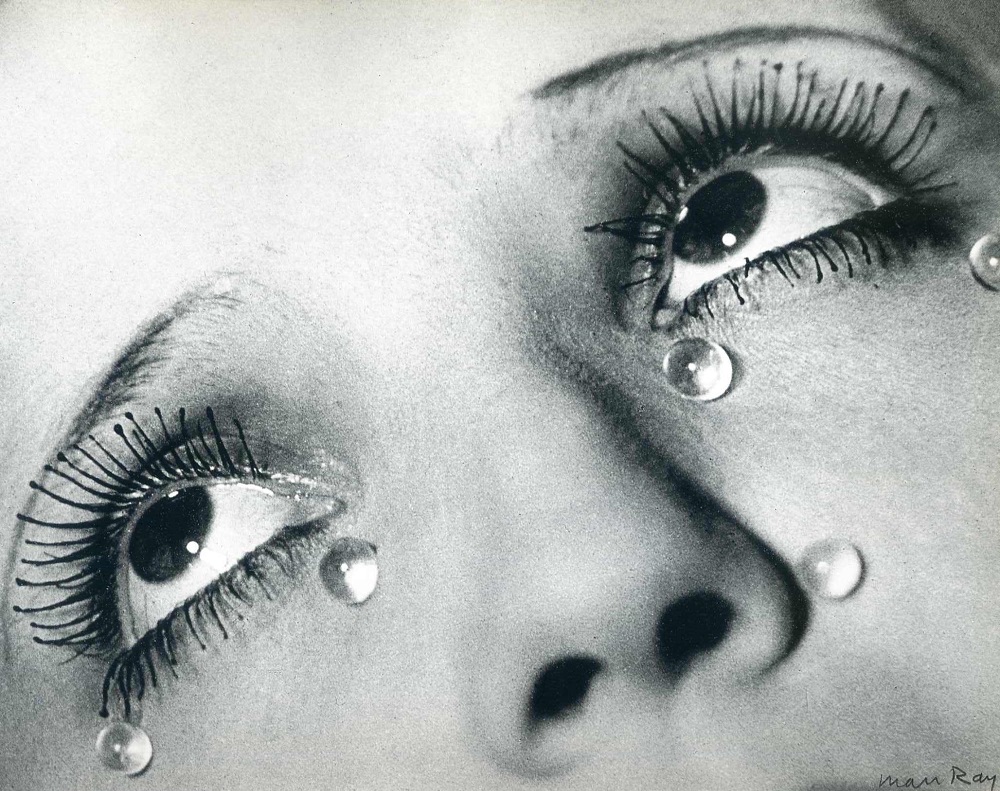
Glass Tears – Man Ray

Glass Tears by Man Ray

The image is lit by ambient studio lighting with a white cool feel to it. The image has been cropped to accentuate the glass tear drops on the models face and she’s looking up away from the camera projecting a sense of sorrow. Man Ray was a photographer and artist during the Dada and Surrealist movements whose imagery was strong and provocative in order to illicit a response from the viewe and is considered to be one of the greatest artists in the 20th century and widely recognised for his contributions to photography.

In Her Room – Saul Lieter

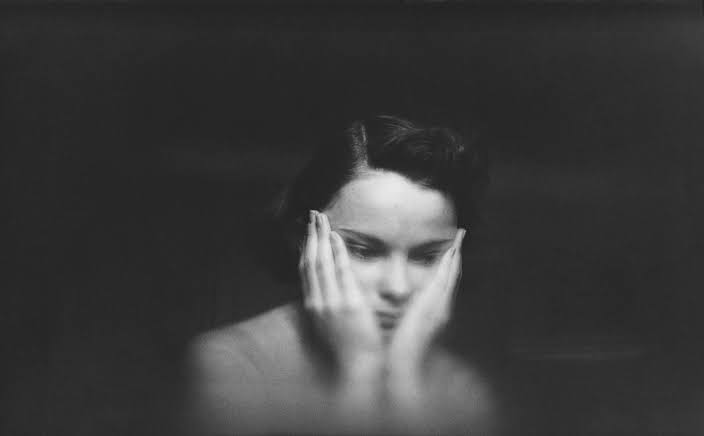
In her Room by Saul Leiter

At first glance it has a feel of looking through slightly misted glass at a young woman burdened by something that happened during the course of her day, it evokes the feeling of sitting on your bed in the moment just before you burst into tears. The subject is lit from the front with a dark background emphasising her eyes and forehead the blurring around her hands suggests a narrow depth of field and moment of her hands to her face but could be moment in camera and how the light was captured on the film.

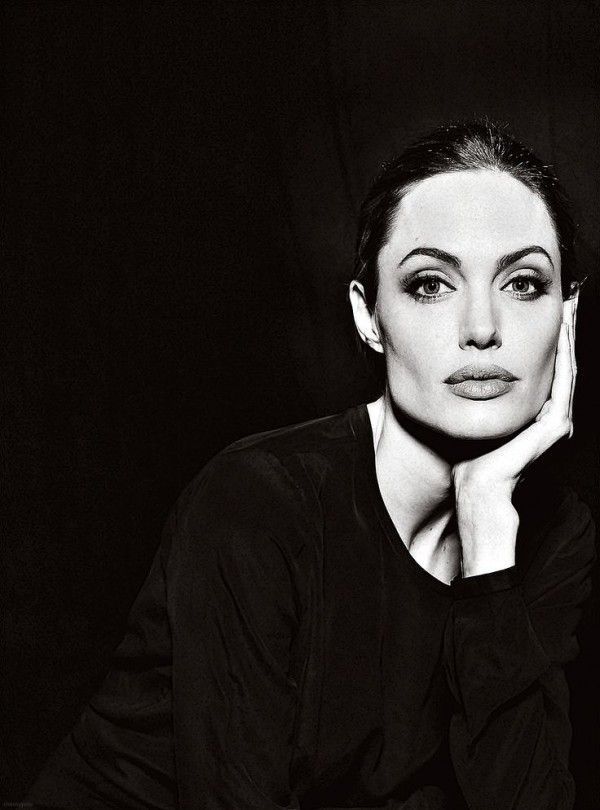
Angelina Jolie – Annie Leibovitz

Angelina Jolie

I just love Annie Leibovitz’s portraits, the dark studio background and her subject lit from the front with a cool ambience reflected to bring out the angular beauty of her face and wearing black to emphasise her face even more so. A strong portrait of a strong lady.

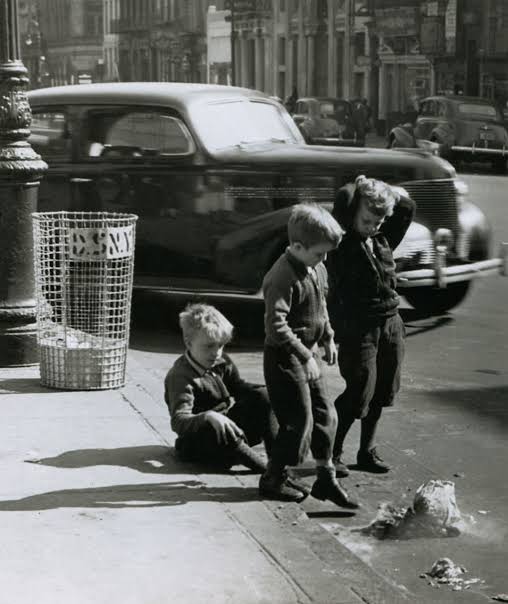
Street Photography- Rebecca Lepkoff

Life on the lower east side- Street Photography by Rebecca Lepkoff

Street Photography is one of my passions and I just love images from the earlier part of the 20th century. This captures young boys doing what boys do, playing in the street about to splash in a gutter. Lit naturally during the day showing boys in the afternoon in New York Cities Lower East Side. Rebecca was a photographer during the 1940s and purchased her first camera in 1939 by working as a Dancer at The World Fair and her work captured life on the streets, which is what I love best when I have a camera in my hands.

Light and Lighting-Module One.

This weeks task asked us to view a series of images and describe the light and what emotions and critiques the images invoked in us. These are not my images and were part of the assessment brief from our lecturer.

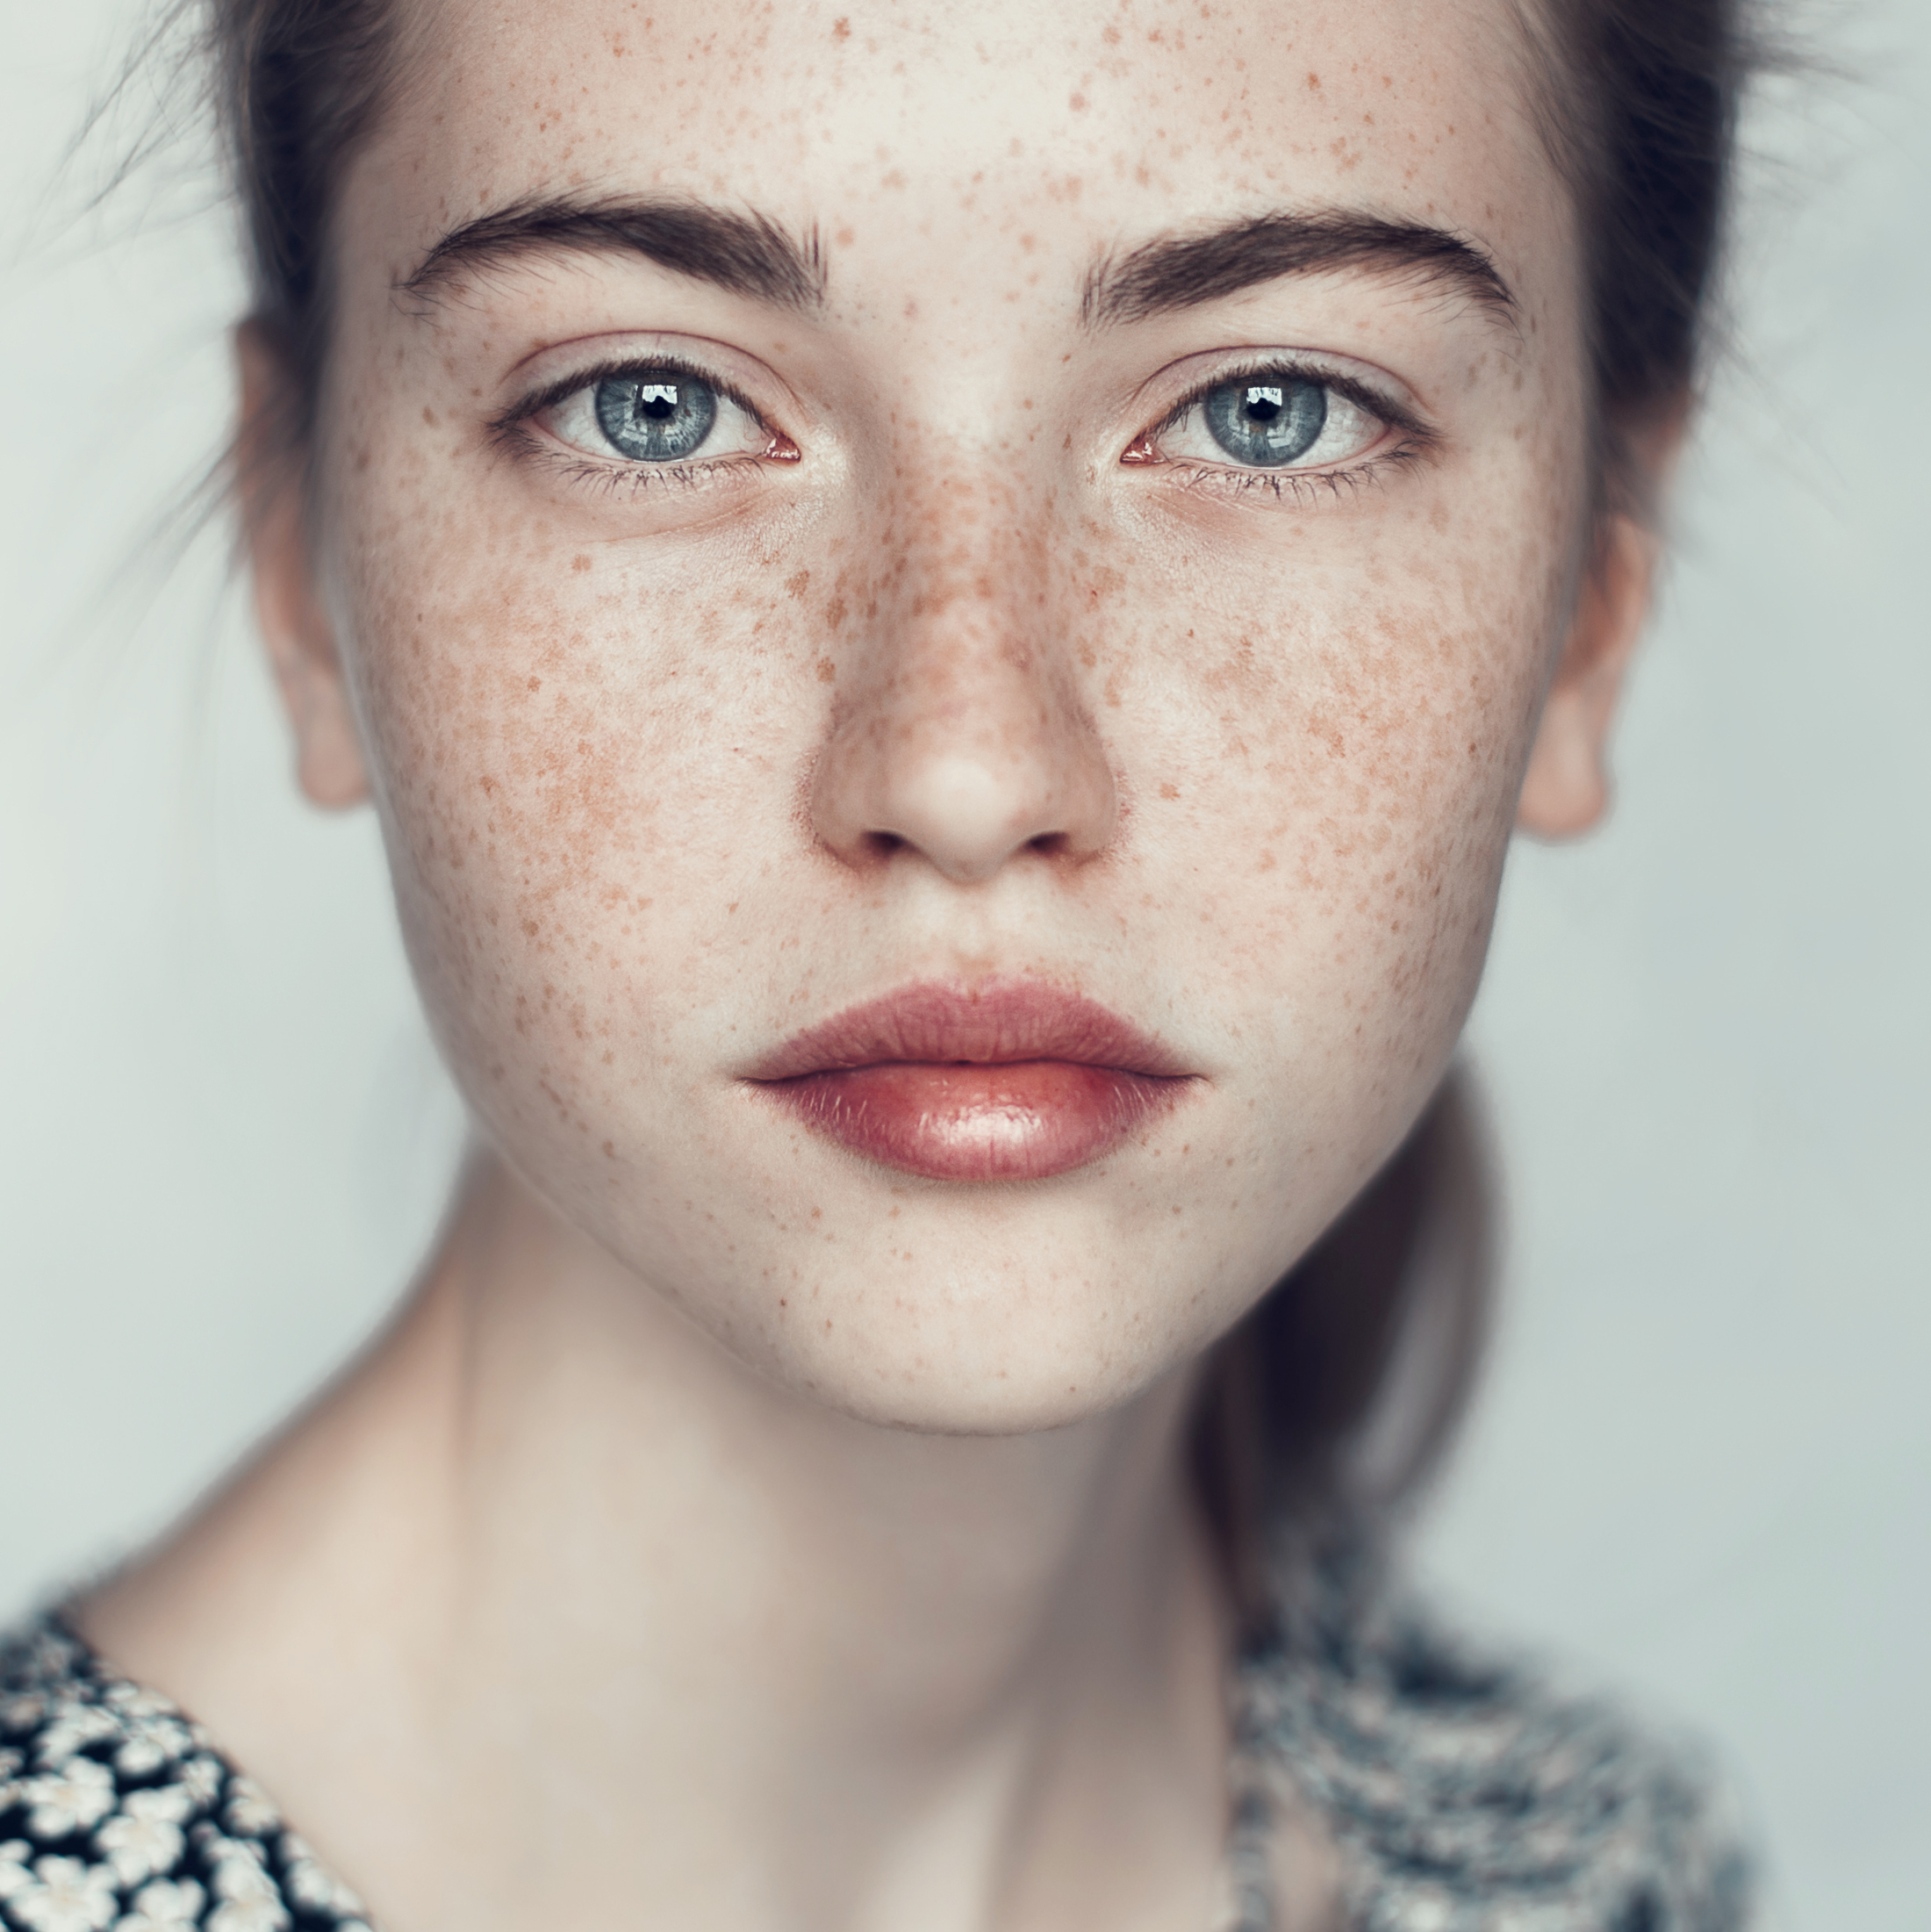
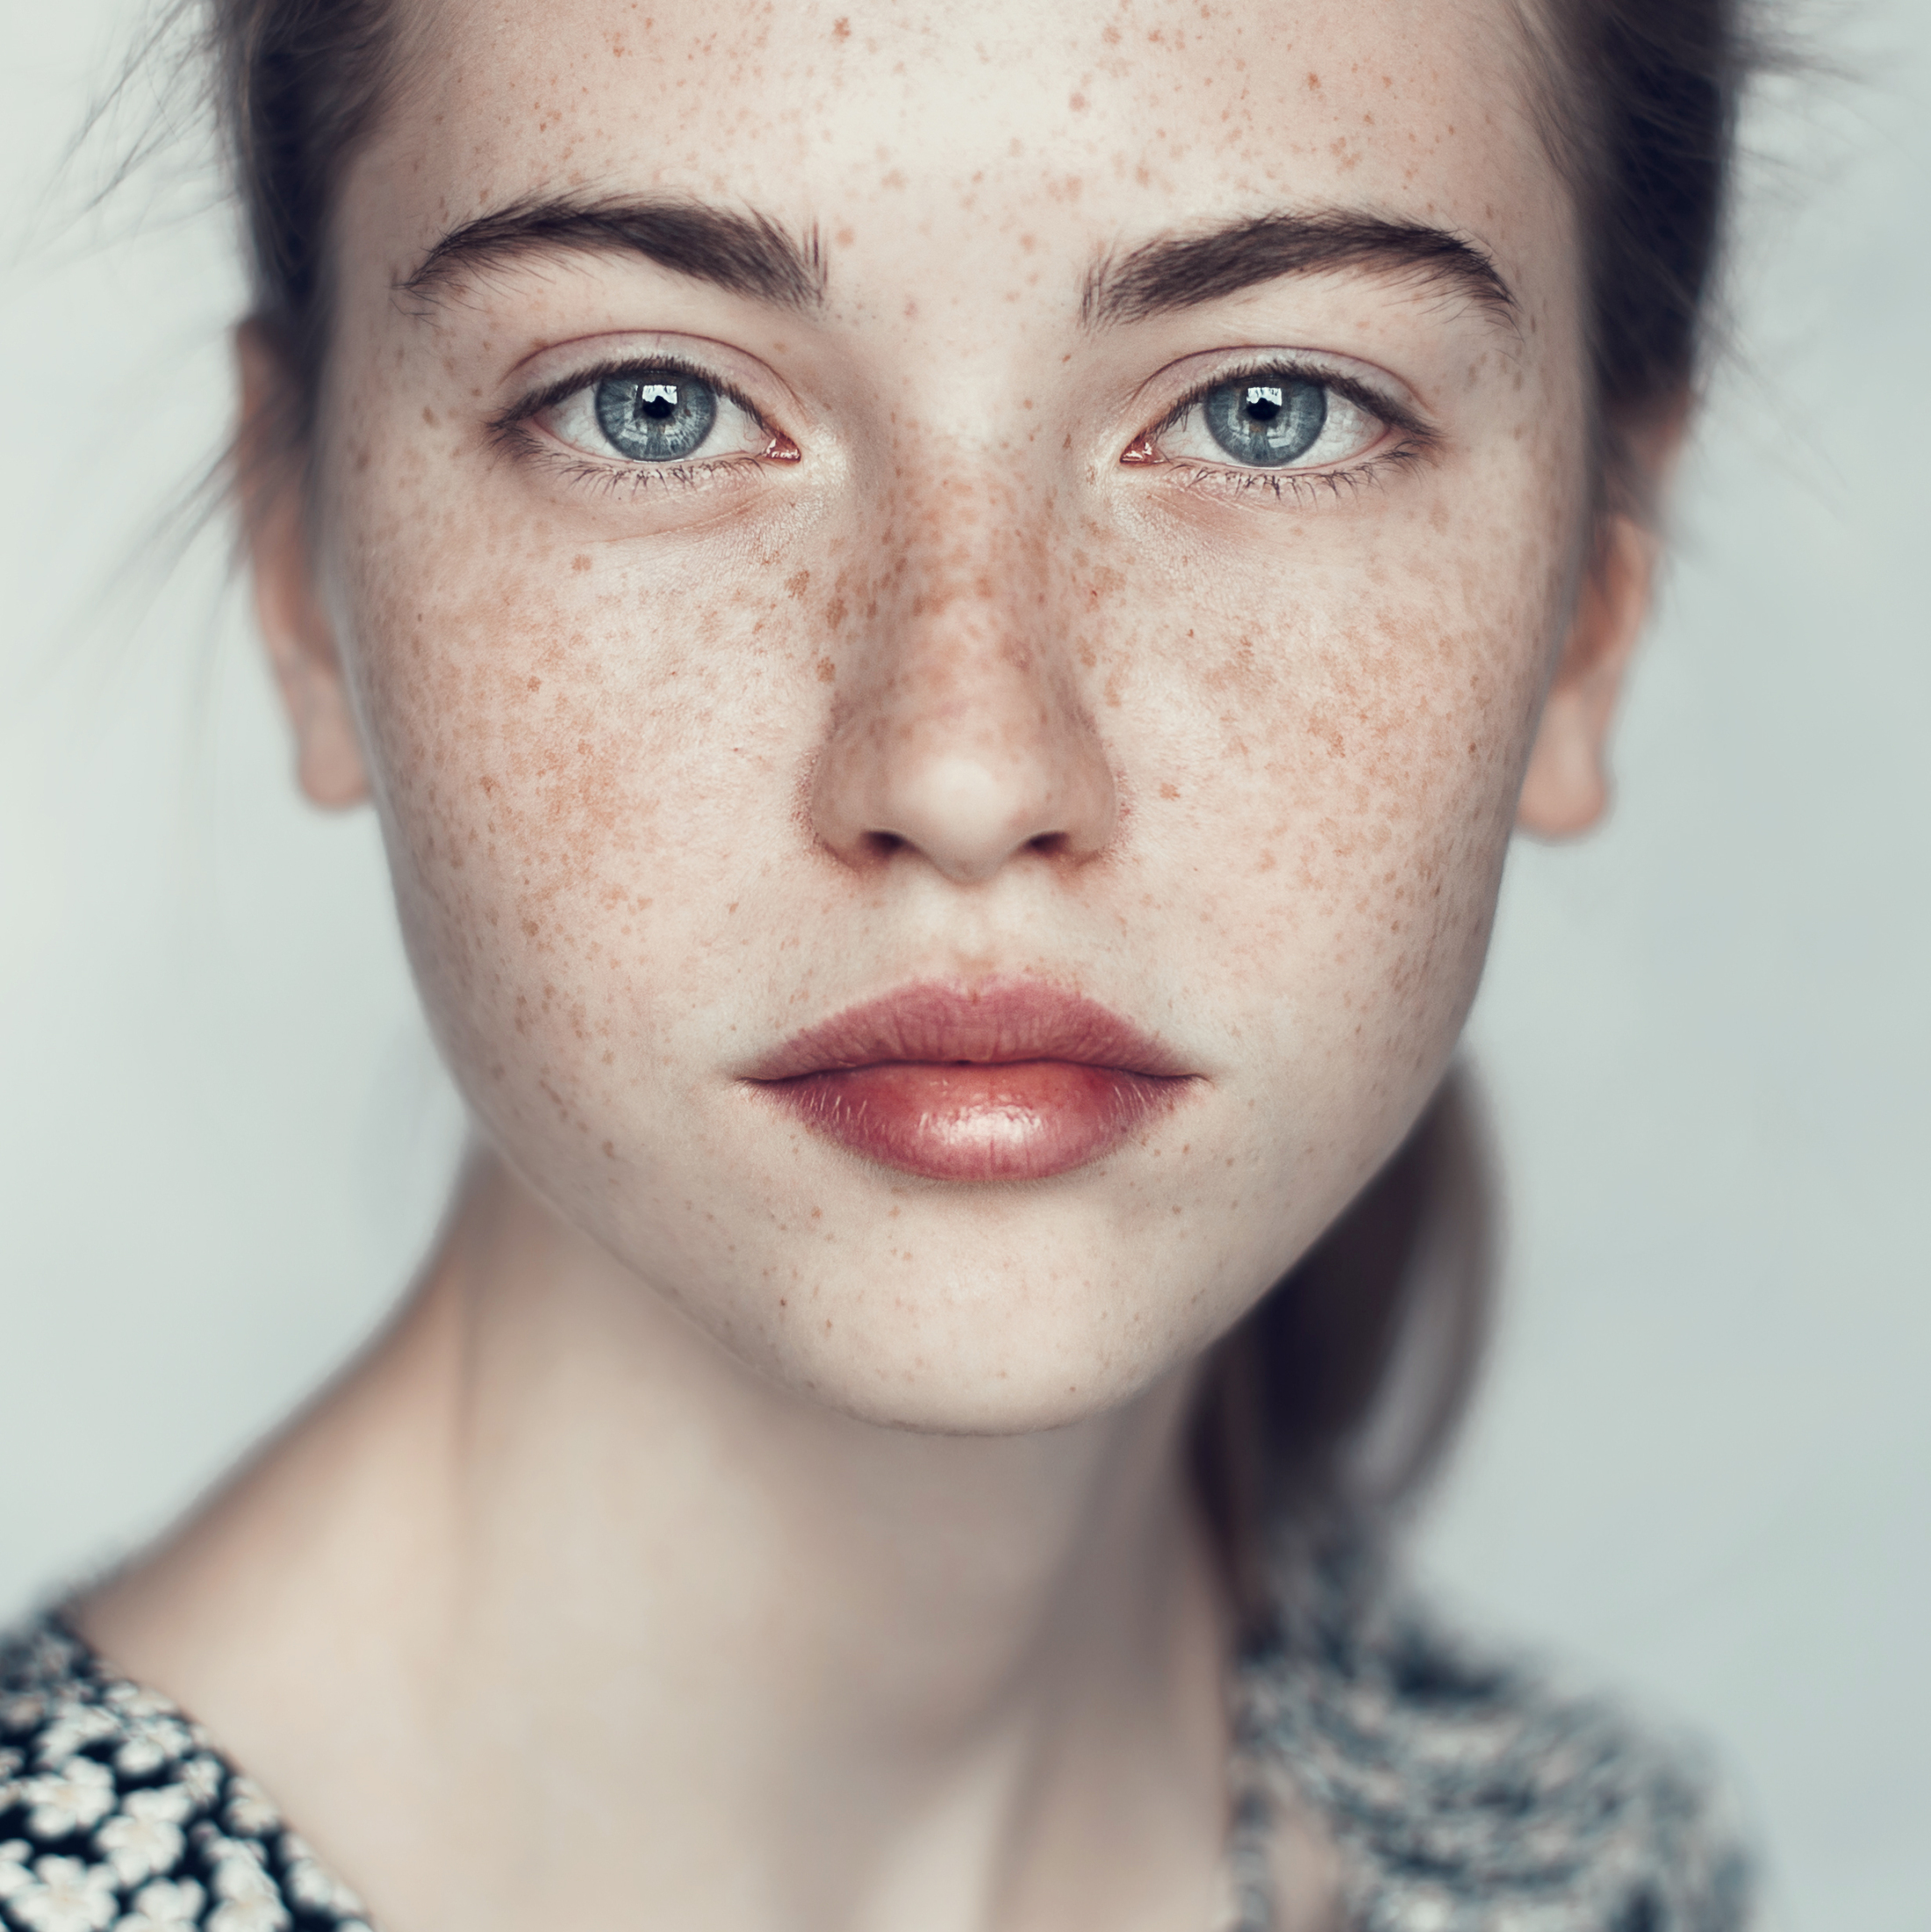
Female Portrait

The image evokes a sense of unconventional beauty in the wonderful symmetry of her face and the freckles covering it. The studio lighting is a a cool white and reflected to highlight her face combined with a shallow depth of field emphasising the subjects face and bold unblinking stare as if she’s daring you to pick on her about her freckles.

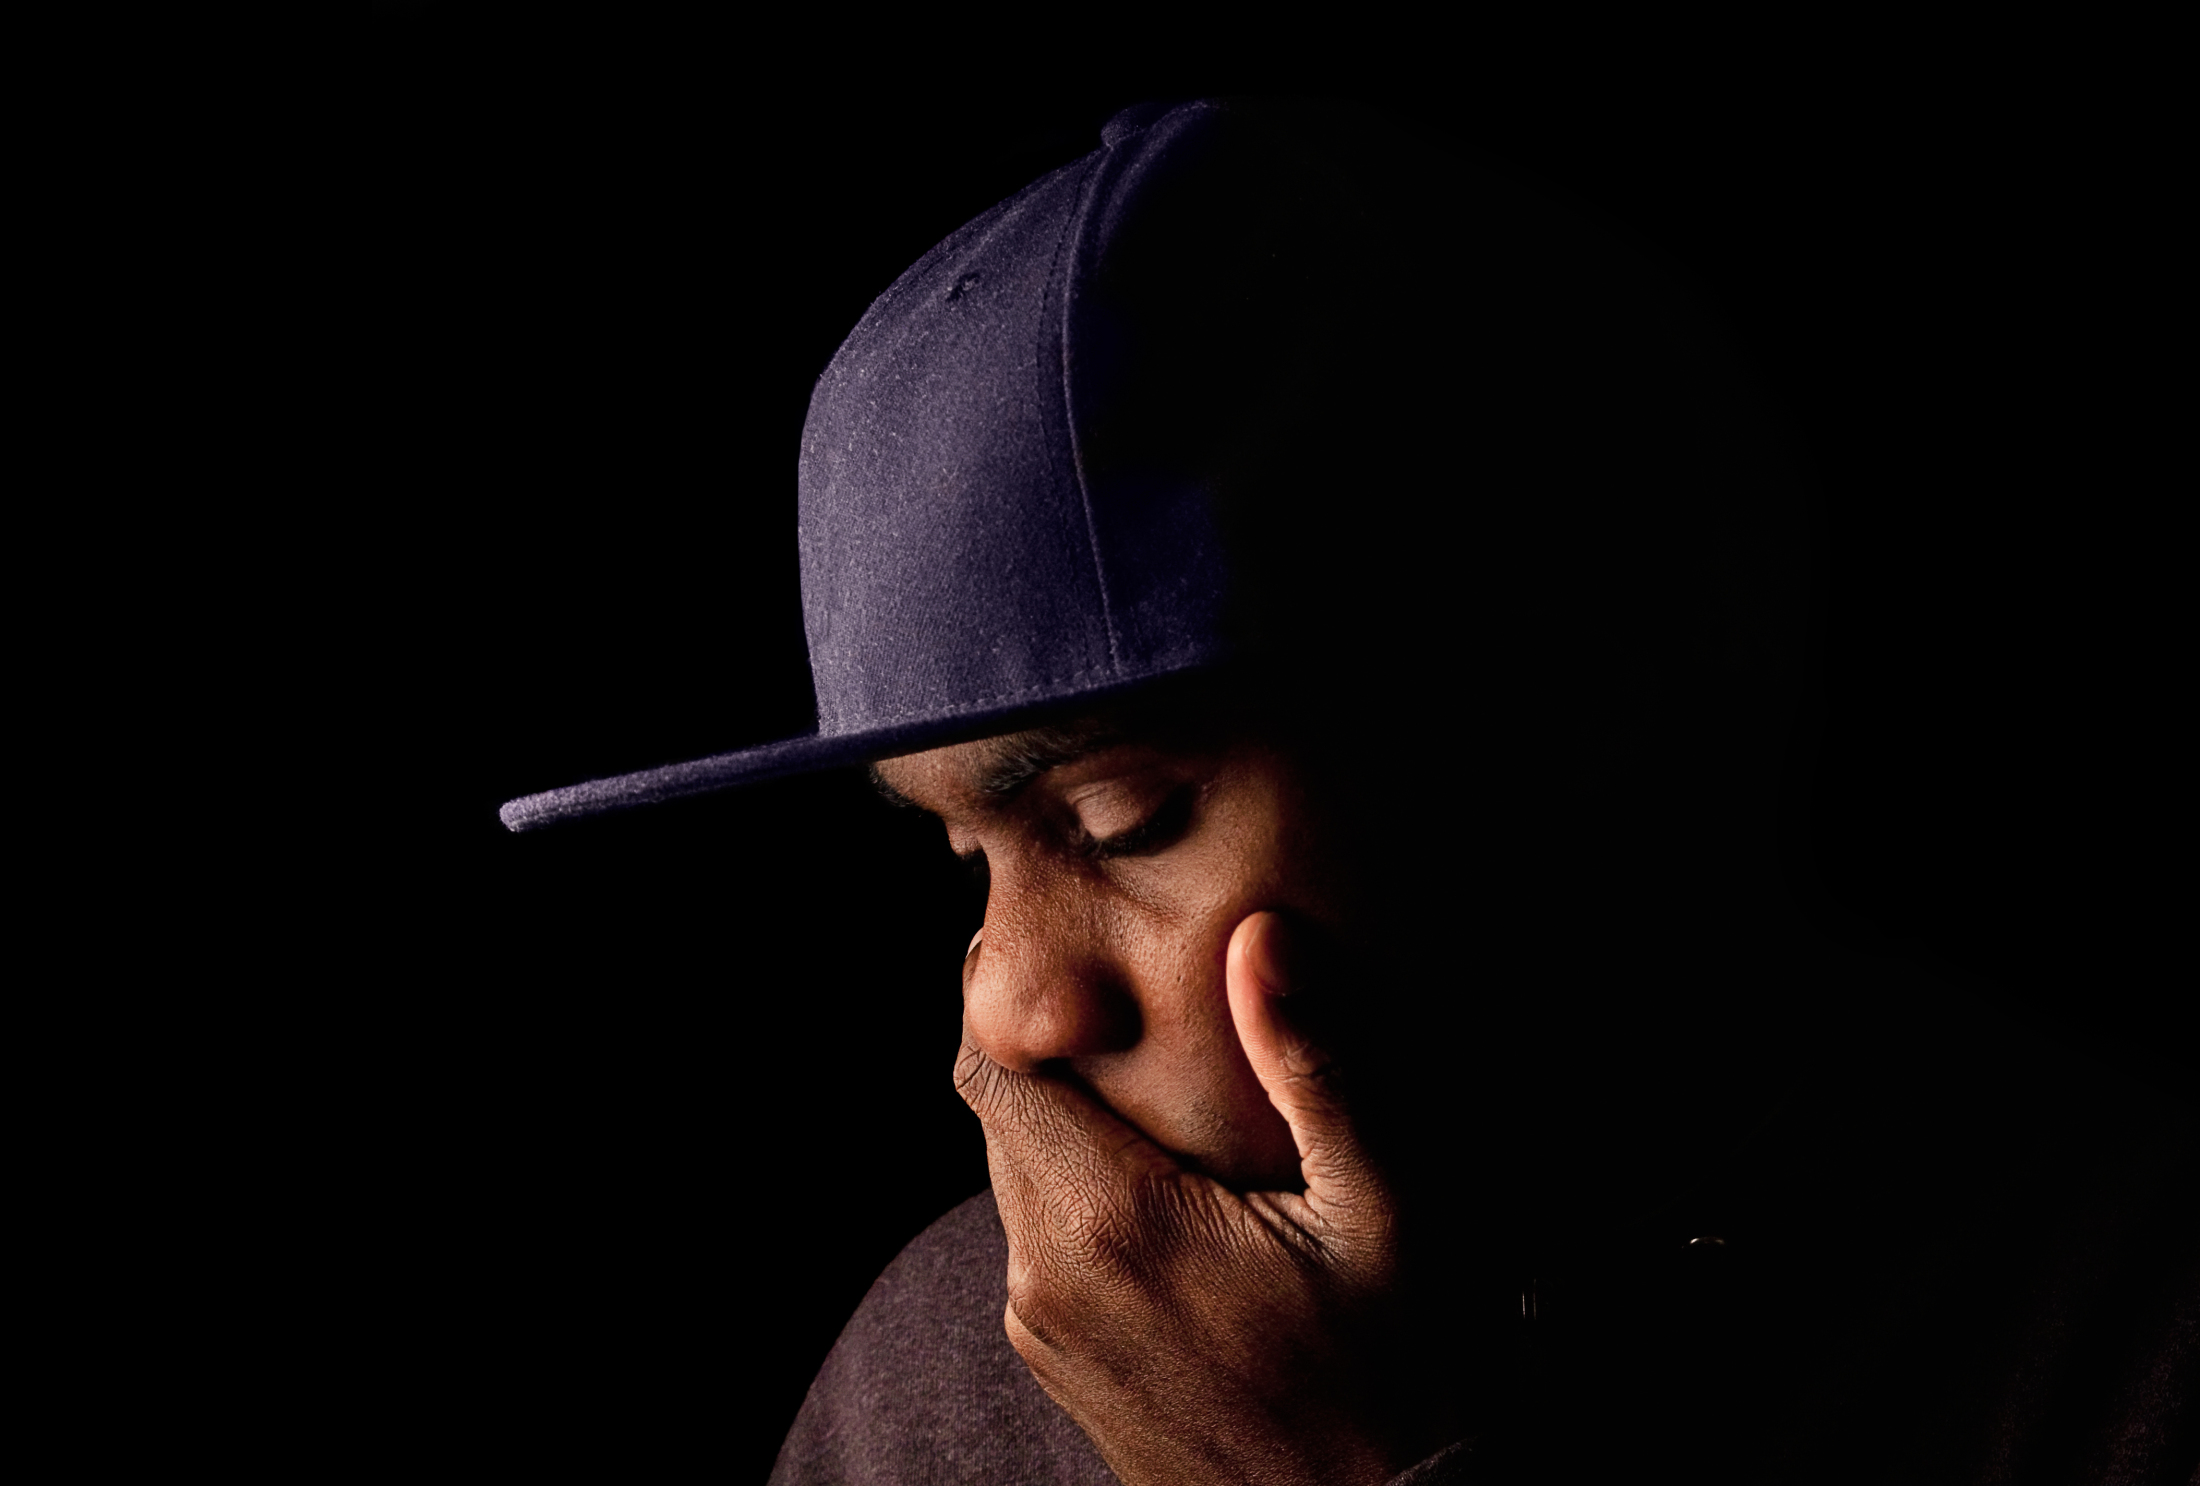
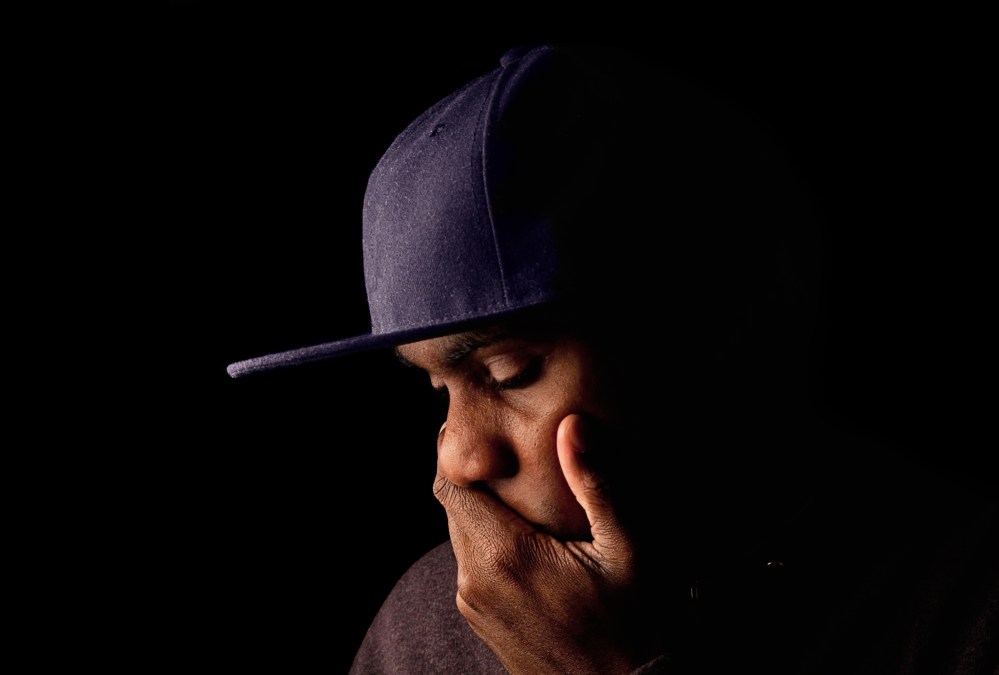
Male Portrait

This image stuck me as a high contrast studio portrait with warm directional artificial light from the side so directed to profile the subject in a way that conveys the emotion in this image. I feel a sense of sadness and deep despair as I look on this young man. The black backdrop and lighting helps convey the emotion by directing our eyes to his posture in and downcast eyes in this pose.

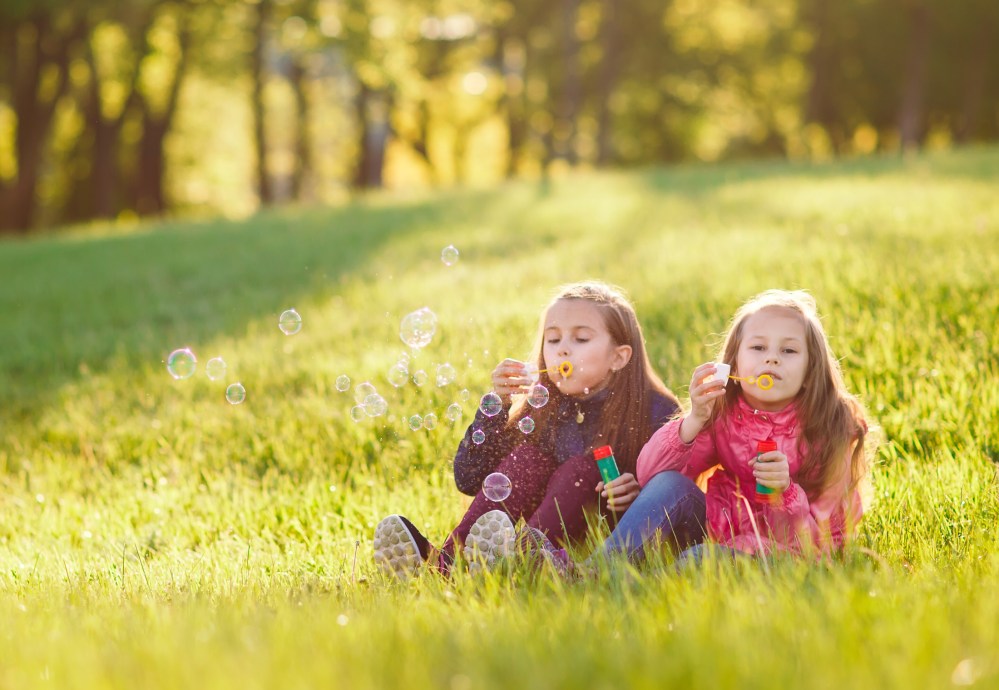
Double Portrait

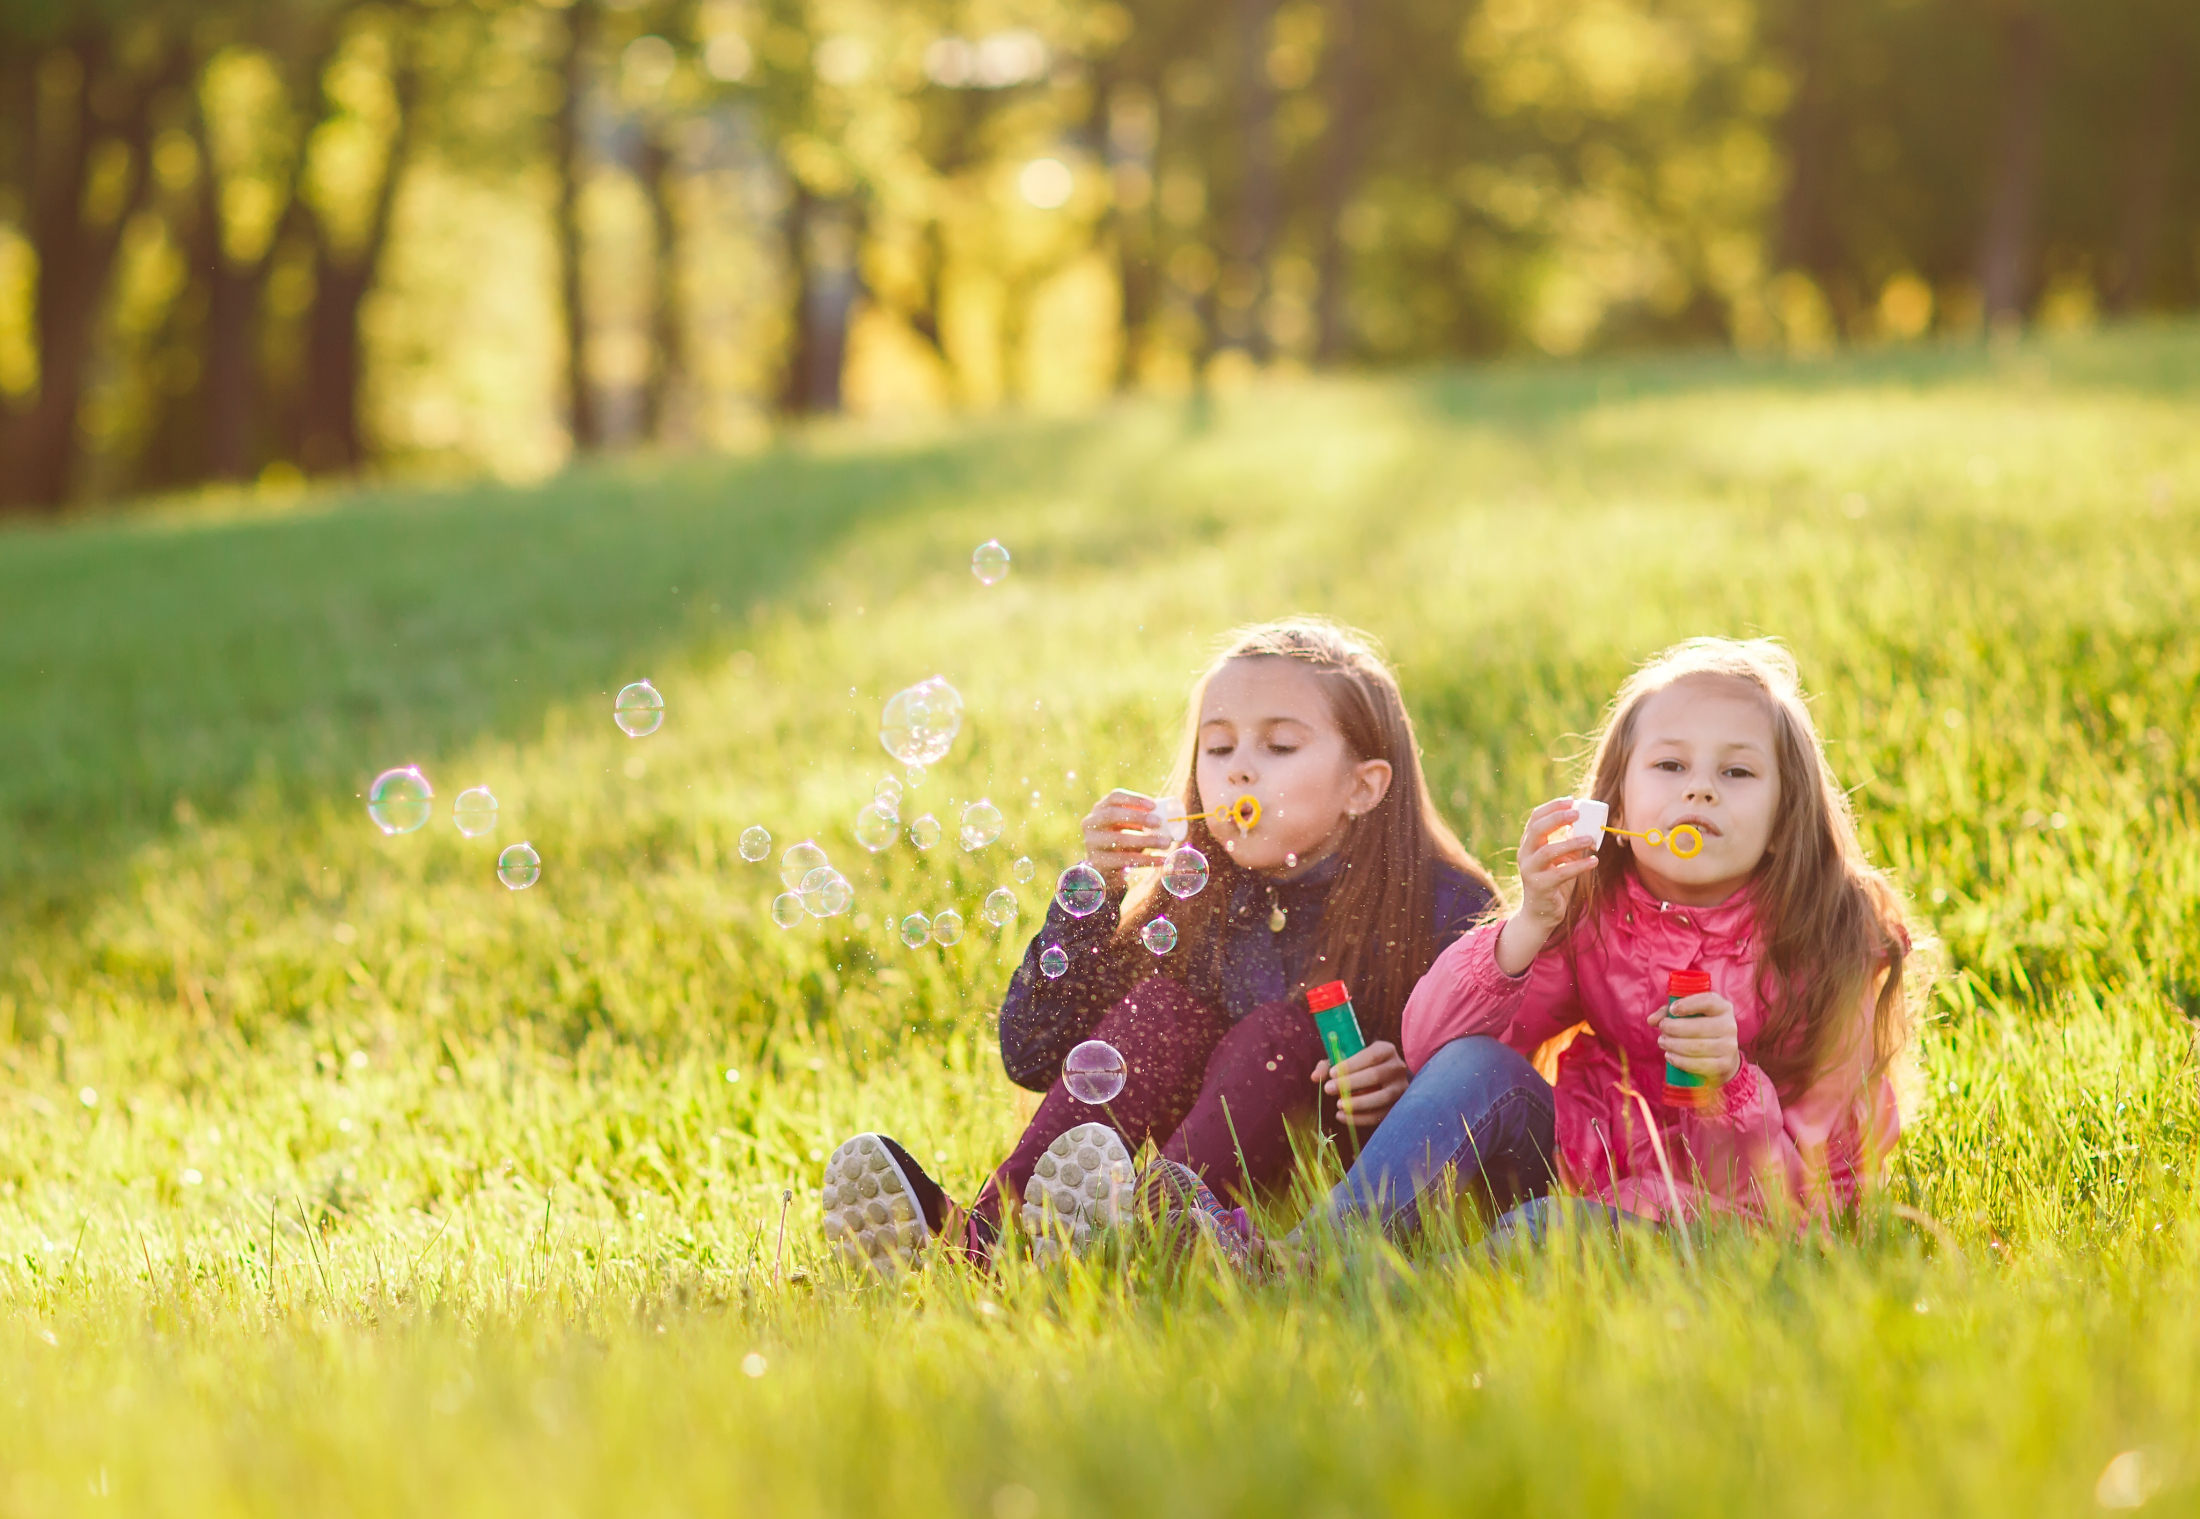
This delightful image of siblings blowing bubble in a field automatically gives me the feeling of cliched current trends in “candid” style family photography, that said the beautiful natural lighting backlit the subjects so that the sun glints of their hair creating natural highlights a sense of warmth and joy and childhood innocence.

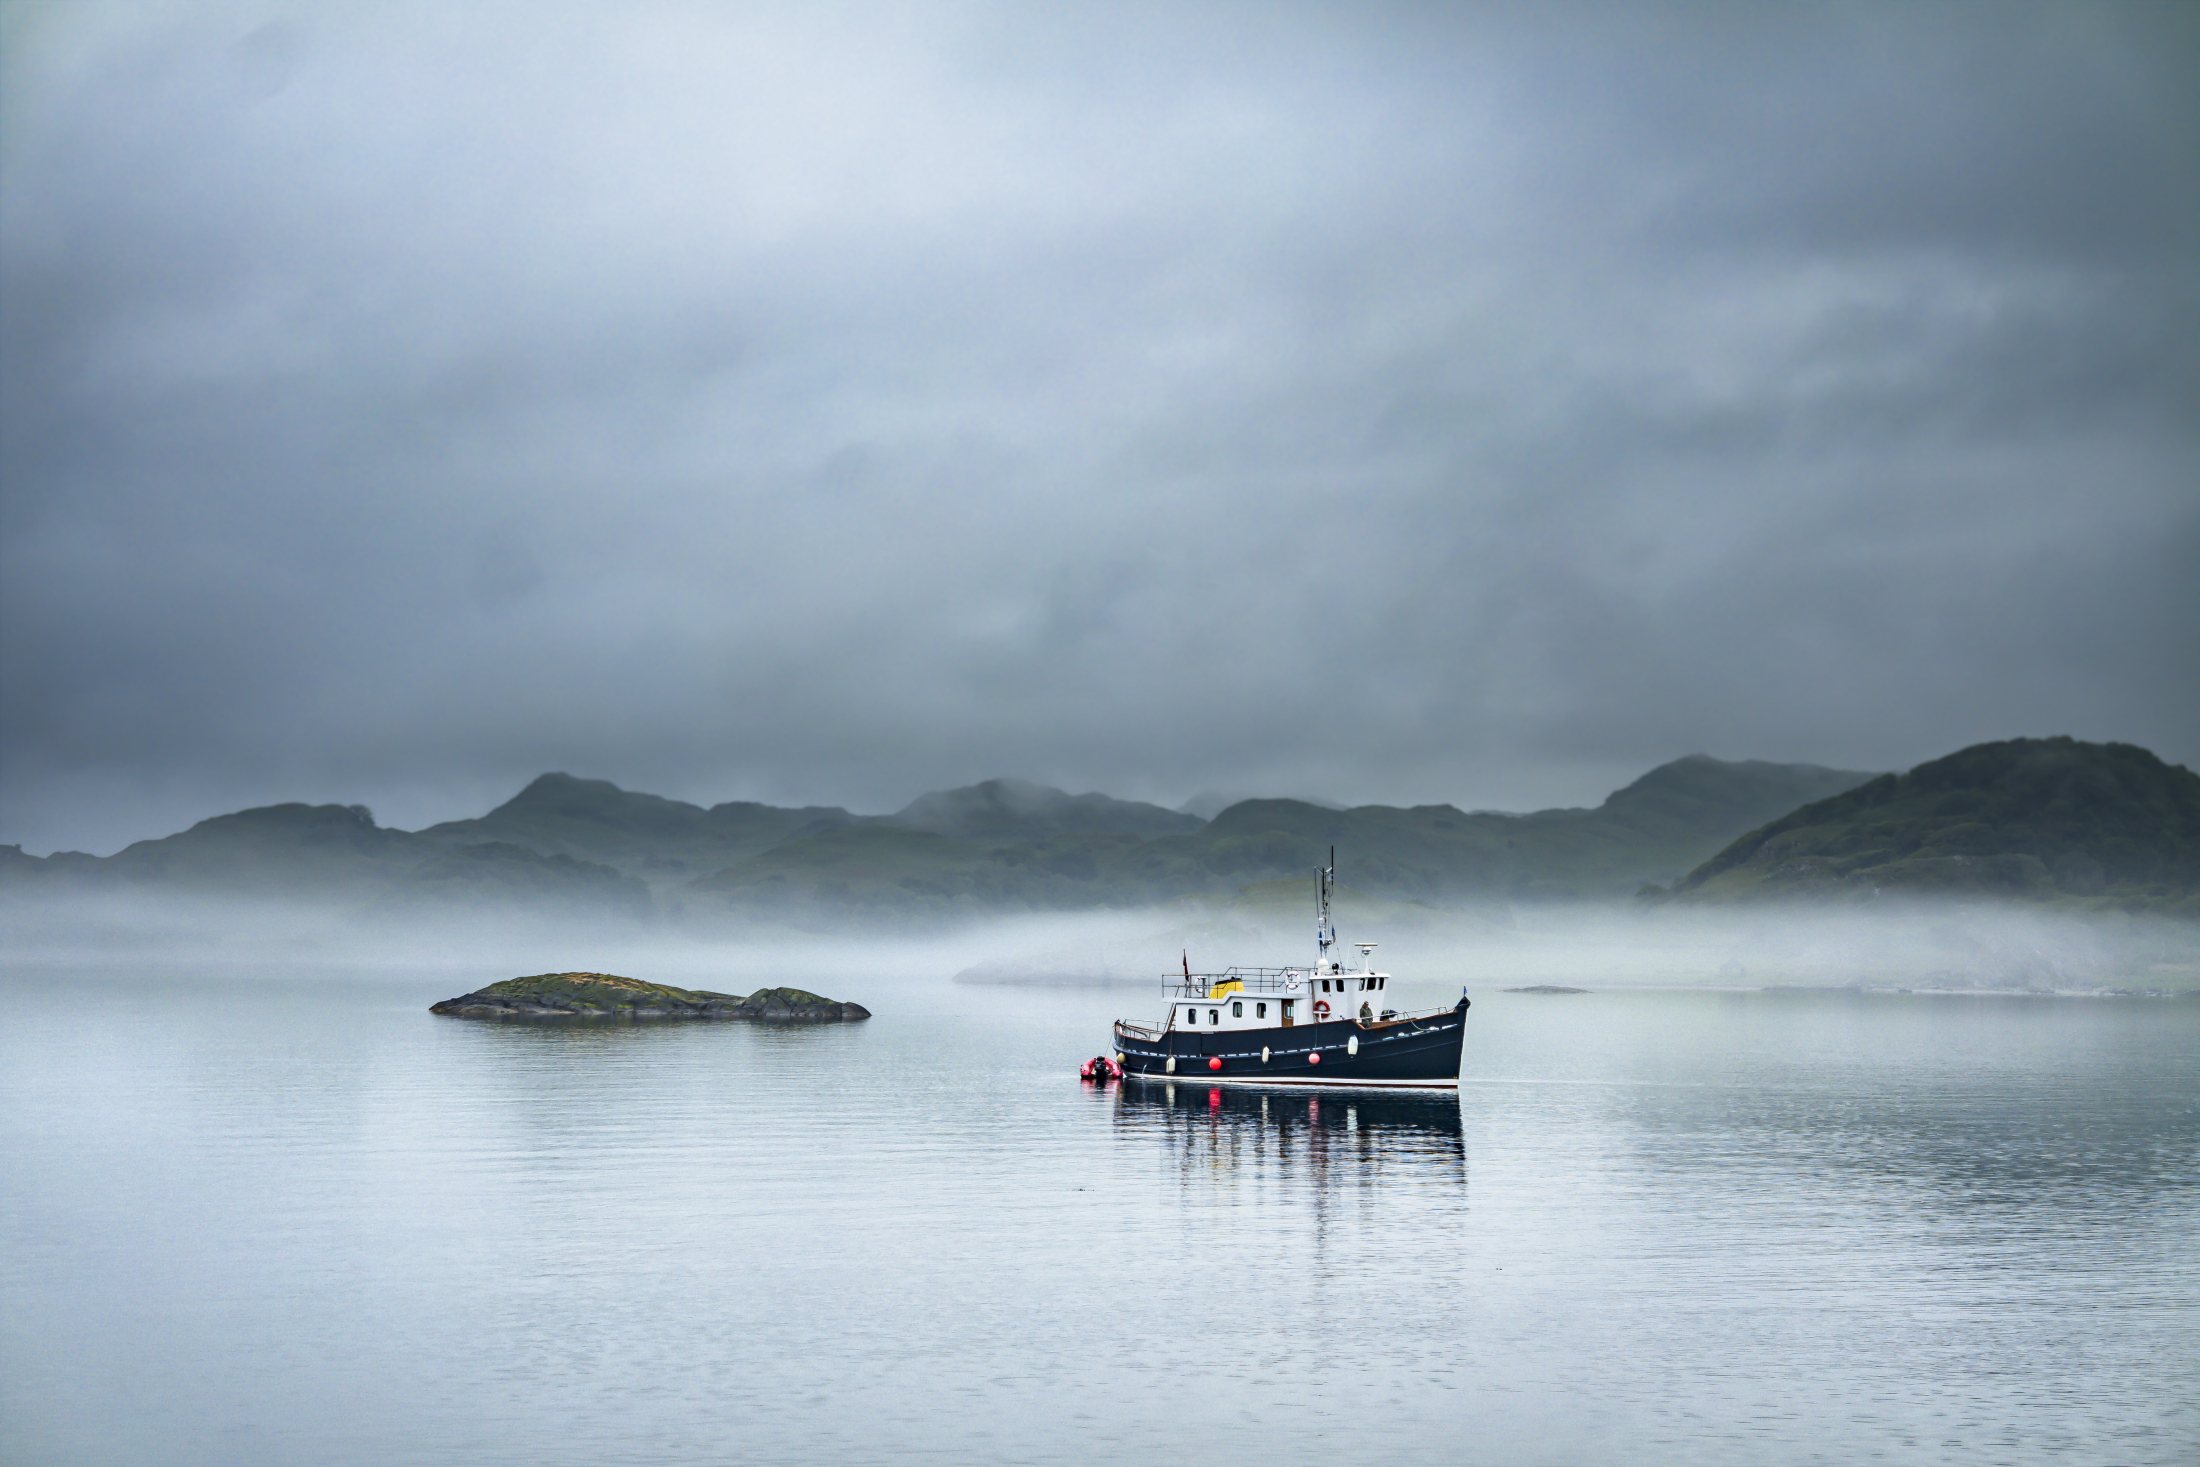
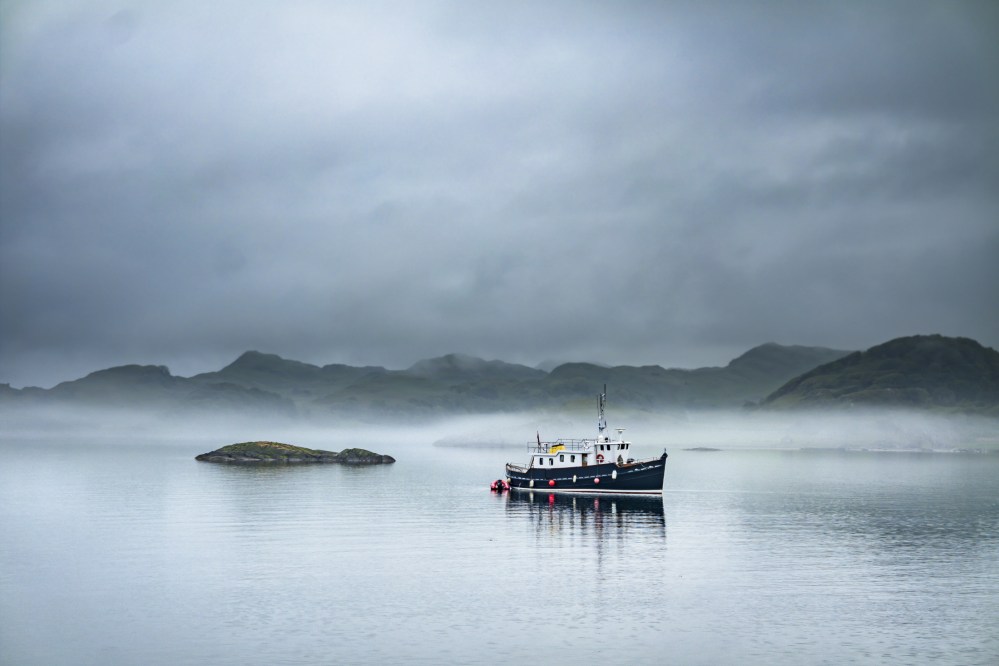
Seascape

The cool natural light reflected in the water and clouds coupled with the rising mist on the shoreline and the sharpness of the image convey a sense of calm before a storm and of a cool winters and early mornings almost so you don’t notice the muted green of the hills and rising island.

Brown’s not boring.

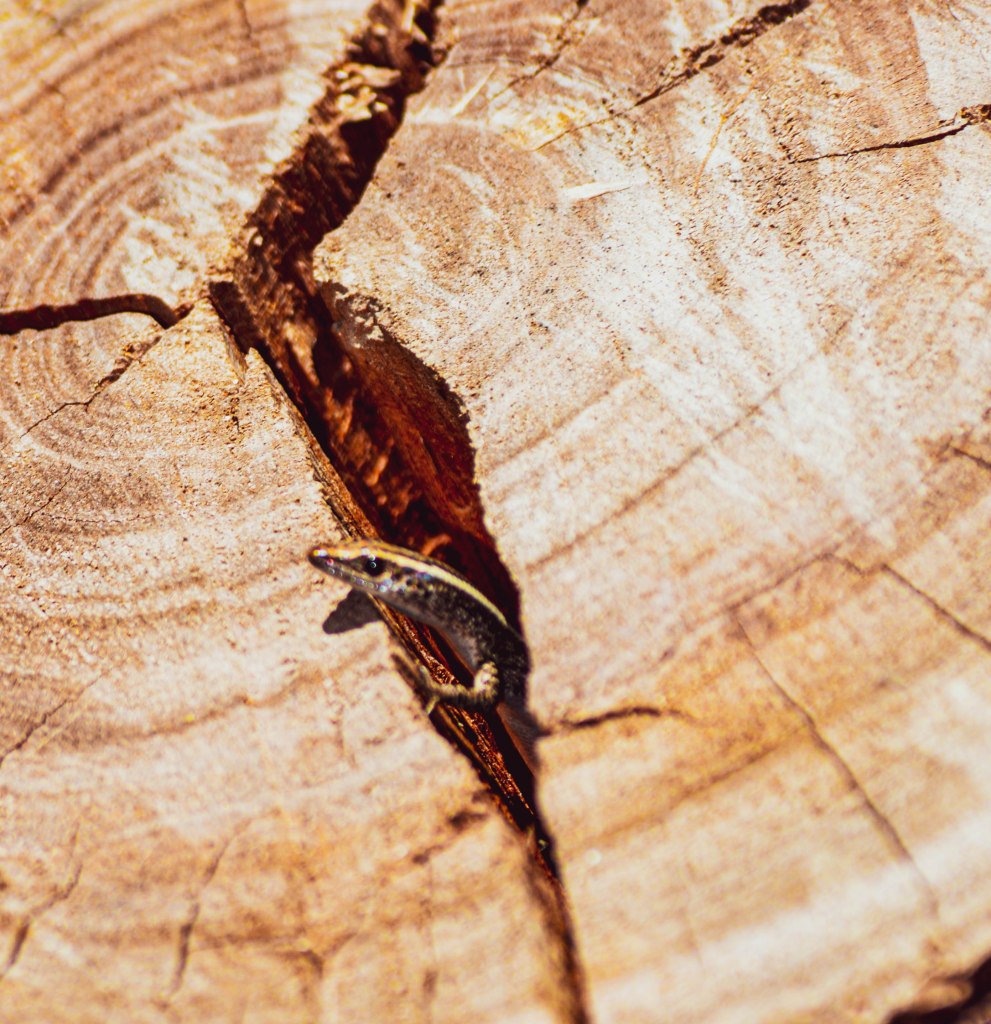
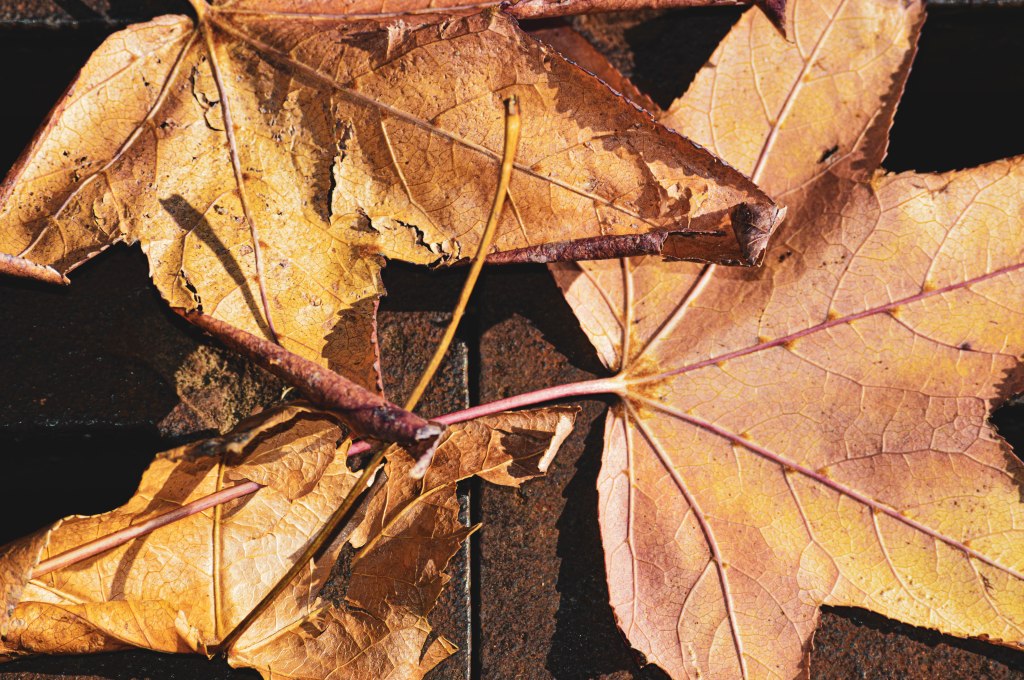
Todays task was to explore the neighbourhood with my trusty Nikon D3200 DSLR for a practical assessment for Camera and capture unit of study. The brief was colour themed and I took two Nikkor lenses 18-55 mm and a 55-200 respectively and shot in JPEG quality with Programmed auto mode which was something different, as I normally shoot in RAW and either use manual and landscape or auto macro modes for most of my outdoor photography.

Camera settings for Assessment Task
At Lockyers Reserve Ermington with my camera for an assignment

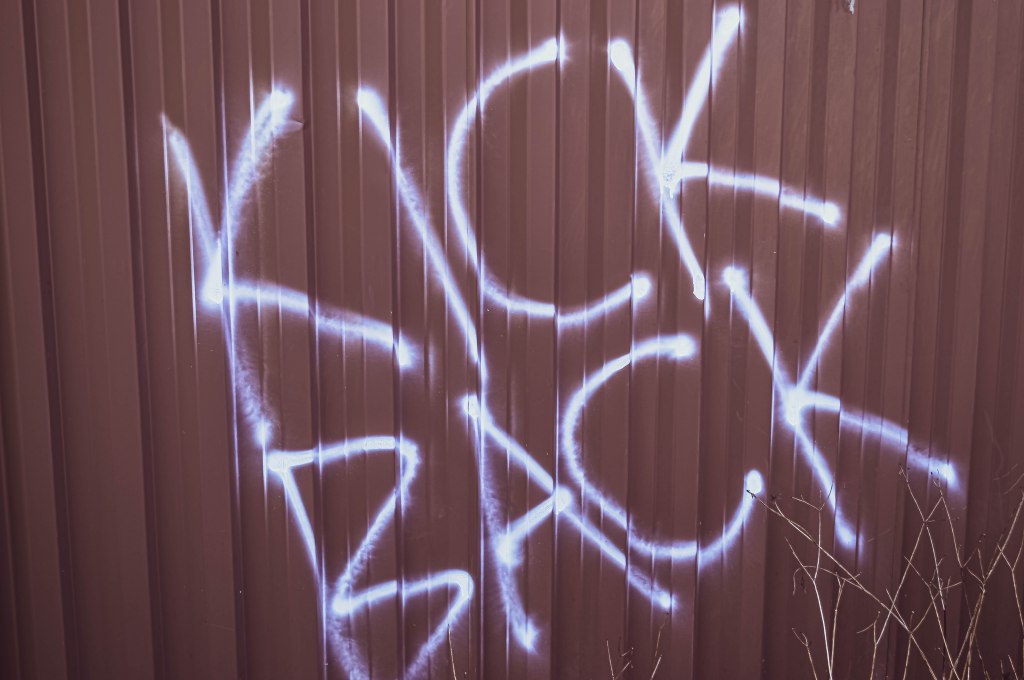
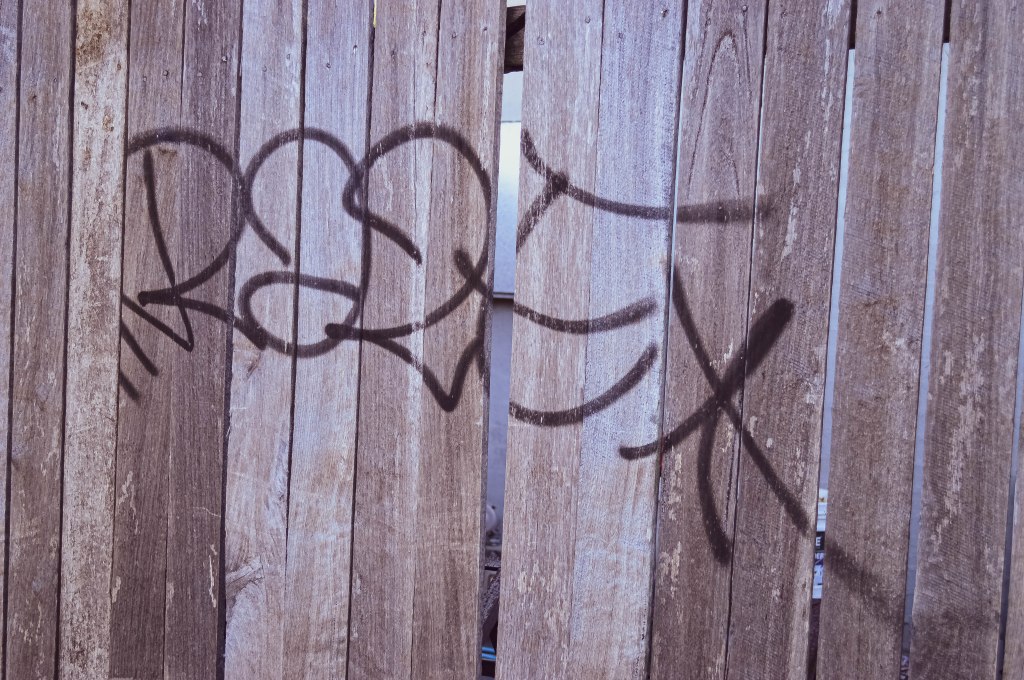
I won’t kid you, I had green in mind as I set off to the local park but I discovered the beauty of shades of brown in lines of grates, moss covered stone, bark and trees, so the common thread trying all my images together on today’s excursion into the world outside my door was a most interesting shade…. Brown.

Graffiti on a colourbond fence
Graffiti on a wooden fence

And so it begins…

Thanks for joining me!

I’ve been a Photographer for a long time but my focus has alway been on printing and photo finishing with freelance work thrown in when family life allows. Recently  I decided to go back to college to get recognition for my skills and update them and learn some new tricks.

My main focus with photography and doing this course is to better evaluate and critique my own work, and this blog will detail my journey through the course and tasks we’re given by our lecturers, also I will reflect on my own experience and presenting that to the world through my street photography and landscape photography on Instagram and entering my work into exhibitions and competitions and improve my skills week by week to be the best photographer I can be.

Good company in a journey makes the way seem shorter. — Izaak Walton

DSC_0032